Leeks are a flavorful, elegant member of the onion family, beloved for their mild, sweet taste and their ability to elevate soups, stews, and other dishes. While many gardeners assume leeks require a large vegetable patch, the truth is—they grow beautifully in containers too! If you have limited space or just want to try a fun container gardening project, learning how to grow leeks from seed in containers is a rewarding experience that produces delicious results.
In this complete guide, you’ll learn everything you need to know about growing leeks from seed—from selecting the right variety and preparing your containers to watering, fertilizing, and harvesting your homegrown leeks with ease.
Why Grow Leeks at Home?
Leeks are an underrated vegetable that deserve more love in home gardens. Closely related to onions and garlic, they have a unique, delicate flavor that’s sweeter and milder—making them perfect for soups, stir-fries, casseroles, and more.
Here’s why you should consider growing leeks:
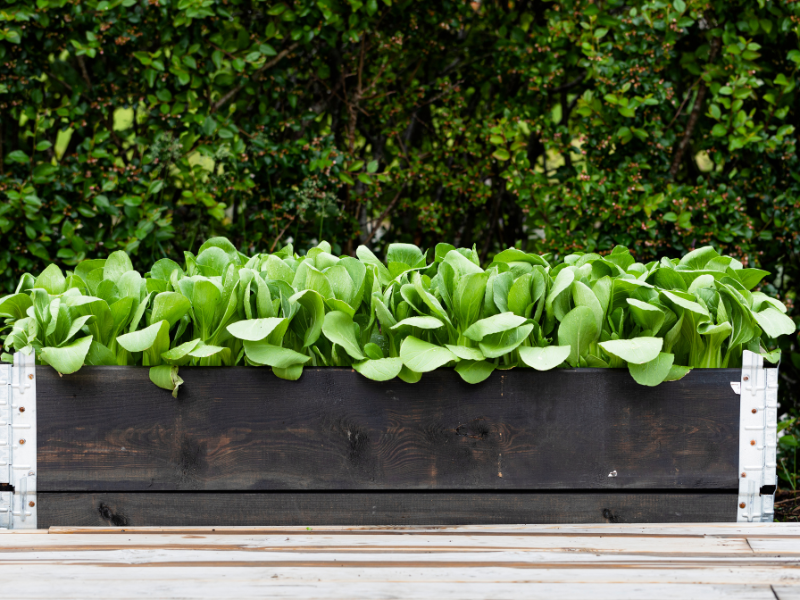
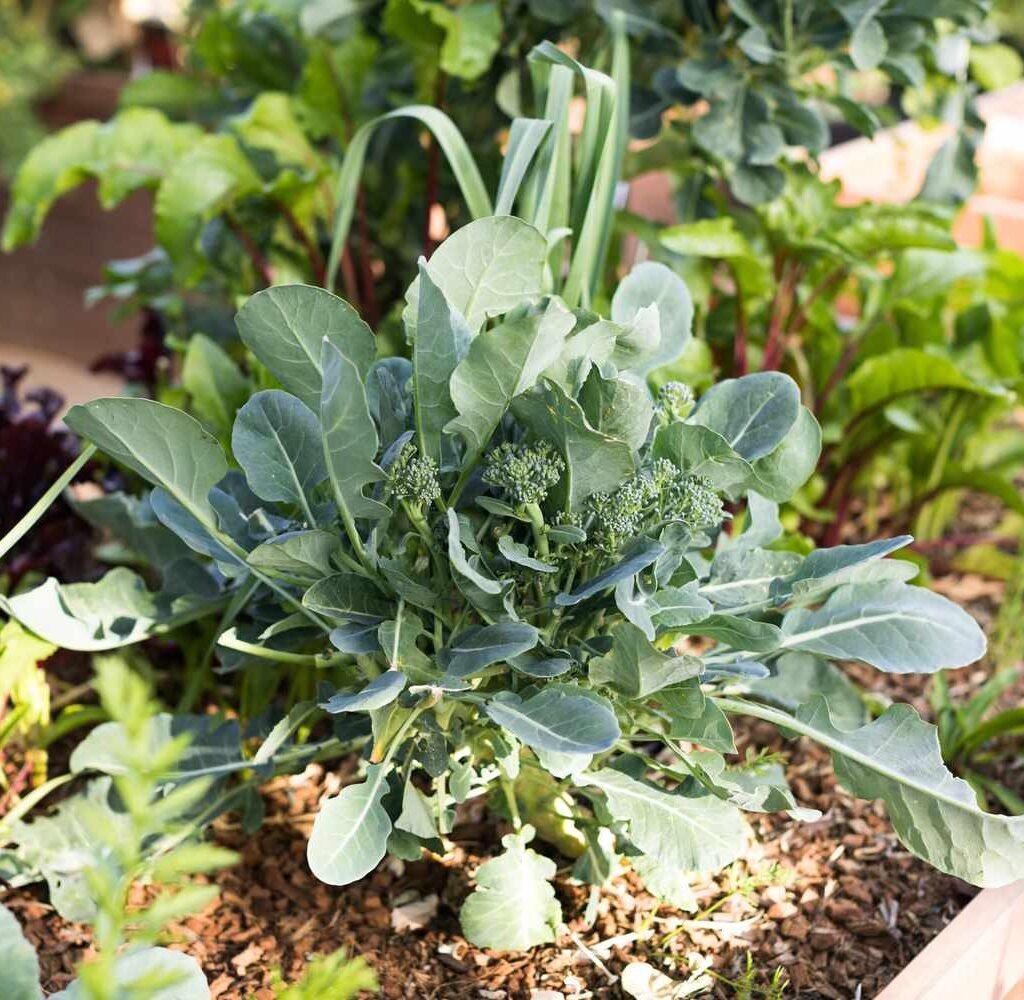
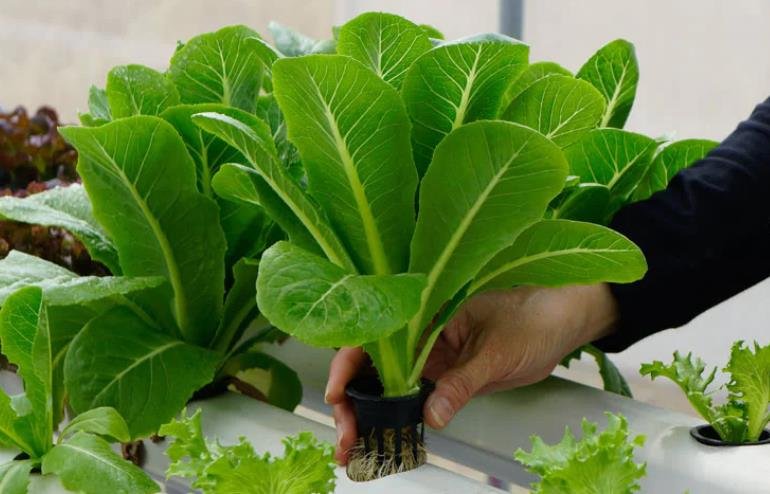
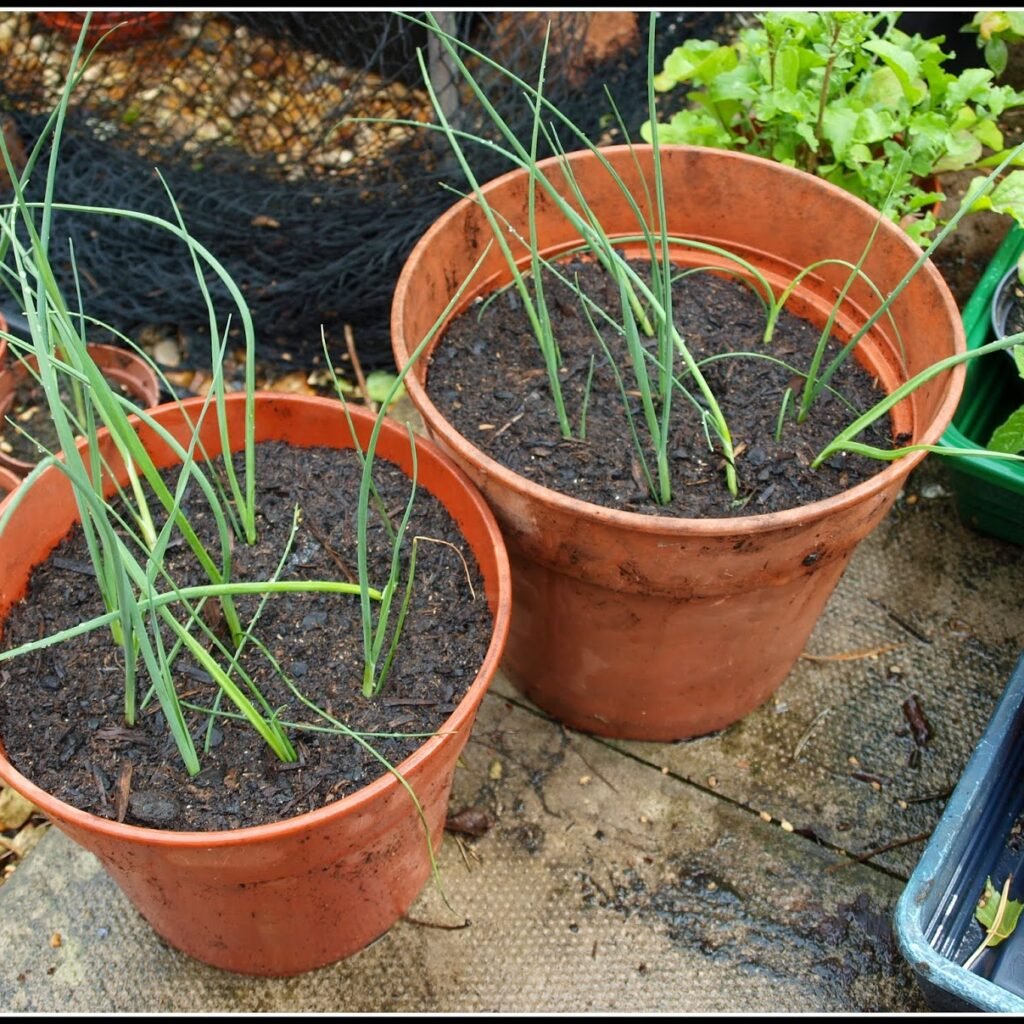
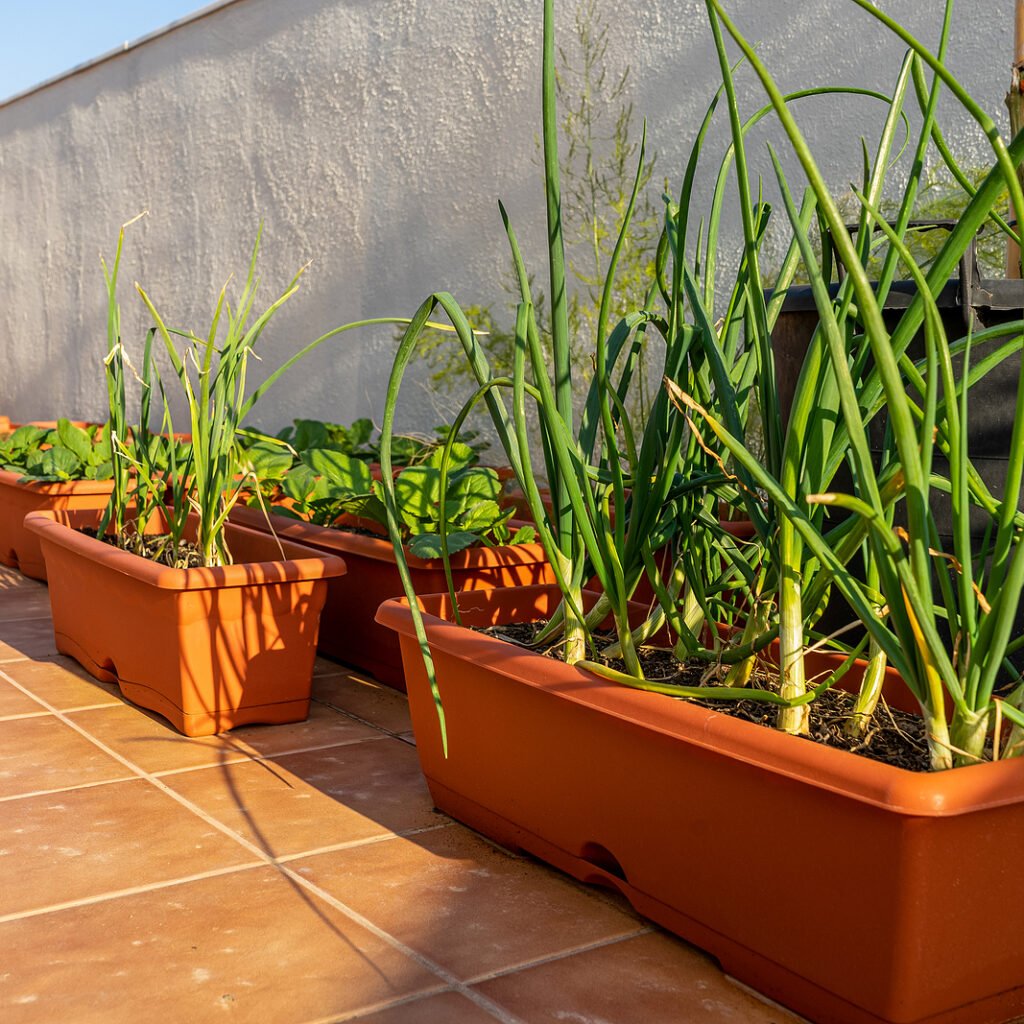
- Compact and container-friendly: Perfect for small gardens, patios, or balconies.
- Long harvesting window: Once mature, leeks can stay in the soil for weeks without losing quality.
- Cold-hardy: Leeks thrive in cooler weather and can even withstand mild frost.
- Nutrient-rich: They’re loaded with vitamin K, folate, manganese, and antioxidants.
Whether you’re a beginner gardener or a seasoned grower, leeks are an easy and rewarding crop to add to your collection.
Step 1: Choose the Right Leek Variety
Before sowing, pick a variety that suits your climate and container setup. There are two main types of leeks—summer leeks (fast-maturing and tender) and winter leeks (hardier and slower-growing).
Here are some popular varieties to consider:
- ‘King Richard’ – A fast-growing summer leek that matures in about 75 days; ideal for containers.
- ‘Lancelot’ – Uniform, straight leeks that resist disease and grow well in smaller spaces.
- ‘Blue Solaise’ – A hardy winter leek with bluish-green leaves, perfect for cooler climates.
- ‘Tadorna’ – A reliable all-season variety that produces flavorful, uniform stems.
If you’re growing leeks in containers, choose early-maturing or compact types for best results.
Step 2: Prepare Containers and Soil
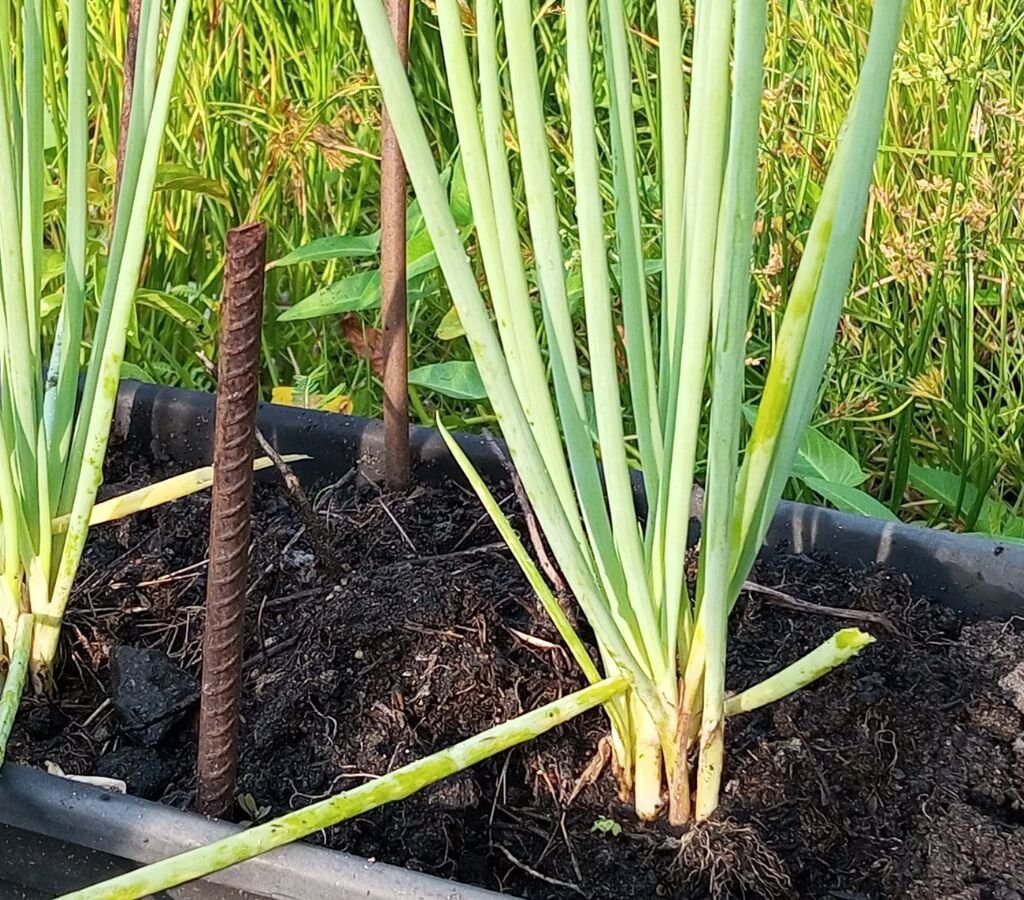
Leeks develop long, straight shanks (the edible stem), so they need enough depth for roots to spread and stems to elongate.
Container Requirements:
- Depth: At least 10–12 inches deep (deeper is better).
- Width: 10–12 inches per leek plant or grow multiple plants in a long rectangular planter.
- Drainage: Ensure the container has drainage holes to prevent waterlogging.
Soil Preparation:
Leeks prefer rich, loose, and well-draining soil. Compact or heavy clay soil can restrict growth.
- Use a mix of:
- 60% high-quality potting soil
- 30% well-rotted compost
- 10% perlite or coarse sand for drainage
- Mix in a handful of organic fertilizer or a slow-release vegetable blend before sowing.
A soil pH between 6.0 and 7.0 is ideal for leeks.
Step 3: Sowing Leek Seeds
Leeks can be started indoors or directly sown into containers. Starting seeds indoors allows you to get a head start before the growing season begins.
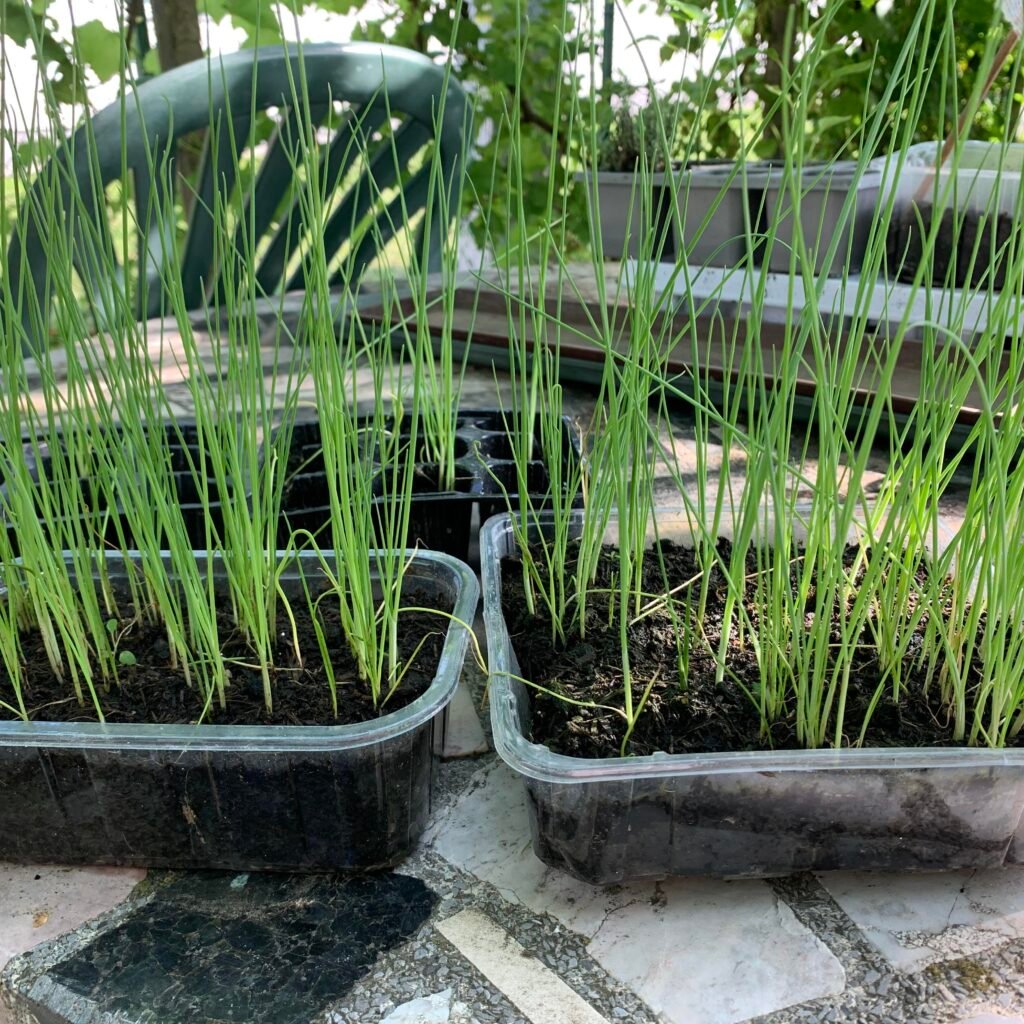
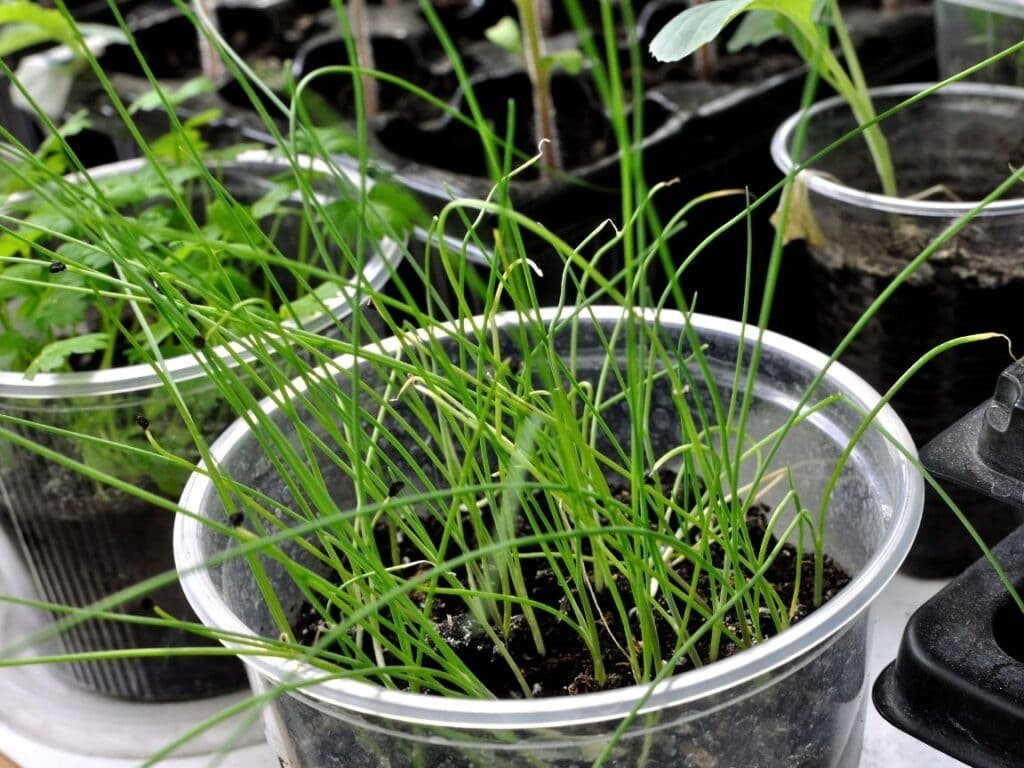
Starting Seeds Indoors:
- Fill seed trays or small pots with seed-starting mix.
- Sow seeds about ¼ inch deep, spacing them about 1 inch apart.
- Mist the soil gently and cover the tray with plastic wrap or a humidity dome to retain moisture.
- Place trays in a warm, bright spot (ideally 65–75°F / 18–24°C).
- Germination takes about 10–14 days.
- Once seedlings reach 6–8 inches tall, they’re ready for transplanting into containers.
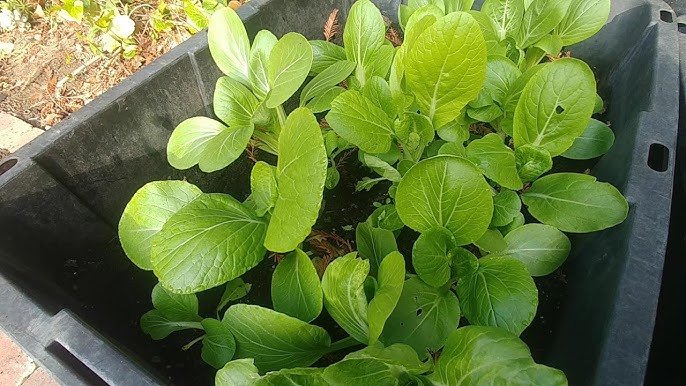
Direct Sowing in Containers:
- Sow seeds directly in your prepared container once temperatures stay above 50°F (10°C).
- Scatter seeds thinly and cover lightly with soil.
- Keep soil moist but not soggy.
- Thin seedlings to about 4–6 inches apart once they reach 3–4 inches tall.
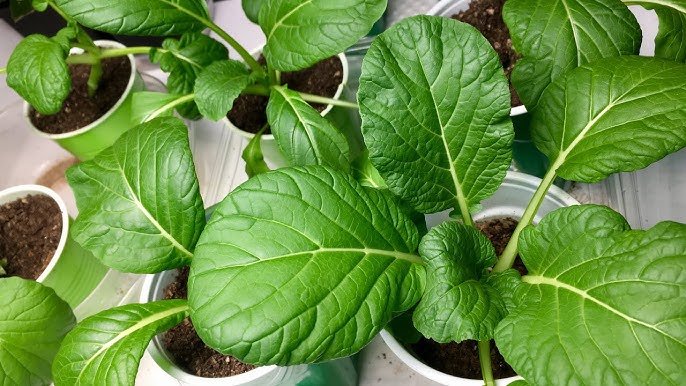
Step 4: Transplanting Leek Seedlings
If you started leeks indoors, they’ll need to be transplanted into their final container once they’re strong enough.
Here’s how to do it:
- Fill your container with soil, leaving room at the top for planting holes.
- Use a stick or dibber to make holes about 6 inches deep.
- Trim leek roots to about 1 inch long and cut the top leaves back by one-third (this helps them establish better).
- Place each seedling into a hole and gently fill it with soil or water.
- Don’t press soil tightly—leeks like loose soil around their stems to encourage long, white shanks.
- Space plants 4–6 inches apart in rows or clusters.
Step 5: Watering and Feeding
Leeks prefer consistent moisture, so regular watering is crucial.
- Keep the soil evenly moist but not waterlogged.
- Water deeply once or twice a week, depending on weather conditions.
- Avoid letting the soil dry out completely, especially during hot spells.
For feeding:
- Every 2–3 weeks, apply a balanced liquid fertilizer or compost tea.
- Alternatively, top-dress with compost every month to replenish nutrients.
Container-grown leeks need more frequent feeding since nutrients leach out faster than in-ground gardens.
Step 6: Blanching the Leeks (Optional for White Stems)
Blanching leeks means covering part of the stem to exclude sunlight, resulting in long, tender, white shanks—the most desirable part of the plant.
In containers, this is easy to do:
- As leeks grow, gradually mound up soil or compost around the stems every few weeks.
- Alternatively, use toilet paper rolls or PVC tubes around each leek to block sunlight from the base.
Be careful not to bury the growing leaves, just the lower stem portion.
Step 7: Care and Maintenance
Light:
Leeks need at least 6 hours of sunlight daily. In very hot regions, light afternoon shade can prevent stress.
Temperature:
They thrive in cool weather (ideal range 55–75°F / 13–24°C). In warmer climates, grow leeks during fall and winter months.
Pests and Diseases:
Watch out for:
- Onion flies – Use fine mesh netting or companion plant with carrots.
- Thrips – Spray with neem oil or insecticidal soap.
- Rust or mildew – Ensure good air circulation and avoid overhead watering.
Regularly remove yellowing leaves and keep the area weed-free.
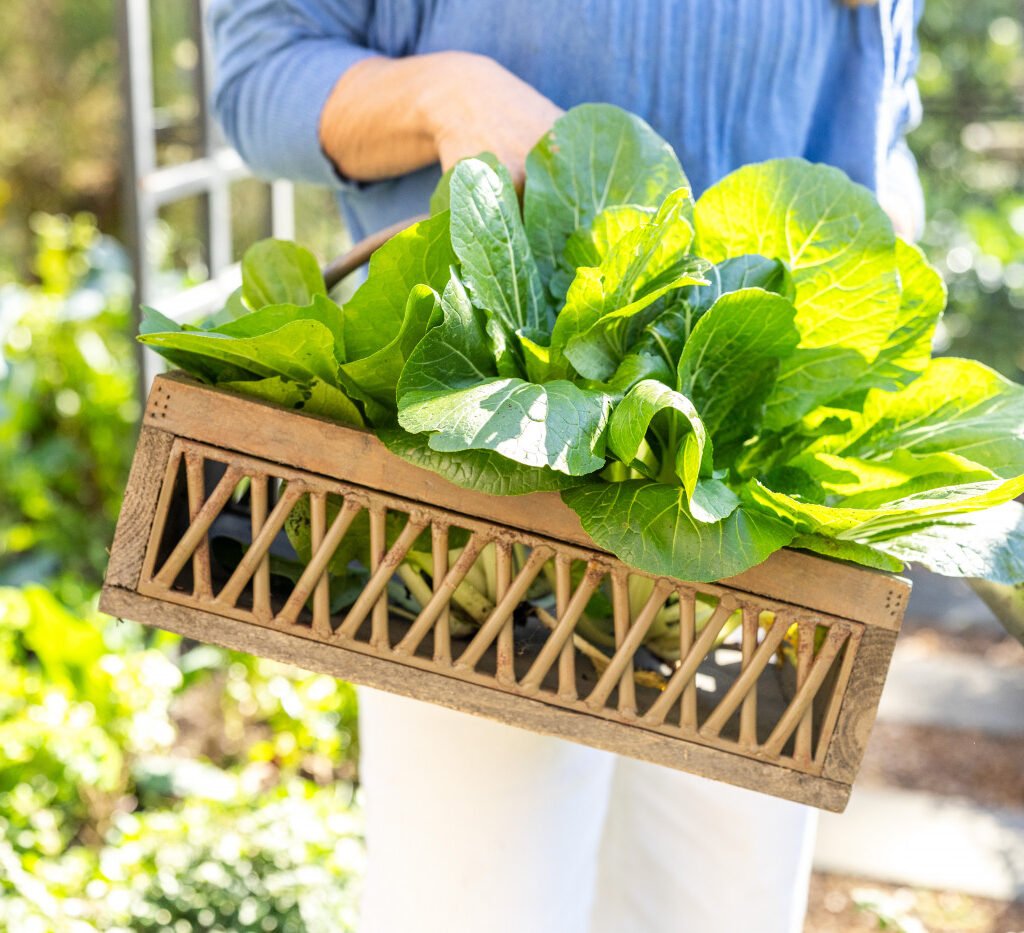
Step 8: Harvesting Leeks
Leeks take about 100–120 days from sowing to maturity, depending on the variety. You can also harvest young, tender leeks earlier as “baby leeks.”
When to Harvest:
- Stems should be about 1–2 inches thick for mature leeks.
- Use a trowel or gently twist and pull them from the soil.
- Avoid damaging neighboring plants.
Harvesting Tip:
If you planted leeks at different times, you can enjoy a continuous harvest throughout the season.
Storage:
- Fresh leeks can be stored in the refrigerator for up to two weeks.
- For longer storage, trim, blanch, and freeze them for soups or stir-fries later.
Step 9: Companion Planting for Leeks
Leeks grow well alongside several garden vegetables and herbs that help deter pests or enhance growth.
Good companions:
- Carrots (mutually repel pests)
- Celery
- Beets
- Cabbage family (like kale and broccoli)
Avoid planting with:
- Onions and garlic (they compete for nutrients and attract similar pests).
Step 10: Common Problems and Quick Fixes
| Problem | Possible Cause | Solution |
|---|---|---|
| Thin or weak stems | Crowding or lack of nutrients | Thin plants properly; fertilize regularly |
| Yellowing leaves | Overwatering or poor drainage | Improve drainage and reduce watering frequency |
| Stunted growth | Poor soil fertility | Add compost or a balanced organic fertilizer |
| Rust spots | Humid conditions | Provide good airflow and avoid wetting leaves |
Bonus: Growing Leeks Year-Round
In mild climates, leeks can be grown nearly year-round.
- Spring/Summer sowing: Ideal for early harvests.
- Fall sowing: Produces hardy winter leeks that can tolerate frost.
- In colder regions, use row covers or mini greenhouses to extend the growing season.
For continuous supply, sow seeds every 3–4 weeks.
Final Thoughts
Learning how to grow leeks from seed in containers is a simple yet rewarding way to enjoy this gourmet vegetable at home. With just a bit of patience and consistent care, you can produce tall, crisp, and flavorful leeks that enhance your home-cooked meals and add elegance to your garden.
Whether you’re gardening on a balcony, patio, or backyard, container-grown leeks prove that you don’t need much space to grow something extraordinary. From seed to harvest, this easy planting guide will help you achieve beautiful, delicious leeks that are fresher than anything you’ll find in stores.
So grab your seeds, fill your containers, and start your leek-growing adventure today—your homemade soups and stews will thank you!