
Garlic is one of the most essential and aromatic ingredients in every kitchen. Its rich flavor and countless health benefits make it a staple in homes worldwide. Traditionally, garlic is grown in soil — but did you know that you can easily grow garlic in water without any garden space at all?
This method, known as hydroponic garlic growing, is perfect for those who live in apartments or have limited outdoor space. It’s clean, simple, and rewarding — plus, you can enjoy fresh garlic greens and even small bulbs all year round.
In this complete 1200-word guide, you’ll learn how to grow garlic in water, from selecting the right cloves to caring for your plants and harvesting. Let’s dive into this amazing water-growing technique that turns your kitchen window into a mini garlic garden!
Why Grow Garlic in Water?
Before we get started, let’s understand why growing garlic in water is such a great idea.
- No Soil, No Mess:
You don’t need a garden or even a pot of soil. All you need is a glass jar, clean water, and sunlight. - Space-Saving and Indoor-Friendly:
Perfect for urban homes — it fits on a kitchen windowsill, balcony, or even your dining table. - Fast Growth:
You’ll start seeing green shoots in just a few days! These greens can be harvested regularly for cooking. - Year-Round Freshness:
You can grow garlic in water any time of the year — even during winter — as long as you provide warmth and light. - Educational and Fun:
It’s a wonderful project for beginners, children, or anyone interested in sustainable indoor gardening.
Step 1: Choosing the Right Garlic
Not all garlic is suitable for growing in water. Start with healthy, firm bulbs that have not been treated with growth inhibitors (these are often used in store-bought garlic to extend shelf life).

Key Tips:
- Choose organic garlic whenever possible.
- Avoid shriveled or moldy cloves.
- If the bulb has already started sprouting, that’s even better — it means it’s ready to grow!
Varieties that grow well in water:
- Softneck garlic (Allium sativum): Common in grocery stores and grows easily indoors.
- Hardneck garlic: Slightly more flavorful but needs cooler conditions; can also grow in water with care.
Step 2: Preparing the Cloves

- Separate the Bulb:
Gently break apart the garlic bulb into individual cloves. Keep the papery skin intact — it protects the clove from rotting. - Select Healthy Cloves:
Choose large, firm cloves, as they produce stronger shoots and larger bulbs. - Optional Soaking:
Soak the cloves in warm water for 1–2 hours before planting. Some gardeners add a few drops of liquid seaweed or compost tea to stimulate root growth.
Step 3: Setting Up Your Growing Container
You’ll need a transparent container so you can see the roots developing.
Materials:
- A glass jar, cup, or small bowl
- Clean water (preferably filtered or dechlorinated)
- Toothpicks or a mesh net (optional)
Setup Steps:
- Fill the jar with enough water to cover only the bottom portion of the cloves (about 1/4 inch).
- Make sure the pointed end faces upward — that’s where shoots emerge.
- If using a large jar, you can insert toothpicks into the sides of the clove to suspend it above the water so only the base touches the surface.
- Place 2–3 cloves per jar to avoid overcrowding.
Step 4: Choosing the Right Location
Garlic loves sunlight, even when grown in water.
- Place your jar near a south-facing window where it receives at least 6 hours of sunlight daily.
- If sunlight is limited, use an LED grow light for 10–12 hours each day.
- Ideal temperature: 20°C–25°C (68°F–77°F) for healthy growth.
Step 5: Maintaining Water Quality
This is the most important step for successful hydroponic garlic growth.
- Change Water Regularly:
Replace the water every 2–3 days to prevent bacterial growth and odor. - Use Clean Water:
Avoid tap water with chlorine; use filtered or stored water instead. - Avoid Over-Submersion:
Only the bottom of the clove should touch the water. Too much water can cause the clove to rot. - Rinse the Cloves Occasionally:
Every few days, rinse the cloves gently with clean water to remove any slime or mold.
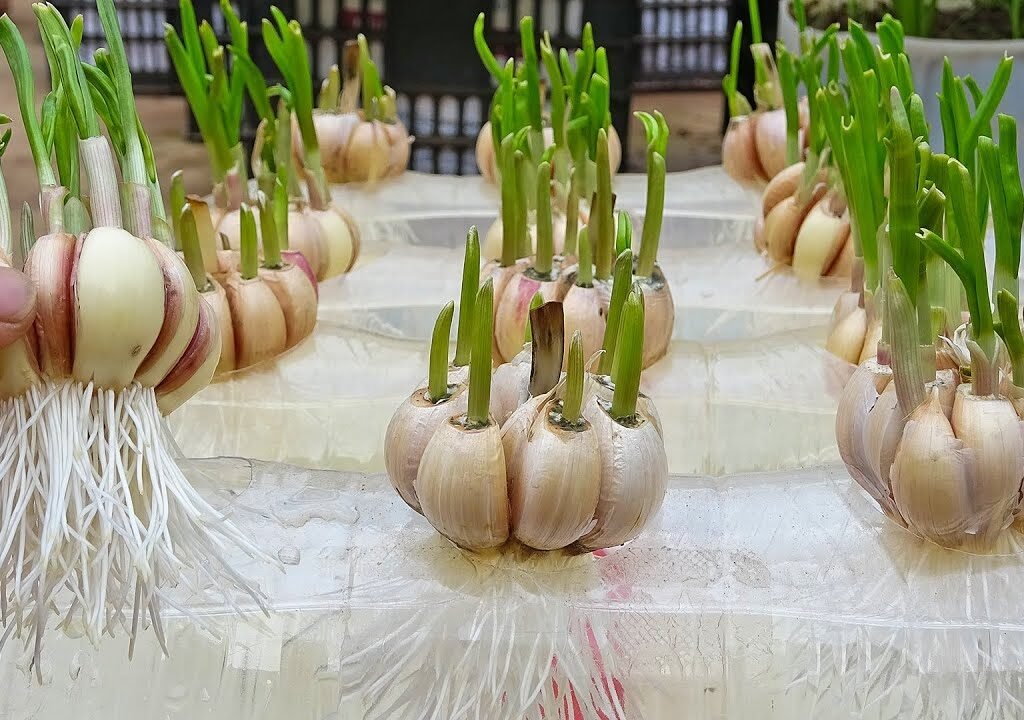
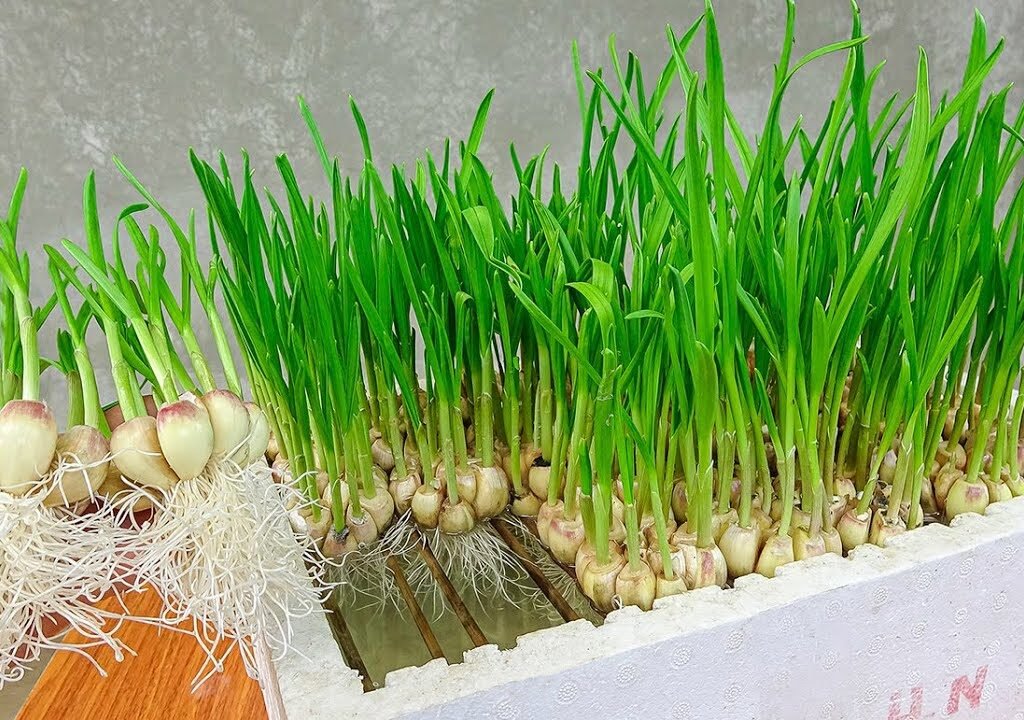
Step 6: Watching Growth Progress
Within 3–5 days, you’ll start noticing small green shoots emerging from the top and white roots forming at the base.
Growth Timeline:
- Day 3–5: Shoots begin to appear.
- Day 7–10: Roots grow longer; shoots reach 3–5 cm.
- Day 14–20: Shoots grow tall and can be harvested as garlic greens.
Keep the container in a warm, bright spot and continue changing the water regularly.

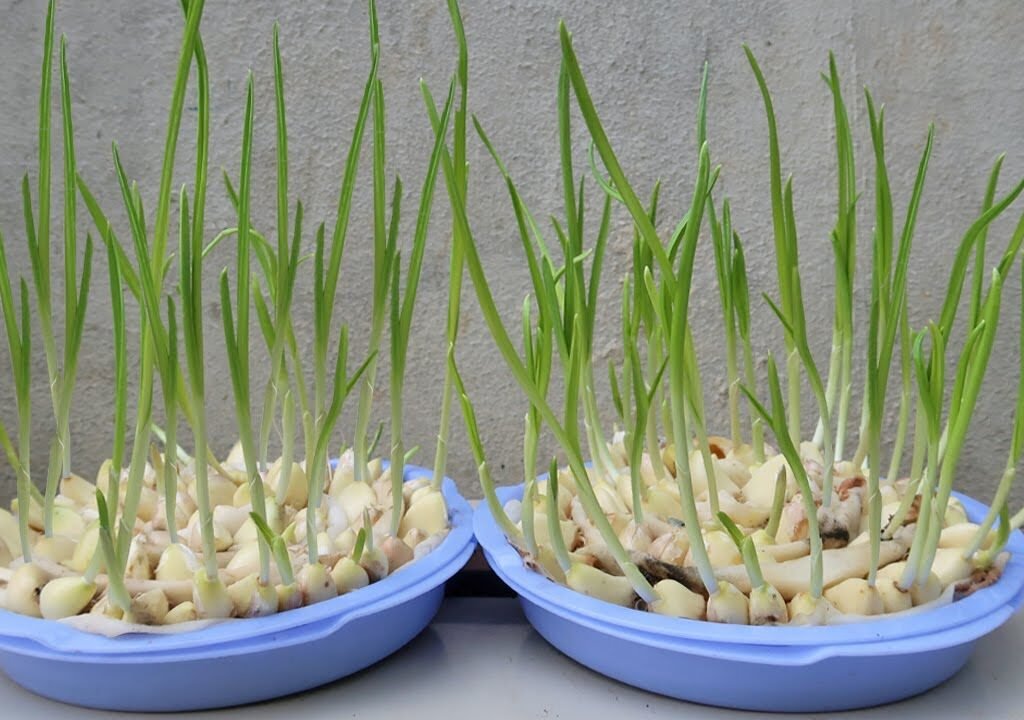
Step 7: Harvesting Garlic Greens
Garlic grown in water usually produces lush, green shoots rather than full bulbs (which require soil). These greens are edible and packed with flavor — milder than cloves, but with a fresh garlicky taste.
How to Harvest:
- Once the greens reach 6–8 inches tall, snip them off about an inch above the clove.
- Avoid cutting all the greens at once; leave some so the plant can continue growing.
How to Use Garlic Greens:
- Chop them finely and use in stir-fries, omelets, soups, or as a topping for salads.
- They can replace chives or green onions in recipes for a unique flavor twist.
Step 8: Growing Bulbs from Water-Grown Garlic (Optional)
While it’s difficult to grow large bulbs entirely in water, you can transfer your sprouted garlic to soil for bulb development.
Steps:
- Once roots are well-developed (around 2–3 inches long), prepare a pot with rich, loose soil.
- Transplant the sprouted clove so the green shoot remains above the soil surface.
- Place it in a sunny location and water regularly — but not excessively.
- After 3–4 months, you’ll start seeing the formation of small bulbs.
This way, your water-grown garlic becomes a head start for soil-based gardening!
Step 9: Preventing Common Problems
Even in water, garlic can face a few issues. Here’s how to avoid them:
- Clove Rotting:
- Cause: Too much water covering the clove.
- Solution: Keep only the base touching the water and change water regularly.
- Mold or Odor:
- Cause: Stagnant water or lack of sunlight.
- Solution: Replace water frequently and ensure bright light exposure.
- Slow Growth:
- Cause: Cold or dark conditions.
- Solution: Maintain warmth and adequate light.
- Yellowing Shoots:
- Cause: Nutrient deficiency or poor water quality.
- Solution: Add a few drops of liquid fertilizer or compost tea once a week.
Step 10: Adding Nutrients for Better Growth
Although garlic can grow in plain water, adding nutrients enhances growth and keeps the shoots greener.

DIY Natural Nutrient Ideas:
- Liquid Compost Tea: Made from soaked compost or vermicompost.
- Banana Peel Water: Provides potassium for healthy growth.
- Seaweed Extract: Stimulates root development.
- Diluted Organic Fertilizer: Use once every 10–15 days.
Make sure the solution is light and not too concentrated to prevent root burn.
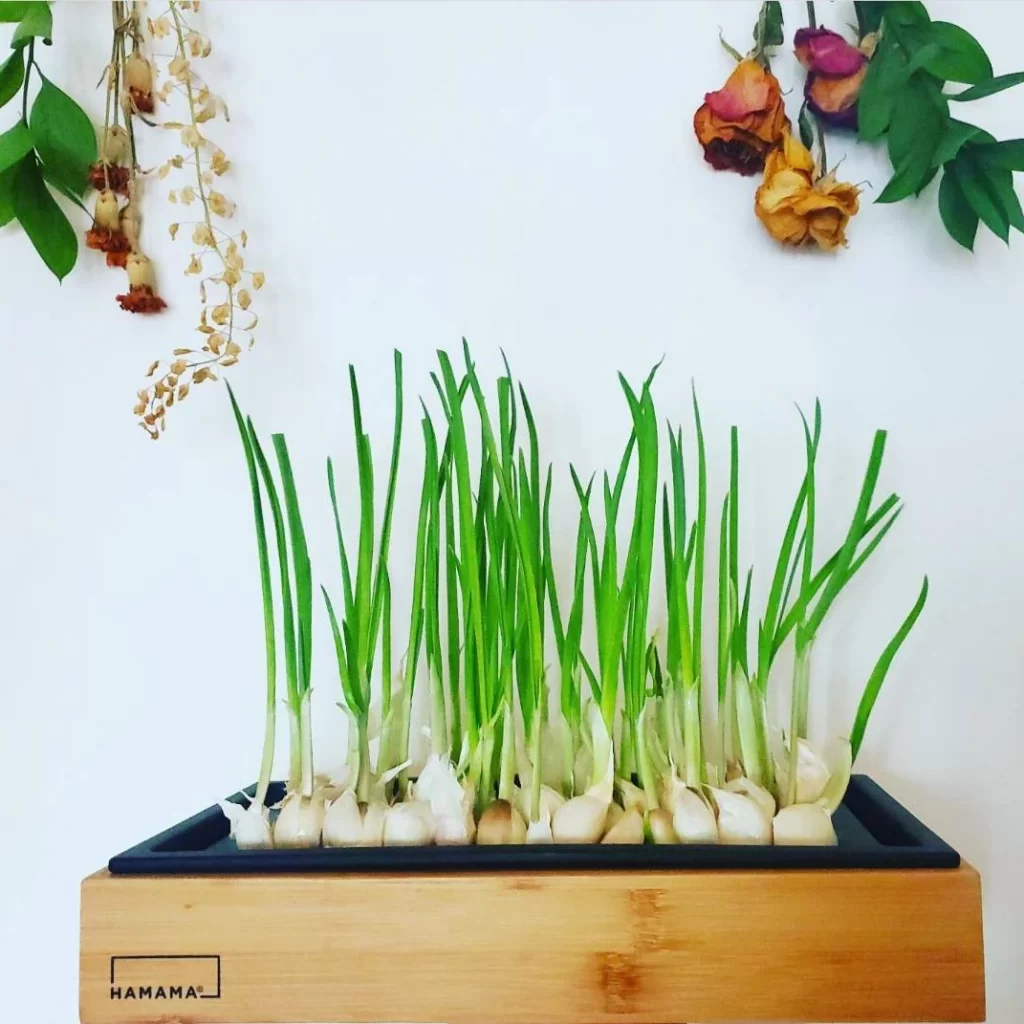
Step 11: Creative Ways to Display Your Garlic Plants
Garlic in water isn’t just practical — it’s also beautiful!
Here are a few creative ideas:
- Glass Jar Gardens: Use recycled mason jars or transparent bottles for a rustic look.
- Hanging Hydroponic Setup: Suspend bottles or jars near windows with sunlight.
- Kitchen Window Display: Line up several jars with garlic for a stunning green indoor garden.
- Mini Hydroponic Rack: Grow multiple herbs (like garlic, mint, and basil) together in a vertical setup.
These not only provide fresh ingredients but also beautify your living space.
Health Benefits of Fresh Garlic Greens
Growing garlic at home gives you access to one of nature’s most powerful superfoods.
Here are some key health benefits of fresh garlic greens:
- Boosts Immunity: Contains allicin, which helps fight infections.
- Improves Heart Health: Reduces bad cholesterol and blood pressure.
- Detoxifies the Body: Helps flush out toxins naturally.
- Aids Digestion: Stimulates enzymes that support gut health.
- Supports Skin Health: Its antibacterial properties keep skin clear and glowing.
Consuming homegrown garlic greens ensures freshness and maximum nutrition — free from chemicals and preservatives.

Step 12: Sustainable Gardening and Re-Growing Garlic
One of the best parts of growing garlic in water is its sustainability.
After harvesting the greens a few times, the original clove will eventually shrink. Simply replace it with a new one and continue the process — this way, you can grow garlic indefinitely!
You can even combine this technique with other hydroponic herbs like mint, basil, or coriander for a continuous indoor harvest.
Conclusion
Growing garlic in water is one of the simplest and most satisfying indoor gardening projects. It requires minimal effort, no soil, and delivers quick, flavorful results. With just a few garlic cloves, a jar, and regular water changes, you can enjoy fresh garlic greens throughout the year — right from your kitchen counter.
Whether you’re a beginner gardener or a plant enthusiast looking for sustainable growing methods, this water-based garlic growing technique offers both beauty and practicality. Plus, it’s a great way to teach kids about plant growth and eco-friendly living.

Leave A Comment