
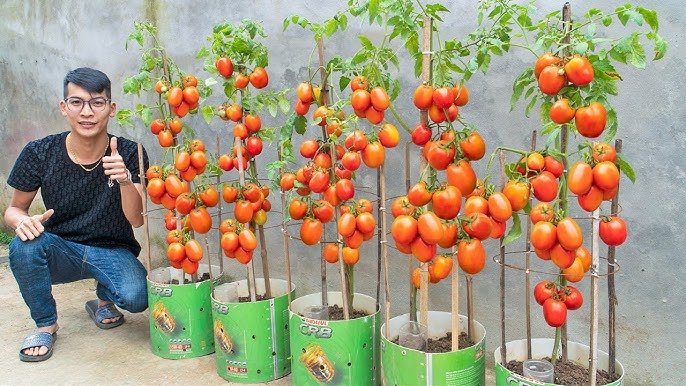
If you love the taste of fresh, juicy cherry tomatoes but don’t have the luxury of a large garden, here’s some good news — you can grow dozens of cherry tomatoes right at home using plastic bottles! This clever and eco-friendly gardening hack allows you to reuse waste materials while growing your own healthy, chemical-free produce in limited space.
In this detailed guide, you’ll learn step-by-step how to grow cherry tomatoes in plastic bottles, from preparing the containers to harvesting a heavy yield. Whether you live in an apartment, have a small balcony, or just want to try something new, this method will show you how easy and rewarding bottle gardening can be.
Why Grow Cherry Tomatoes in Plastic Bottles?
Before diving into the process, let’s understand why this method works so well and why it’s becoming popular among urban gardeners:

- Eco-Friendly Gardening:
Instead of throwing away plastic bottles, you can reuse them as mini-planters, helping reduce waste and promote sustainability. - Perfect for Small Spaces:
You don’t need a backyard — bottles can hang from balconies, windows, or even walls, saving floor space while adding greenery. - Better Root Aeration and Drainage:
Plastic bottles allow you to control water flow and soil aeration, leading to healthier roots and faster growth. - Cost-Effective:
You won’t need expensive pots or containers. A few recycled bottles and some soil are enough to get started. - Easy Maintenance:
Bottle gardens require minimal care and can be easily moved for better sunlight or weather protection.
Materials You’ll Need
Before starting your cherry tomato bottle garden, gather the following supplies:
- 2-liter plastic bottles (clean and dry)
- Cherry tomato seeds or seedlings
- Potting soil (rich in compost and organic matter)
- Coco peat or perlite for aeration
- A knife or scissors
- A nail or skewer (for making holes)
- Watering can or spray bottle
- Liquid organic fertilizer (optional)
- Twine, rope, or wire (for hanging bottles)
Step 1: Preparing the Plastic Bottles
- Select and Clean the Bottles:
Choose 2-liter or 1.5-liter plastic bottles — soda bottles work great. Wash them thoroughly to remove any residue and let them dry. - Cut the Bottles:
Cut the top third of each bottle to create an open space for planting. You can also cut them horizontally in half if you prefer wider containers. - Make Drainage Holes:
Use a heated nail or skewer to create 3–5 small holes at the bottom of each bottle. This ensures excess water drains properly, preventing root rot. - Optional — Hanging Setup:
If you want a hanging tomato garden, make two holes near the top edge and insert a rope or wire to hang the bottle from a balcony railing or hook.
Step 2: Preparing the Soil Mix
Cherry tomatoes thrive in well-draining, nutrient-rich soil. Here’s a perfect DIY mix for bottle gardening:
- 40% garden soil
- 30% compost or organic manure
- 20% coco peat or perlite
- 10% sand for drainage
Pro Tip: Add a handful of crushed eggshells or bone meal to supply calcium, which prevents blossom end rot in tomatoes.

Mix all the ingredients well before filling the bottles.
Step 3: Planting Cherry Tomatoes
- Sow the Seeds:
If using seeds, sow 2–3 seeds per bottle about half an inch deep. Once they germinate, thin out the weaker seedlings, leaving only one strong plant per bottle. - Using Seedlings:
If you already have young tomato seedlings (about 4–6 inches tall), gently transplant one seedling into each prepared bottle. - Firm the Soil:
Gently press the soil around the seedling to keep it stable. Avoid compacting it too tightly to allow root aeration. - Water Lightly:
Water gently until the soil feels moist but not soggy. Overwatering can suffocate roots in small containers.
Step 4: Providing the Right Growing Conditions
Cherry tomatoes love warmth and sunlight. Here’s how to make sure they thrive:
- Sunlight:
Place the bottles in a spot that receives at least 6–8 hours of sunlight daily. A balcony, terrace, or sunny window ledge works perfectly. - Temperature:
The ideal range is 20°C–30°C (68°F–86°F). If you live in a cooler area, you can start your plants indoors and move them out once the weather warms up. - Support for the Plant:
Cherry tomato plants tend to grow tall and vine-like. Insert a thin bamboo stick or skewer into the soil to support the stem as it grows. You can also tie the stem to the balcony railing with soft twine.
Step 5: Watering and Feeding
- Watering:
Tomatoes need consistent moisture but dislike waterlogging. In bottles, the soil can dry out quickly due to limited volume.- Water lightly every 1–2 days, depending on weather conditions.
- Always check the top inch of soil — if it feels dry, it’s time to water.
- Fertilizing:
- After 3–4 weeks, start feeding with a diluted liquid fertilizer or organic compost tea every 10–15 days.
- Use organic fertilizers like seaweed extract, banana peel tea, or fish emulsion for best results.
- Mulching (Optional):
Adding a thin layer of dry leaves or coco peat on top helps retain moisture and prevent weeds.
Step 6: Pollination and Flowering
Cherry tomatoes usually self-pollinate, but you can boost fruit set by gently shaking the plant or tapping the flowers. Bees and wind also assist in pollination if your plants are outdoors.

Once flowering starts, make sure your plants get enough sunlight and nutrients — this stage is critical for producing a heavy fruit yield.
Step 7: Pest and Disease Management
Even in containers, tomato plants can attract pests like aphids, whiteflies, or spider mites. Here’s how to keep them away naturally:
- Spray neem oil solution (5 ml per liter of water) every 10–15 days.
- Avoid overwatering, as it invites fungal diseases.
- Remove any yellowing or diseased leaves immediately.
- Rotate the bottles occasionally for even sunlight exposure.
Step 8: Harvesting Cherry Tomatoes
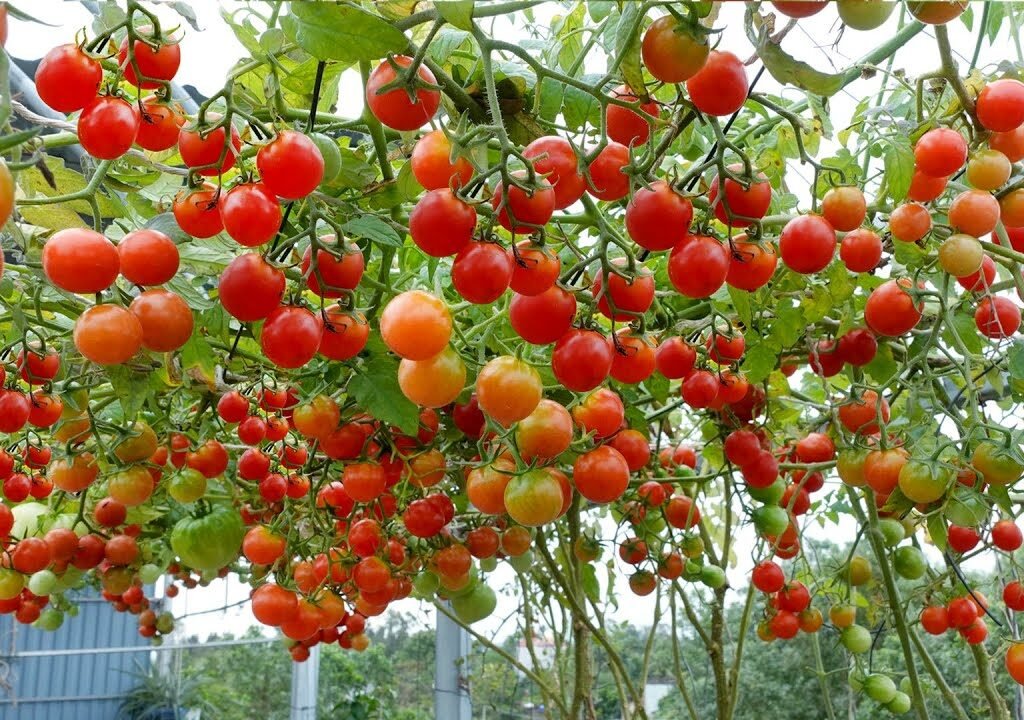
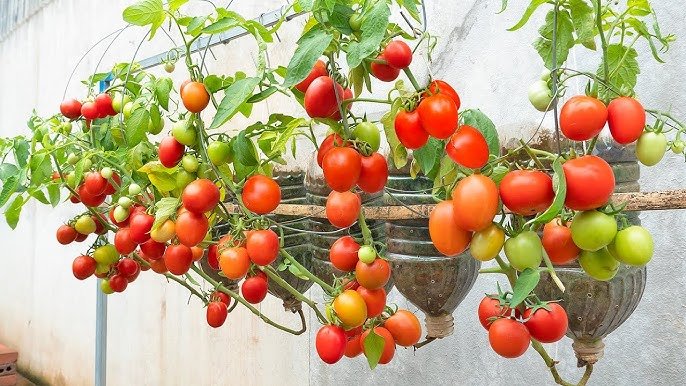
After about 70–90 days, your cherry tomatoes will begin to ripen. Harvest when they turn bright red (or yellow, depending on the variety) and are firm to the touch.

Pick fruits regularly to encourage new flowers and more production. One bottle plant can yield 20–40 cherry tomatoes under the right conditions!
Bonus: Tips for Maximum Yield
- Prune Regularly:
Remove lower leaves and suckers (the small shoots that appear between the main stem and branches). This redirects the plant’s energy toward fruiting. - Rotate the Bottles:
If growing indoors, rotate bottles every few days so all sides receive equal sunlight. - Use Drip Irrigation (DIY):
Insert a small pinhole in another inverted bottle to slowly drip water into the soil — a perfect low-maintenance watering solution. - Grow Companion Herbs:
Plant basil or mint nearby to naturally repel pests and improve tomato flavor.
Step 9: Reusing Bottles for Continuous Harvest
Once you’ve harvested your first crop, you can reuse the same bottles for the next planting. Just replace the old soil with fresh compost-rich soil to replenish nutrients. This way, you can enjoy year-round cherry tomato production right from your balcony!
Conclusion
Growing cherry tomatoes in plastic bottles is one of the simplest, most rewarding gardening hacks for modern living. With minimal space, little cost, and recycled materials, you can enjoy a continuous supply of fresh, organic tomatoes bursting with flavor.

Whether you’re a beginner or an experienced gardener, this DIY method is perfect for experimenting with creative, sustainable ways to grow food at home. So, grab those empty bottles and start your very own mini tomato farm today — your salads, sauces, and snacks will thank you!
Leave A Comment