
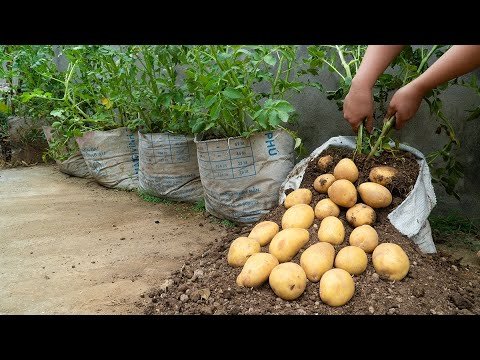
Potatoes are one of the world’s most loved and versatile vegetables. Whether you like them mashed, baked, or fried, there’s nothing quite like the taste of homegrown potatoes. But what if you could harvest 100 fresh, healthy potatoes from just one bag of soil? Sounds unbelievable, right? Yet, the YouTube video titled “The way to grow potatoes has never been revealed, a bag of soil has 100 potatoes” uncovers a revolutionary technique that makes it possible!
In this 1200-word detailed guide, we’ll walk you through every step of this amazing potato-growing method — from soil preparation to harvest — so you can replicate it at home, even with limited space. Whether you live in an apartment, have a small garden, or just a sunny balcony, this trick will let you enjoy a massive harvest of potatoes effortlessly.
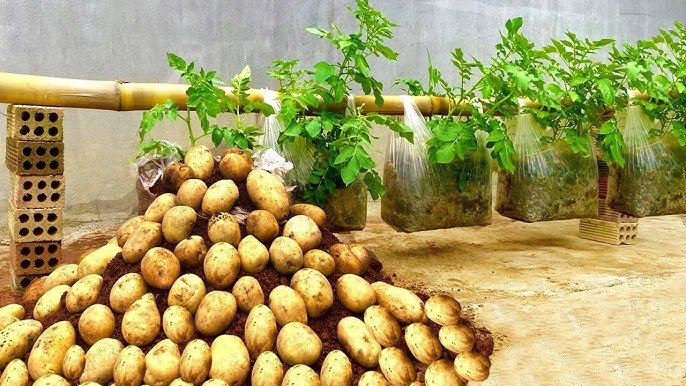
Why Grow Potatoes in a Bag of Soil?
Growing potatoes in bags isn’t new, but the secret lies in how you layer the soil, select the seed potatoes, and manage growth. This “bag method” not only saves space but also ensures:
- Better aeration for healthy root and tuber formation
- Easy pest control and reduced risk of soil-borne diseases
- Simple harvesting — no digging needed!
- Higher yield in minimal space
If done correctly, you can truly get up to 100 potatoes from one soil bag, all clean, healthy, and organic.
Step 1: Selecting the Right Potato Variety
Choosing the right type of potato is the first secret behind a successful harvest. Not all varieties produce the same yield, especially in containers or bags.
Best varieties for bag growing:
- Yukon Gold: Great flavor and high yield
- Red Pontiac: Grows well in confined spaces
- Russet Burbank: Produces large, starchy potatoes
- Fingerlings or New Potatoes: Quick-maturing and ideal for small bags
Always use certified seed potatoes instead of store-bought ones, as these are disease-free and bred for growth performance.
Step 2: Choosing and Preparing the Bag
The “100 potato bag method” uses a large, breathable container or thick plastic grow bag that allows for layering and expansion.

Bag Specifications:
- Depth: 20–24 inches
- Width: 18–20 inches
- Material: Thick polythene, jute, or fabric grow bag
Preparation Steps:
- Make 8–10 small holes at the bottom for drainage.
- Place a layer of gravel or broken clay pieces at the base to avoid waterlogging.
- Roll down the sides of the bag to half its height for easier planting.
Step 3: Preparing the Perfect Soil Mix
Healthy soil is the key to growing a large quantity of potatoes. Potatoes love loose, well-draining, nutrient-rich soil that allows tubers to expand freely.
Recommended soil mix:
- 40% garden soil
- 40% organic compost or cow manure
- 20% river sand or coco peat
Mix everything thoroughly and add a handful of wood ash or bone meal — these natural fertilizers provide essential potassium and phosphorus for tuber development.
Pro Tip: Avoid chemical fertilizers in this method. Organic nutrients produce tastier, healthier potatoes.
Step 4: Preparing the Seed Potatoes
This is the “hidden” part of the technique many people overlook — pre-sprouting (chitting) your potatoes before planting.
Steps:

- Choose medium-sized potatoes with 3–4 visible “eyes.”
- Cut them into chunks with at least two eyes each.
- Let them dry for 2–3 days in a shaded area. This helps the cut surfaces form a protective layer and prevents rotting.
- When sprouts grow about 1–2 cm long, they’re ready to plant.
This pre-sprouting jumpstarts growth and significantly increases yield.
Step 5: Planting the Potatoes in Layers
Here’s where the 100-potato trick comes in — the layered planting system.
How to plant:
- Fill the bottom of the bag with 6 inches of your soil mix.
- Place 3–4 sprouted potato pieces evenly on the surface, sprouts facing upward.
- Cover them with another 3–4 inches of soil.
- Water lightly.
As the potato plants grow about 6–8 inches tall, add more soil to cover the lower stems — this encourages new tuber formation along the buried stems. Repeat this process every 10–15 days until the bag is nearly full.
This layering technique allows potatoes to develop in multiple stages, giving you several layers of tubers — the real secret behind the “100 potatoes from one bag” claim.
Step 6: Sunlight and Watering Needs
Potatoes love sunlight, but proper watering is equally critical.
Sunlight:
- Keep the bag where it gets 6–8 hours of full sun daily.
Watering:

- Maintain even moisture, not soggy soil.
- Water deeply 2–3 times a week, depending on weather.
- Avoid waterlogging to prevent tuber rot.
You can use a mulch layer of dry grass or leaves to keep the soil cool and moist during hot days.
Step 7: Fertilizing and Ongoing Care
Potatoes are heavy feeders. They require a steady supply of nutrients throughout their growing period.
Fertilization tips:
- After 4 weeks, apply liquid compost tea or diluted cow dung slurry.
- Repeat every 2 weeks to keep the plants healthy.
- Avoid nitrogen-heavy fertilizers after flowering starts — focus on potassium and phosphorus for tuber growth.
Pest control:
Keep an eye out for aphids or beetles. Spray neem oil solution once a week as a preventive measure.
Step 8: Recognizing Flowering and Tuber Development
When your potato plants begin to flower, it’s a sign that tuber formation has started beneath the soil layers. Don’t disturb the bag during this period. Keep watering regularly and ensure proper sunlight exposure.
If leaves start yellowing after flowering, that’s an indication that your potatoes are nearing maturity.
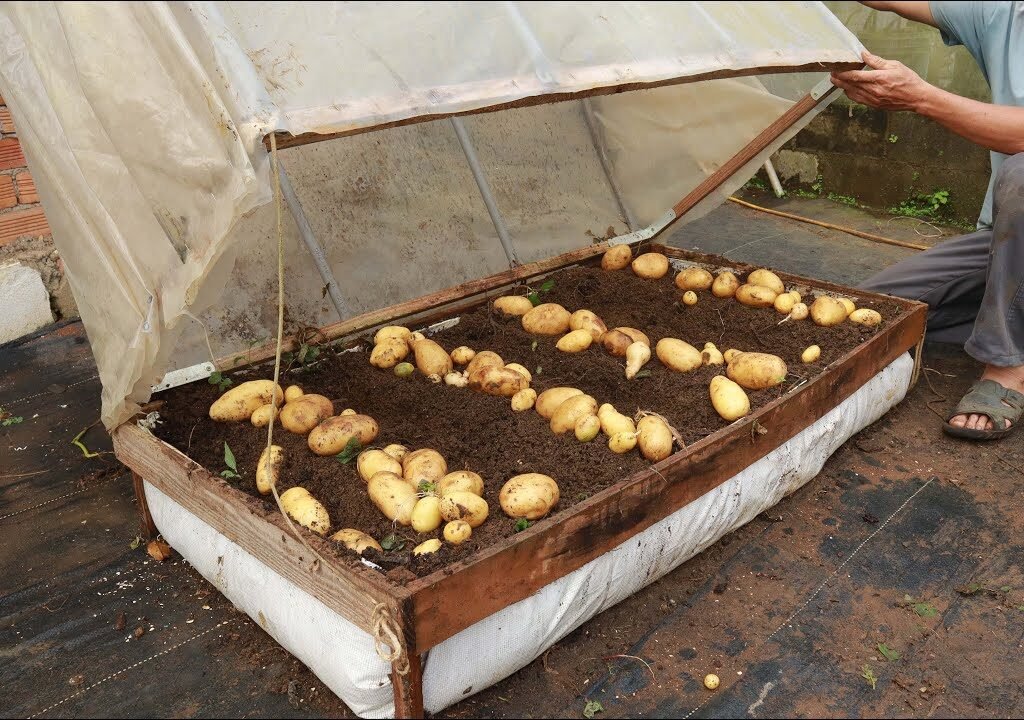
Step 9: Harvesting – The Exciting Part!
Depending on the variety, potatoes mature in 90–120 days. You can begin early harvesting after 70 days if you prefer small, tender potatoes.
To harvest:

- Stop watering for a week before harvest — this allows the skins to harden.
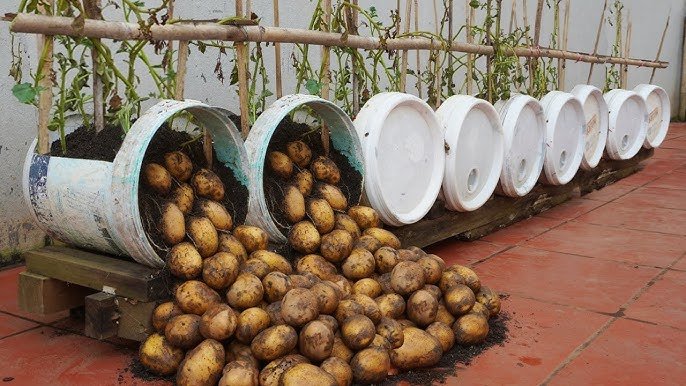
- Gently tip the bag over onto a sheet or ground.
- Sift through the soil to collect your treasure trove of potatoes.
You’ll be amazed at the number — often up to 80–100 potatoes from a single bag when the layering technique is done right!
Step 10: Post-Harvest Care and Storage
After harvesting:
- Air-dry the potatoes in a shaded, ventilated spot for 2–3 days.
- Brush off excess soil (don’t wash them yet).
- Store in a cool, dark place — such as a basket or mesh bag.
Avoid refrigeration right away as it converts starch to sugar, affecting flavor.
Properly stored, your homegrown potatoes can last 2–3 months easily.
Bonus Tips for Huge Potato Yields
Want to maximize your harvest even further? Follow these proven tips:
- Start with quality compost. Enrich your mix with banana peels or vegetable scraps for added nutrients.
- Rotate crops — don’t grow potatoes in the same soil repeatedly to prevent disease buildup.
- Keep soil loose — compact soil suffocates tubers. Shake or lightly tap the bag weekly.
- Feed with organic potassium sources like banana peel tea or wood ash during flowering.
- Use multiple bags. Start several bags at two-week intervals for continuous harvests.
These little practices make a huge difference in yield and quality.
Common Mistakes to Avoid
Many beginners fail to achieve high yields because of a few simple mistakes. Avoid these:
- Overwatering: Causes rot and fungal growth.
- Planting too deep initially: Reduces early sprouting.
- Skipping the layering step: Limits tuber production.
- Insufficient sunlight: Results in weak plants and small potatoes.
- Reusing infested soil: Always replace or sterilize soil between crops.
Correcting these will ensure a bountiful harvest every time.

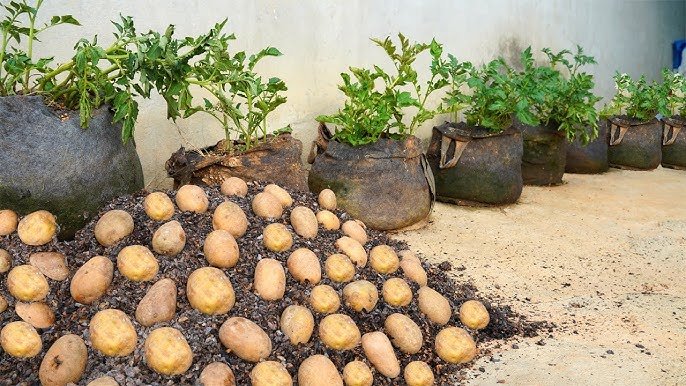
Eco-Friendly and Space-Saving Gardening
This method of growing 100 potatoes in a bag is not just efficient — it’s eco-friendly too! You can reuse old fertilizer bags, rice sacks, or compost bags, reducing plastic waste. It’s perfect for urban gardening where space is limited and soil quality is poor.
Moreover, you can move the bags easily to adjust sunlight or protect them from heavy rain — making this method practical and sustainable.
Conclusion: The Secret is in the Layers!
The once “never revealed” secret to growing 100 potatoes in a bag is actually simple science — give the plant room to grow upward, layer by layer, and it will reward you generously below the soil. With the right seed potatoes, nutrient-rich mix, and regular care, you can produce an abundant crop of fresh, organic potatoes right at home.
Whether you’re a beginner gardener or a seasoned grower, this method transforms a simple bag of soil into a mini potato farm. So, grab your bag, prepare your soil, and start planting — your next potato harvest might just surprise you with 100 golden tubers of pure homegrown joy!
Leave A Comment