Have you ever looked at a handful of pistachios and wondered, “Can I actually grow a pistachio tree from these?” The answer is — yes, it’s possible! Growing a pistachio tree from grocery store nuts is not only fascinating but also incredibly rewarding. Although pistachio trees require patience, the journey from seed to sapling offers an unforgettable gardening experience.
In this detailed guide, you’ll learn how to grow pistachios from store-bought nuts, the right germination techniques, how to care for the seedlings, and what to expect as your pistachio tree matures. Let’s get started!
1. Understanding the Pistachio Tree
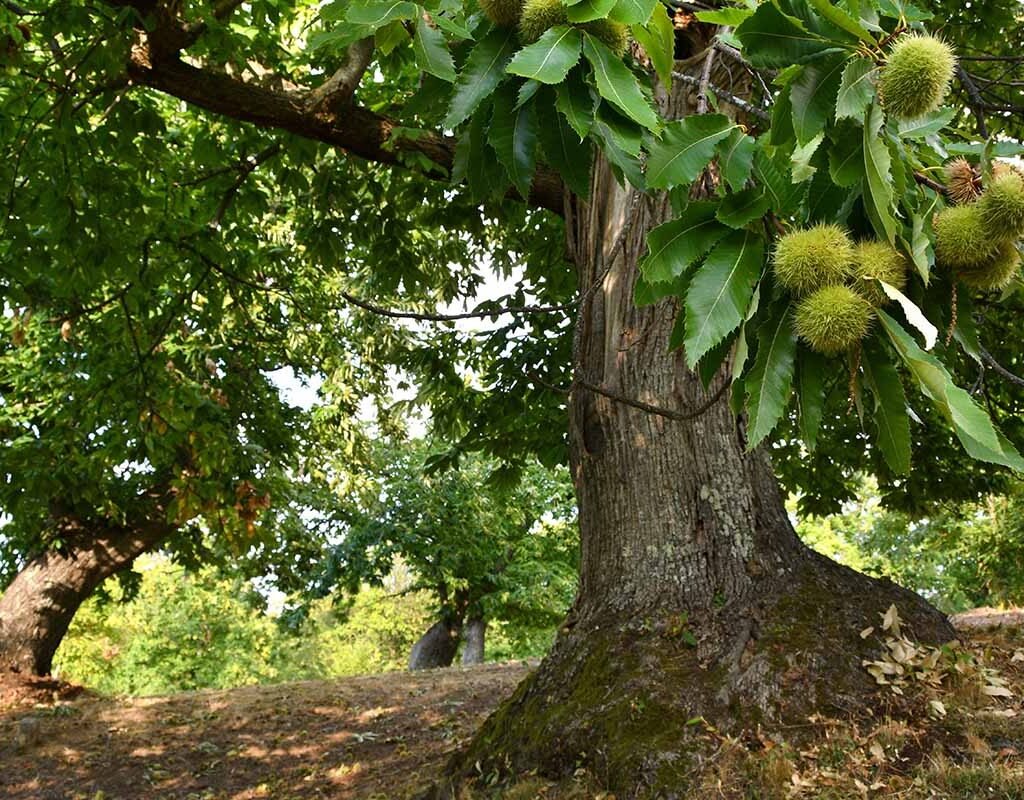
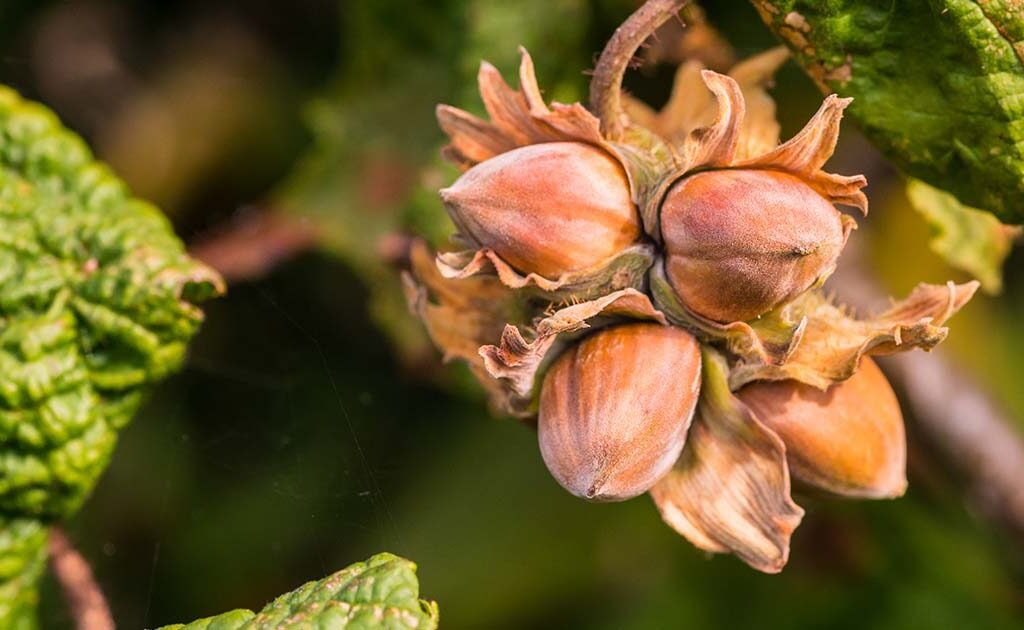
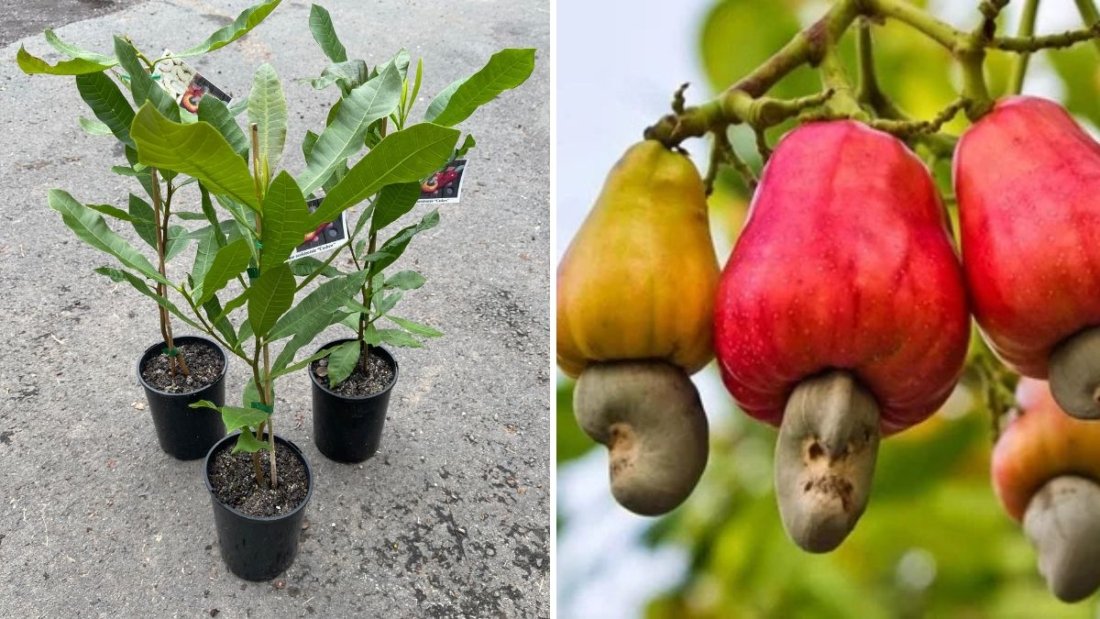
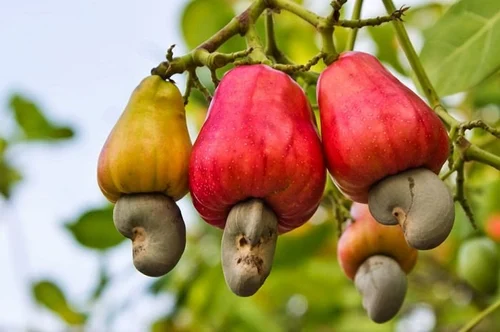
The pistachio tree (Pistacia vera) is a deciduous tree native to the Middle East and Central Asia. It belongs to the cashew family (Anacardiaceae), and it thrives in hot, arid climates with long summers and cold winters — conditions similar to those found in California, Iran, or parts of India.
A mature pistachio tree can grow 20–30 feet tall and live for 100 years or more. However, pistachios have a unique requirement: they are dioecious, meaning male and female flowers grow on separate trees. You’ll need both a male and a female tree for pollination and nut production.
2. Can You Really Grow Pistachios from Store Nuts?
You can, but with some important conditions. Most pistachios sold in stores are roasted and salted, which destroys their ability to germinate. To grow pistachios successfully, you must use raw, unsalted, and unroasted pistachios — preferably organic.
Tip: Look for raw pistachios labeled “in shell” at organic stores or online seed suppliers.
Once you have viable nuts, the next step is preparing them for germination.
3. Preparing Pistachio Seeds for Germination
Pistachio seeds have a hard shell and natural dormancy that must be broken before they can sprout. Follow these steps carefully to ensure success:
Step 1: Select and Test the Seeds
Choose large, undamaged, raw pistachios still in their shells. To test viability:
- Soak the nuts in water for 24 hours.
- Discard any nuts that float, as they are likely hollow or non-viable.
- Keep the ones that sink, as they’re likely to germinate.
Step 2: Crack the Shells Slightly
Use a nutcracker or pliers to gently crack the shells, but don’t damage the inner seed. This helps moisture penetrate and speeds up germination.
Step 3: Soak the Seeds
After cracking, soak the seeds again in lukewarm water for 24–48 hours to soften them and trigger germination.
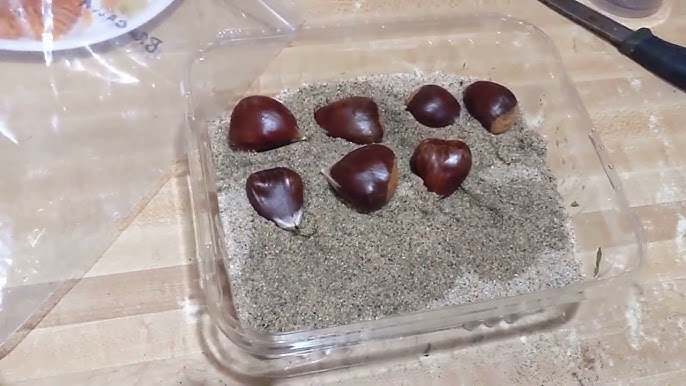
Step 4: Stratification (Cold Treatment)
Pistachios require cold stratification to mimic winter dormancy.
- Wrap the soaked seeds in a damp paper towel or sphagnum moss.
- Place them in a resealable plastic bag.
- Store the bag in the refrigerator (not freezer) for 6–8 weeks.
- Keep the towel moist (not wet) throughout this period.
You may begin to see small root tips emerging toward the end of stratification — a good sign your seeds are waking up.
4. Germinating the Pistachio Seeds
After the cold treatment, it’s time to plant!
Step 1: Prepare the Soil Mix
Use a well-draining mix such as:
- 40% garden loam or compost
- 30% sand or perlite
- 30% coco peat or peat moss
This mix prevents waterlogging, which pistachio roots dislike.
Step 2: Planting
- Fill small pots or seed trays with the mix.
- Plant each seed about 1 inch deep, with the root tip facing down.
- Water lightly to moisten the soil.
Step 3: Ideal Germination Conditions
- Maintain a temperature between 25–30°C (77–86°F).
- Keep the soil consistently moist but not soggy.
- Place the pots in a bright, warm spot with indirect sunlight.
Germination usually occurs within 2–4 weeks, though some seeds may take longer.
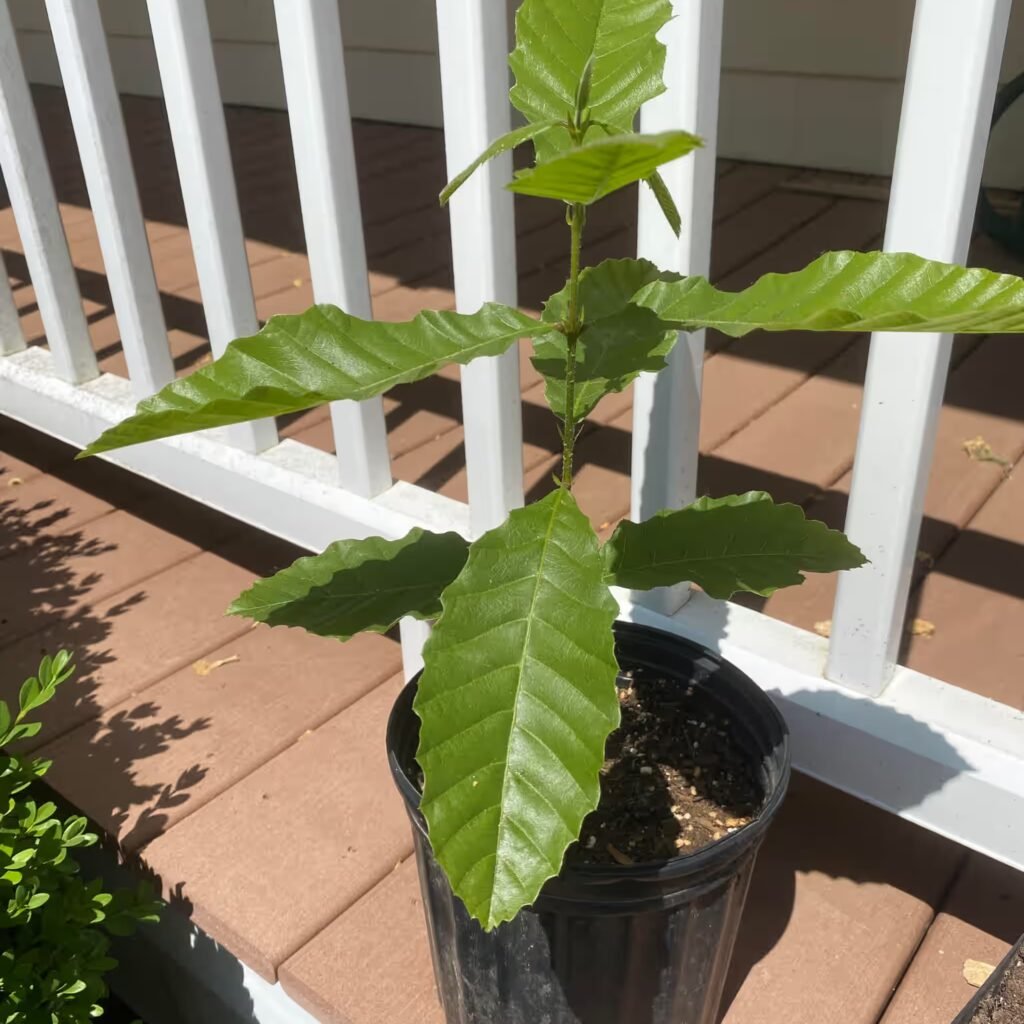
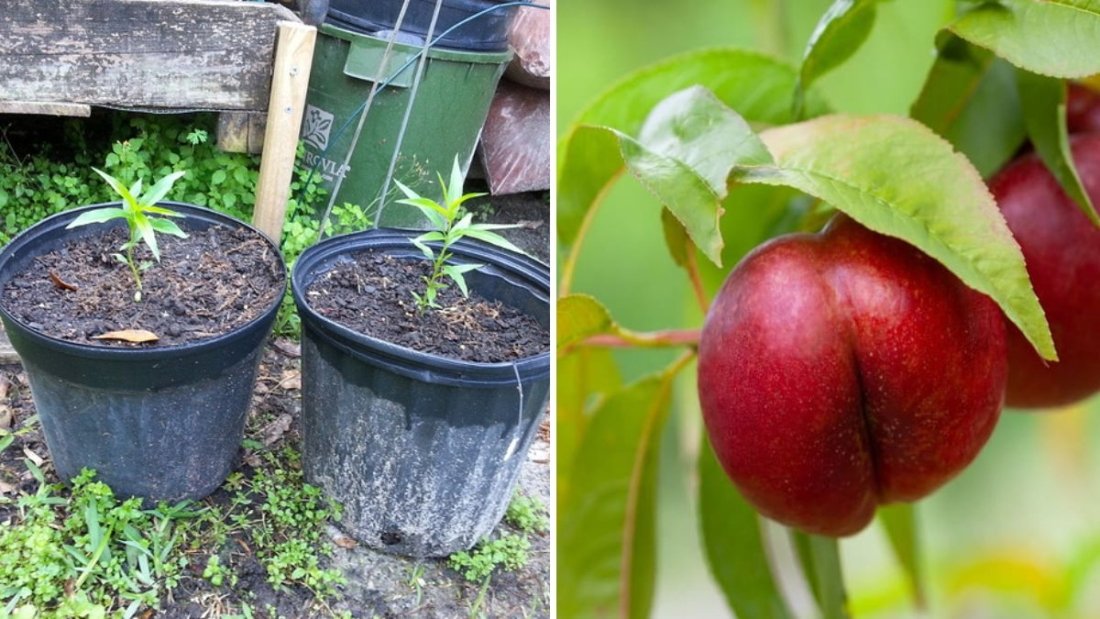
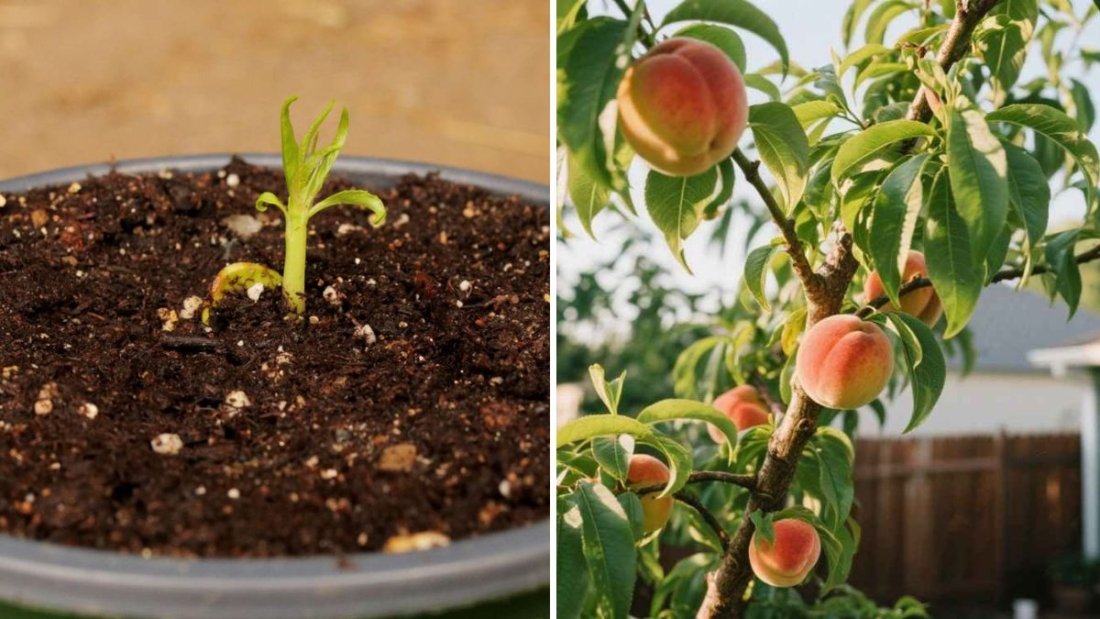
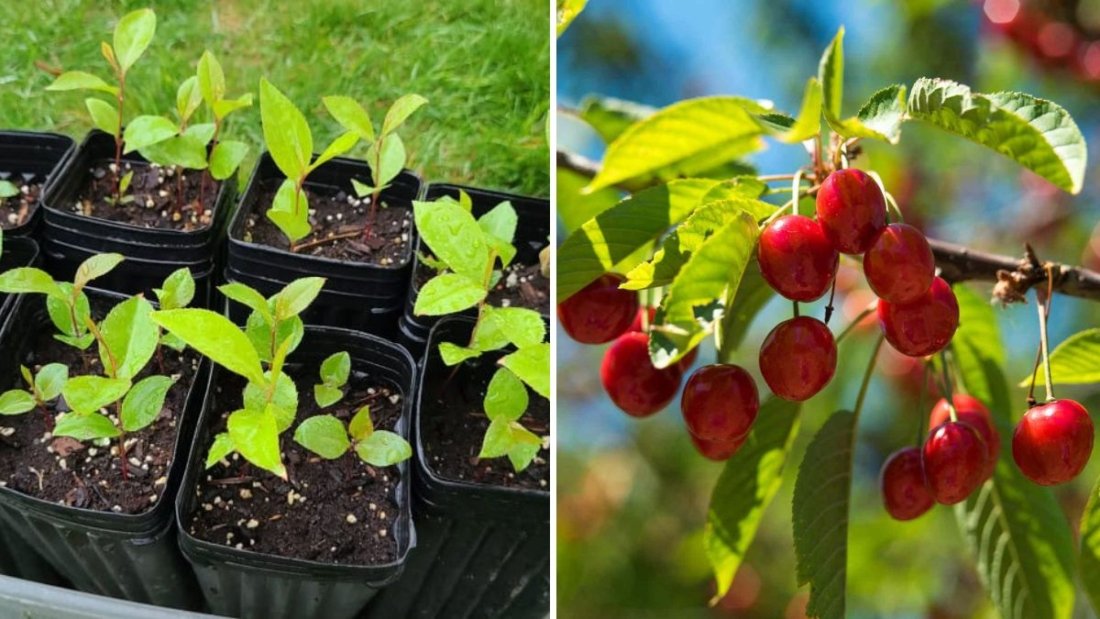
5. Caring for Pistachio Seedlings

Once your pistachio seeds sprout, they’ll develop into delicate seedlings that need gentle care.
Light
After germination, move the seedlings to a sunny location. Pistachios thrive in full sun — aim for 6–8 hours of direct sunlight daily.
Watering
Keep the soil slightly moist but never waterlogged. Overwatering can lead to root rot. Allow the top inch of soil to dry before watering again.
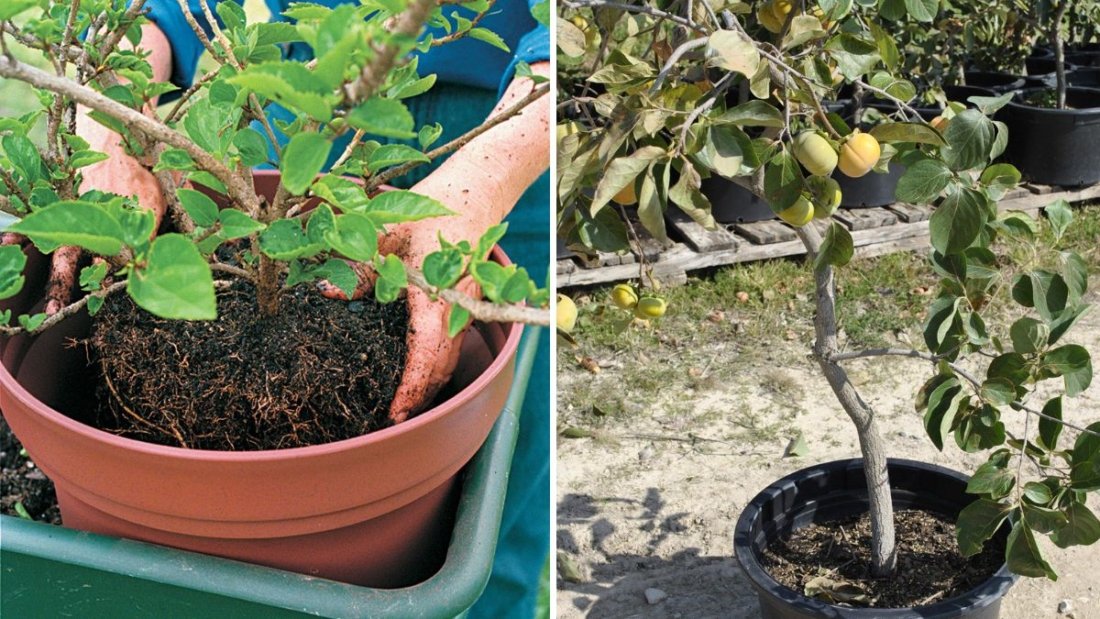
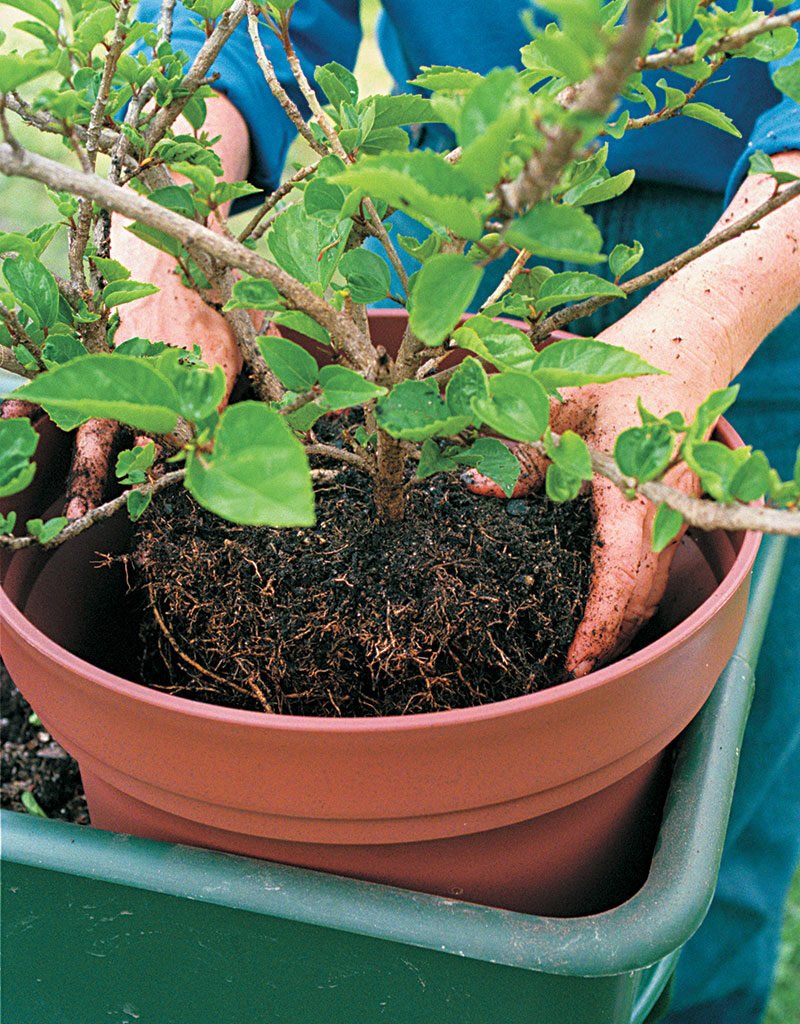
Transplanting
When seedlings reach about 6–8 inches tall, transplant them into larger pots (at least 10–12 inches deep). Use the same well-draining soil mix. Gradually expose them to outdoor conditions (sun, wind, and temperature) to harden them off before permanent planting.
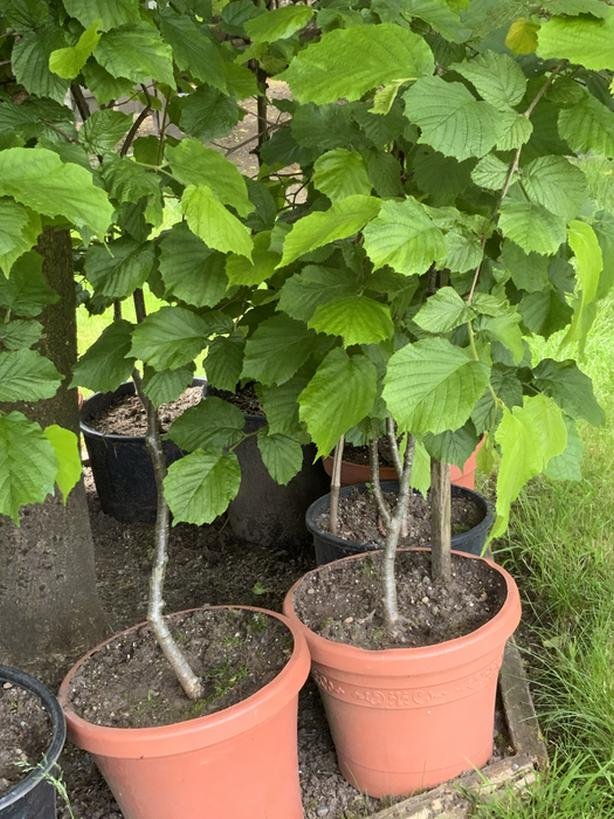
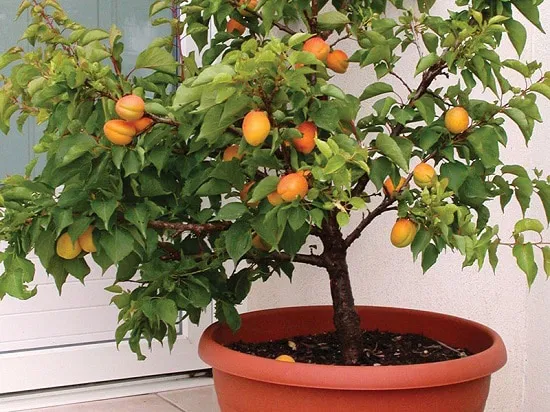
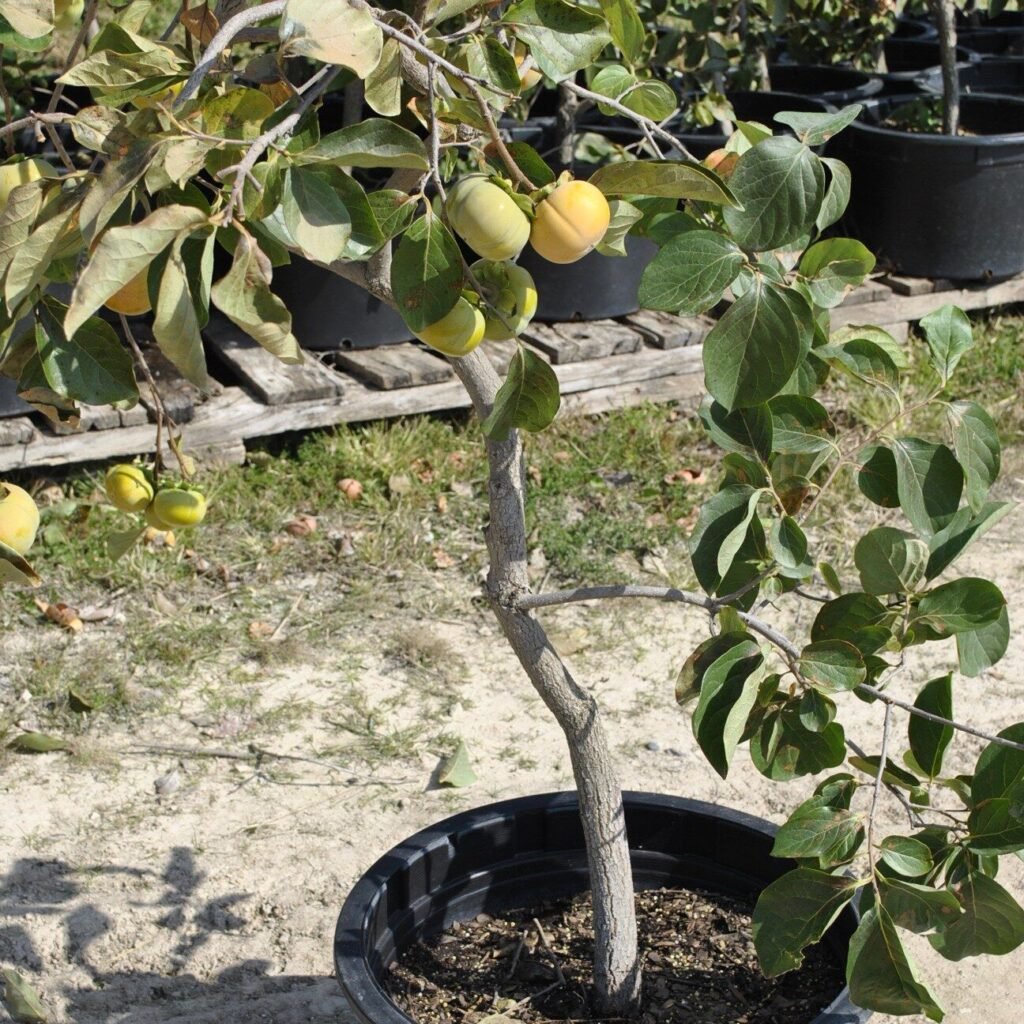
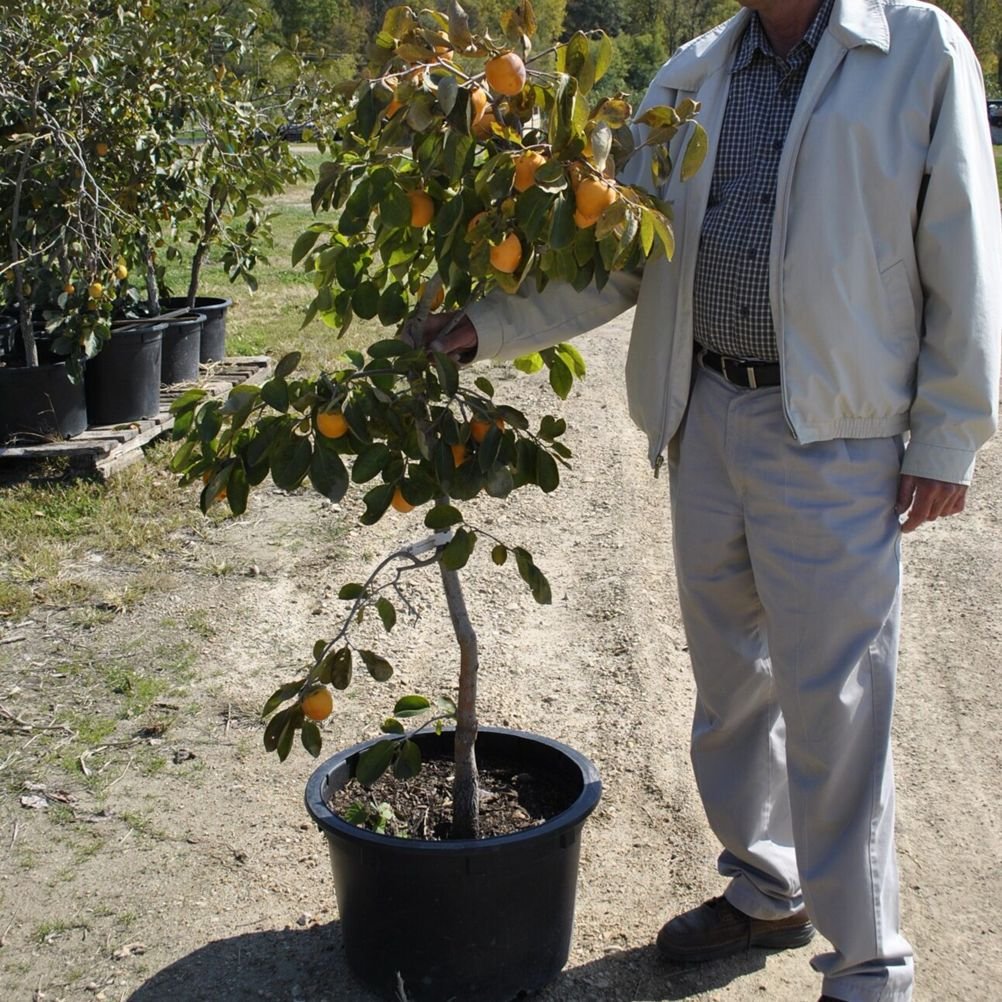
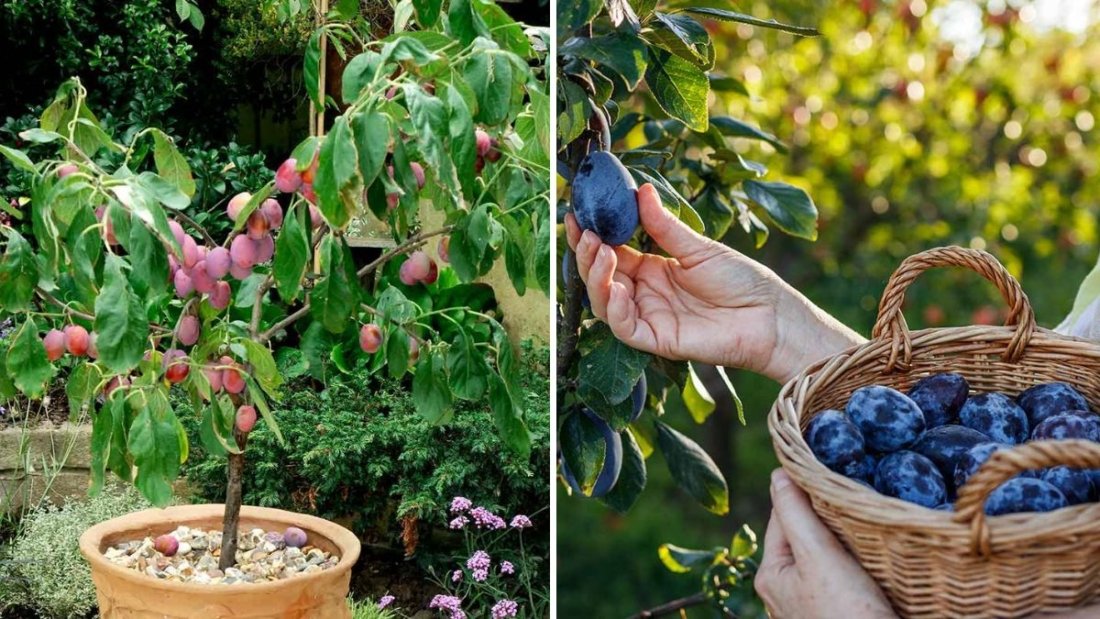
6. Growing Pistachio Trees in Pots
Pistachios can grow in containers if you have limited space or cold winters.
Pot Selection
Use a large pot (at least 18–24 inches deep) with good drainage holes. Clay or fabric pots are ideal as they promote air circulation around roots.
Soil
A sandy loam or cactus mix enriched with organic compost works best. Pistachios prefer slightly alkaline to neutral soil (pH 7.0–7.8).
Sunlight
Place the container where it receives full sunlight throughout the day. Insufficient light can stunt growth and reduce nut production later.
7. Fertilization and Maintenance
Fertilize young pistachio plants every 4–6 weeks during the growing season with a balanced, slow-release fertilizer (10-10-10 NPK). As they mature, switch to a fertilizer higher in potassium and phosphorus to promote flowering and fruiting.
Other tips:
- Mulch: Apply organic mulch around the base to retain moisture.
- Pruning: Remove weak or dead branches to shape the tree and improve airflow.
- Pests: Watch for aphids, spider mites, or scale insects; treat with neem oil spray if needed.
8. Patience: The Key to Pistachio Harvests
Growing pistachios from seed requires patience — it’s a long-term commitment. Seed-grown trees may take 7–10 years to produce nuts, while grafted nursery trees bear fruit in about 5–6 years.
Also, remember that only female trees produce nuts, and they require pollen from a nearby male tree for fertilization. Since you won’t know the sex of your seed-grown trees until they flower, it’s best to grow at least 5–6 seedlings to increase your chances of having both male and female trees.
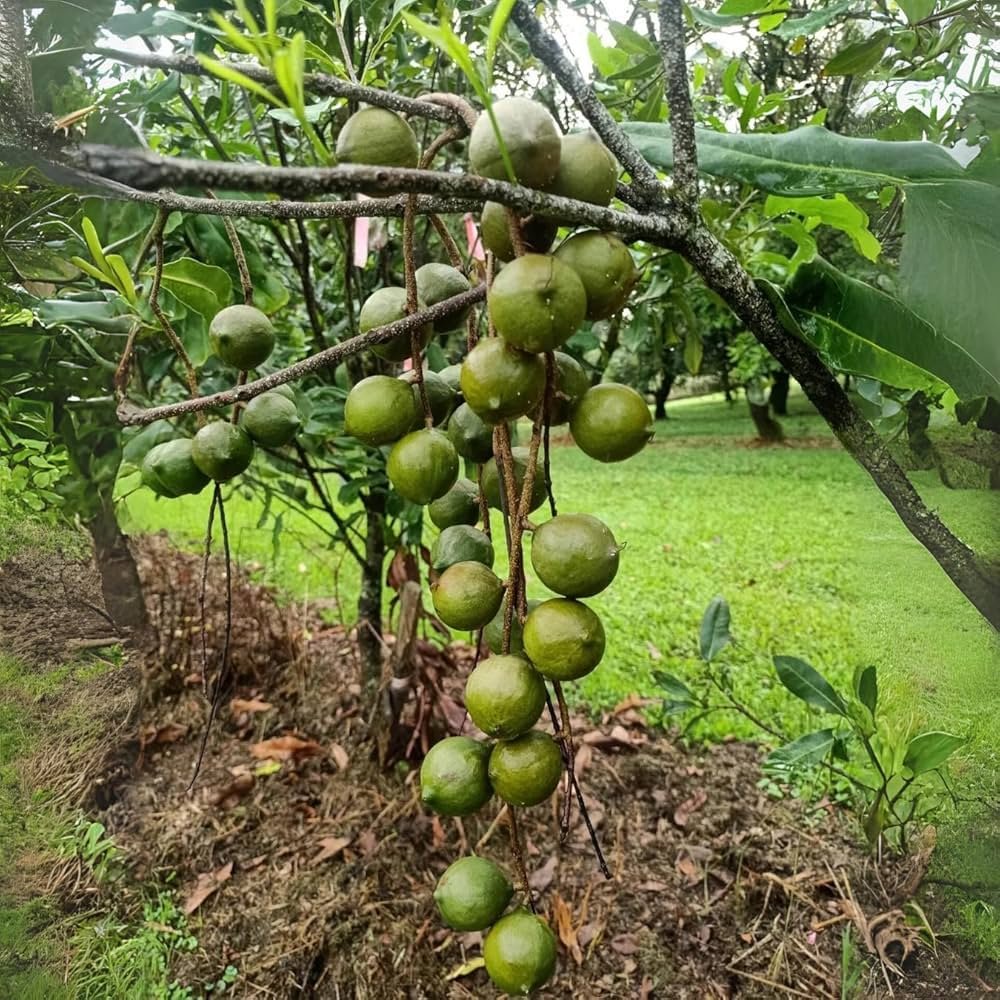
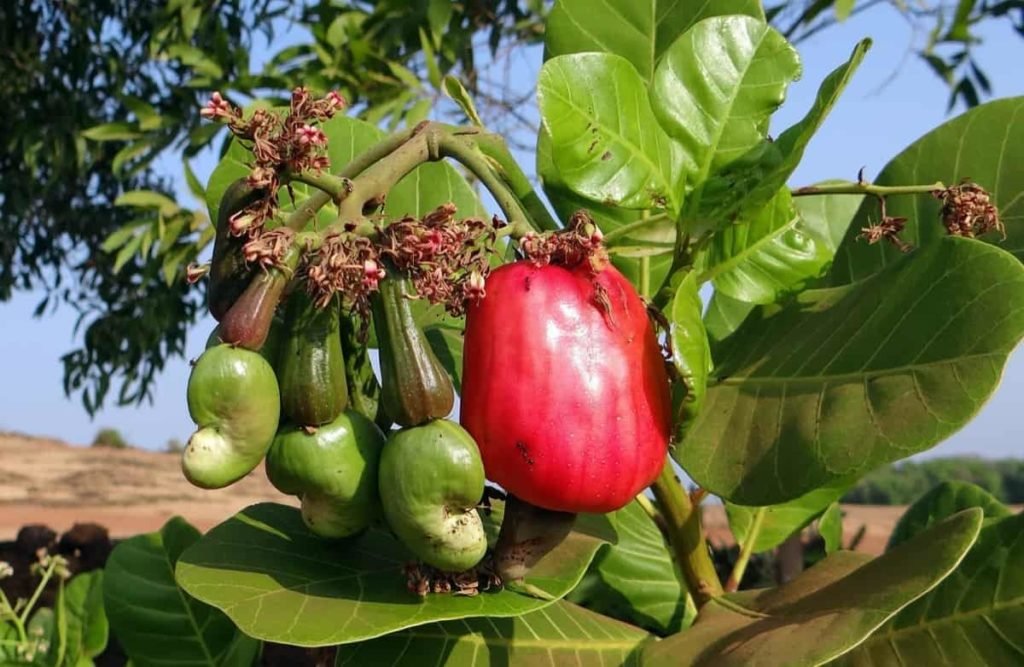
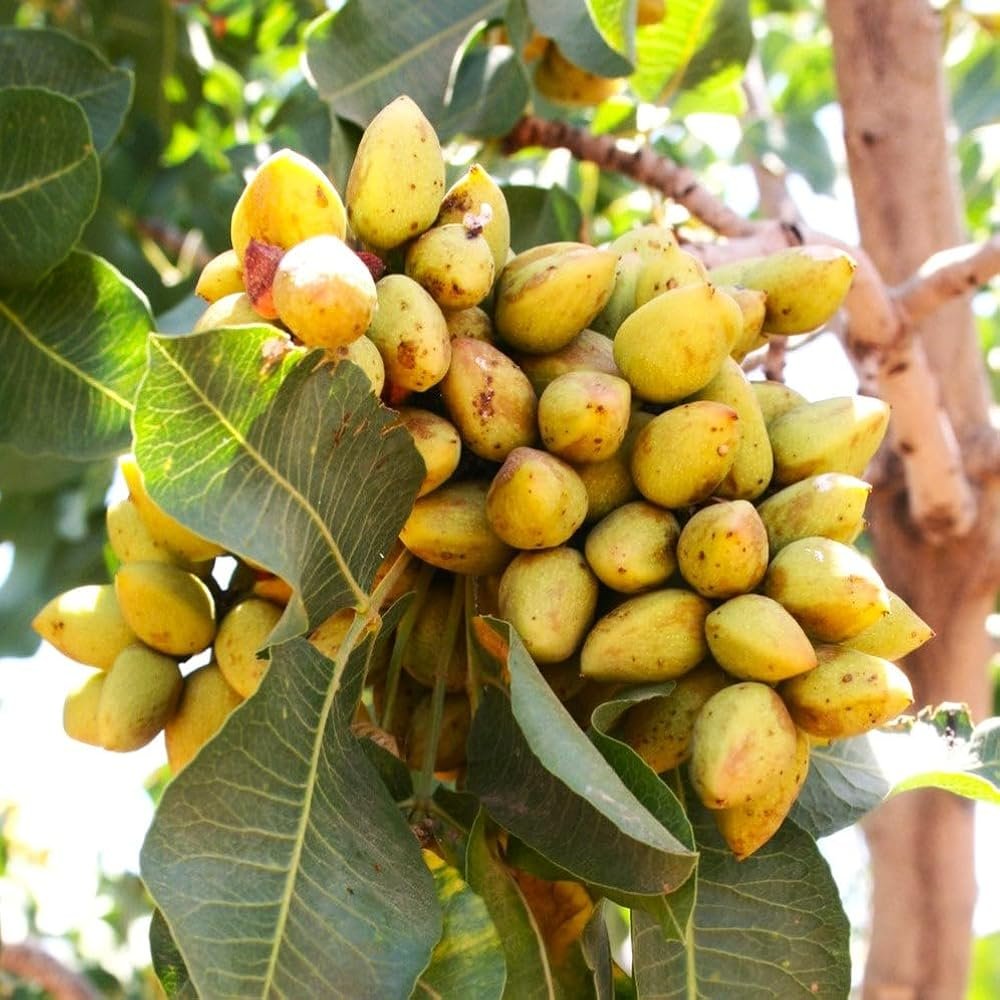
9. Flowering and Fruiting
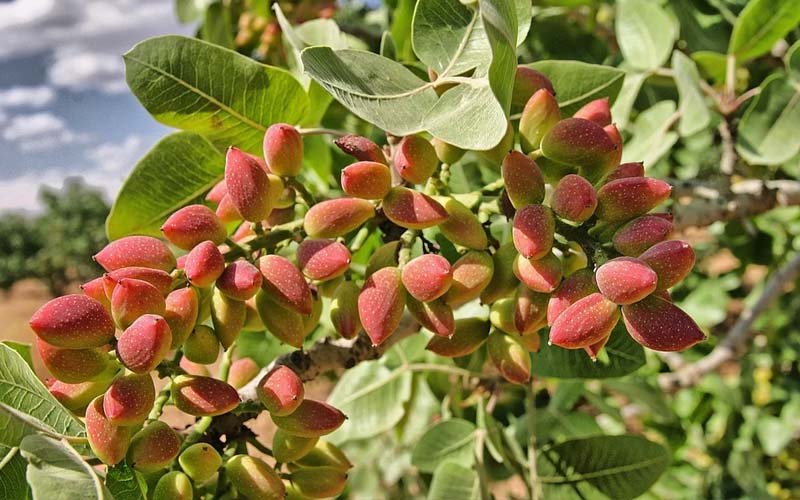
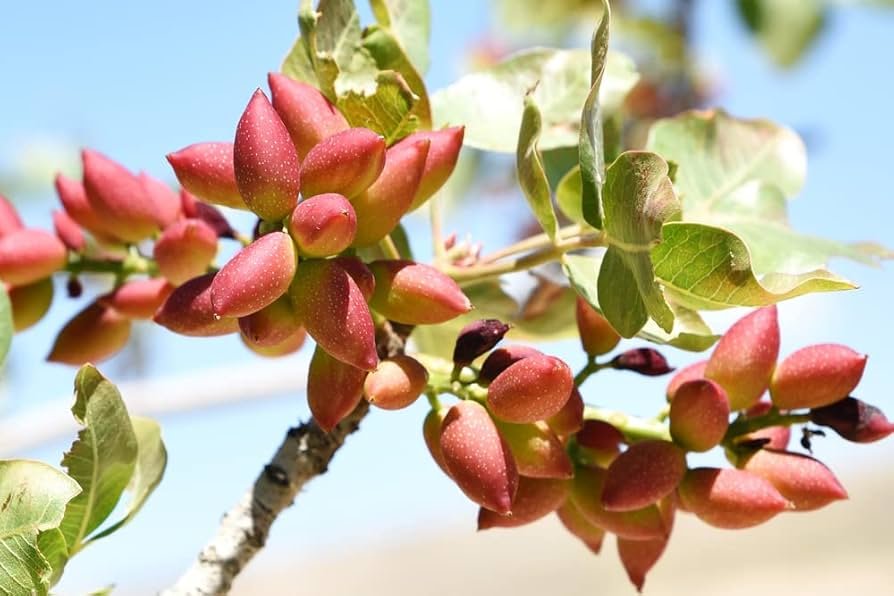
Pistachios flower in spring, producing clusters of tiny flowers. Male trees produce pollen-bearing flowers, while female trees produce nut-bearing ones after pollination.
Pollination occurs through wind, so spacing trees close enough (within 20–30 feet) ensures better nut set.
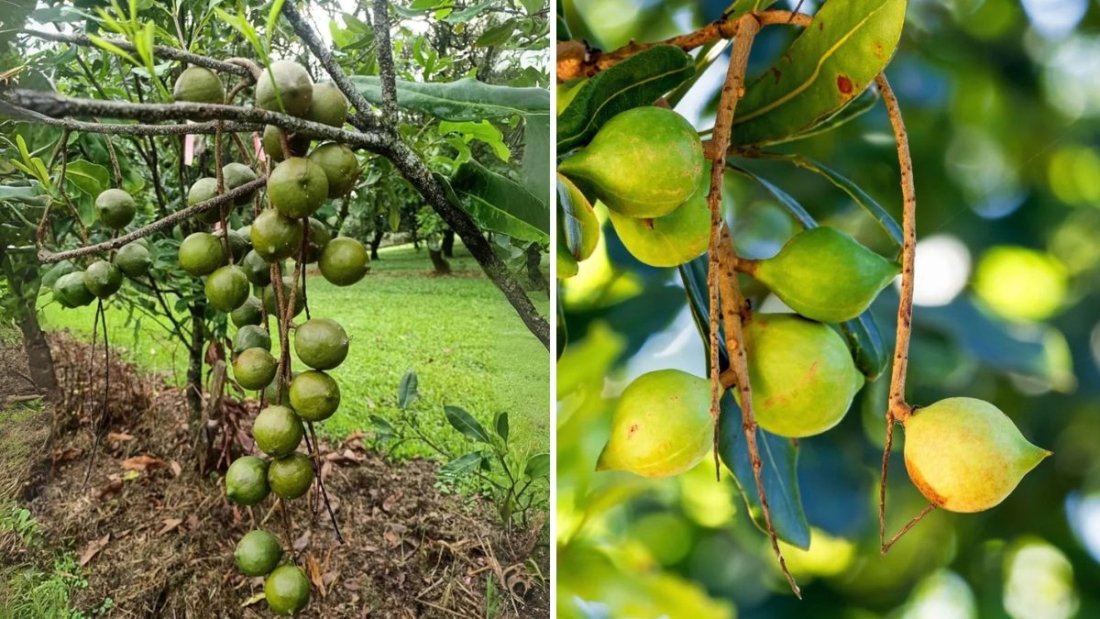
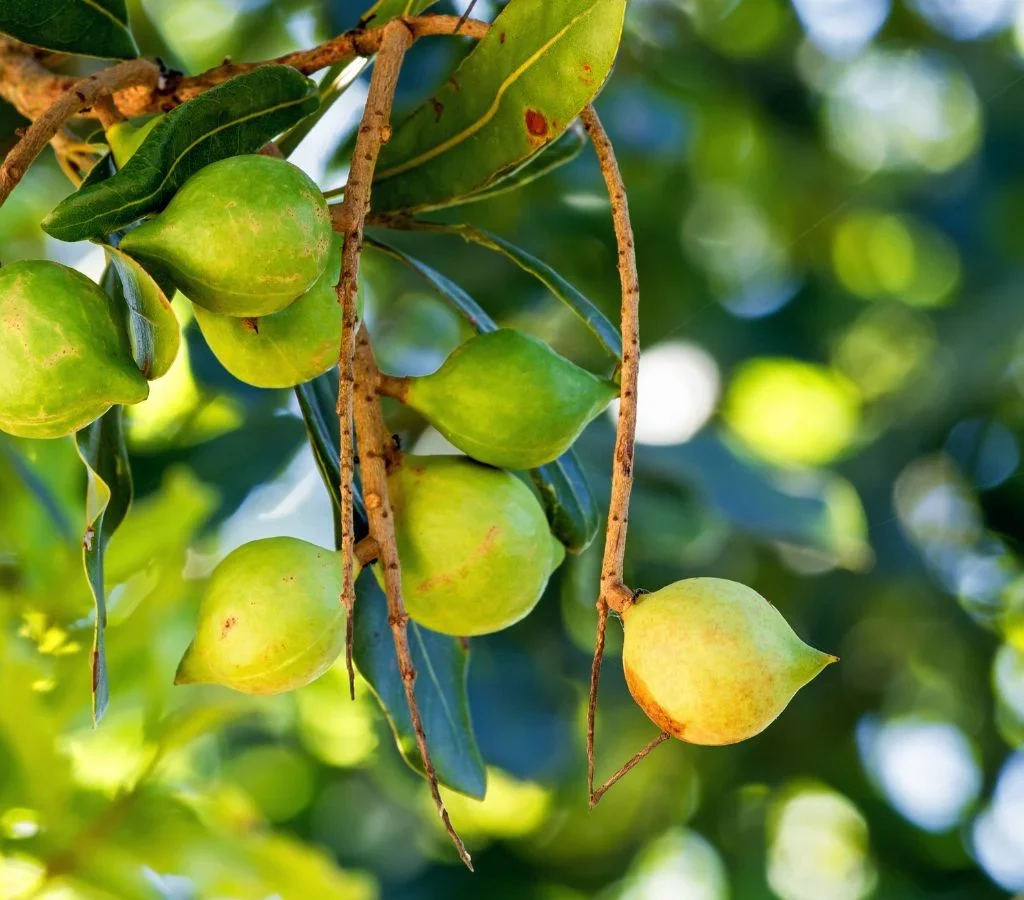
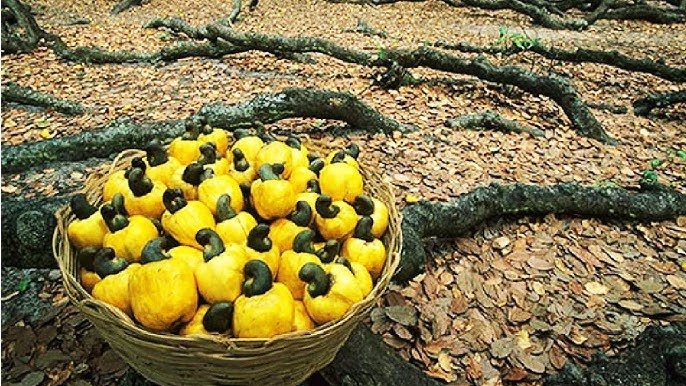
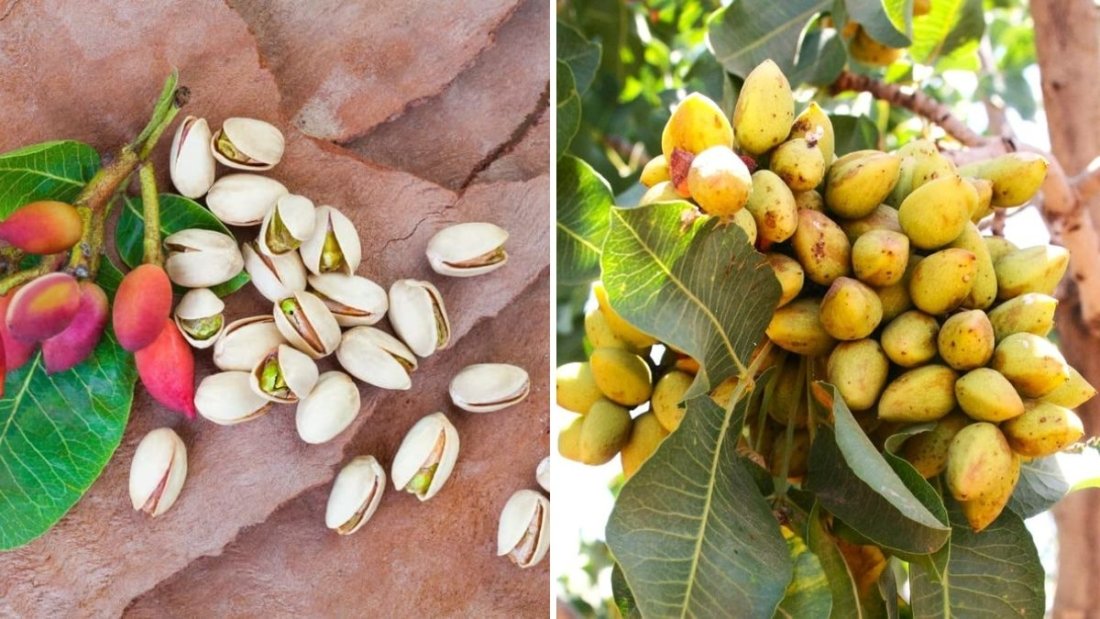
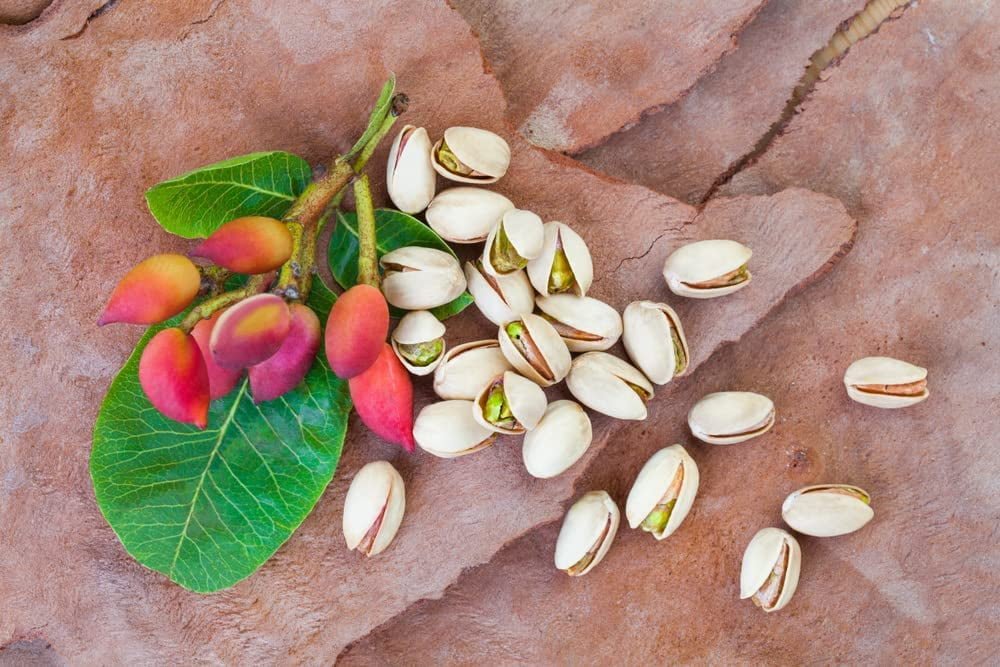
Once pollinated, the nuts take 6–8 months to mature. You’ll know they’re ready when:
- The hull (outer covering) turns pinkish or yellowish and starts splitting.
- The shell inside hardens.
Harvest time usually falls between September and October in warm regions.
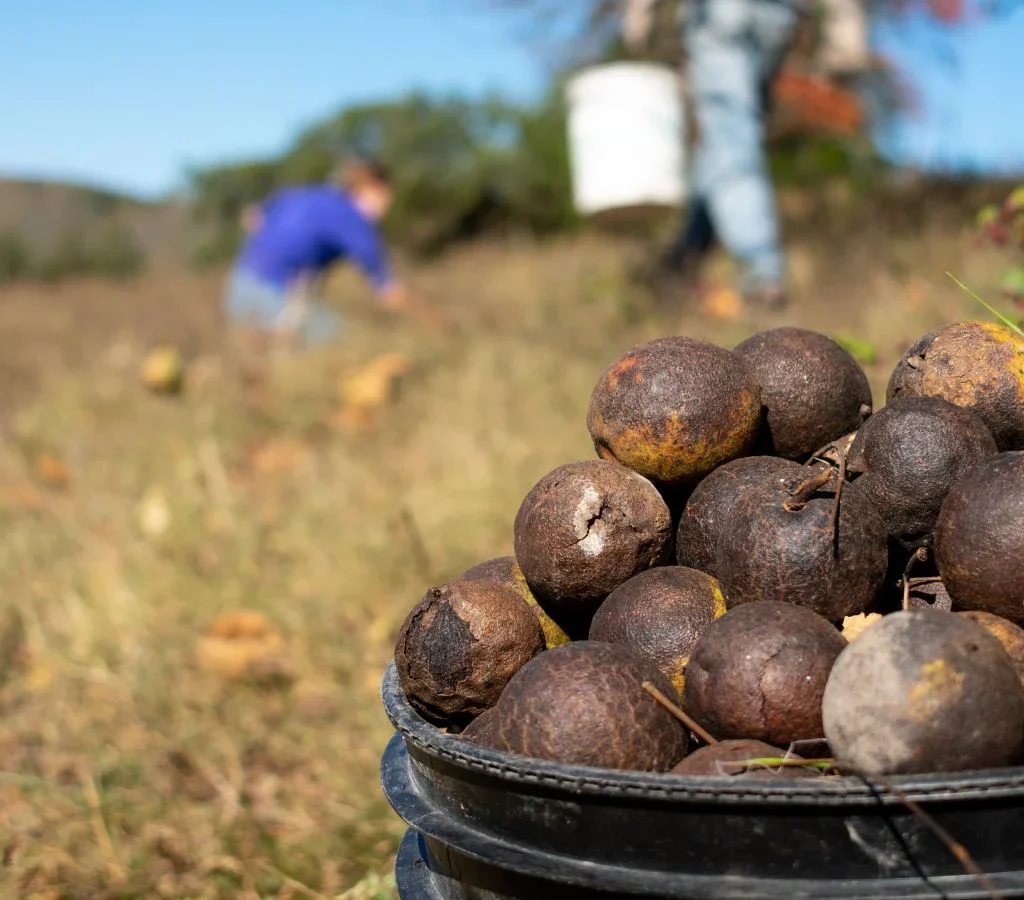
10. Harvesting and Drying Pistachios
- Shake the branches or pluck clusters by hand when the hulls split.
- Remove the outer hull immediately to prevent staining or mold.
- Spread the nuts in a single layer and air dry for 3–5 days in shade.
- Once dry, store in airtight containers or lightly roast them for flavor.
Properly dried pistachios can last months when stored in cool, dry conditions.
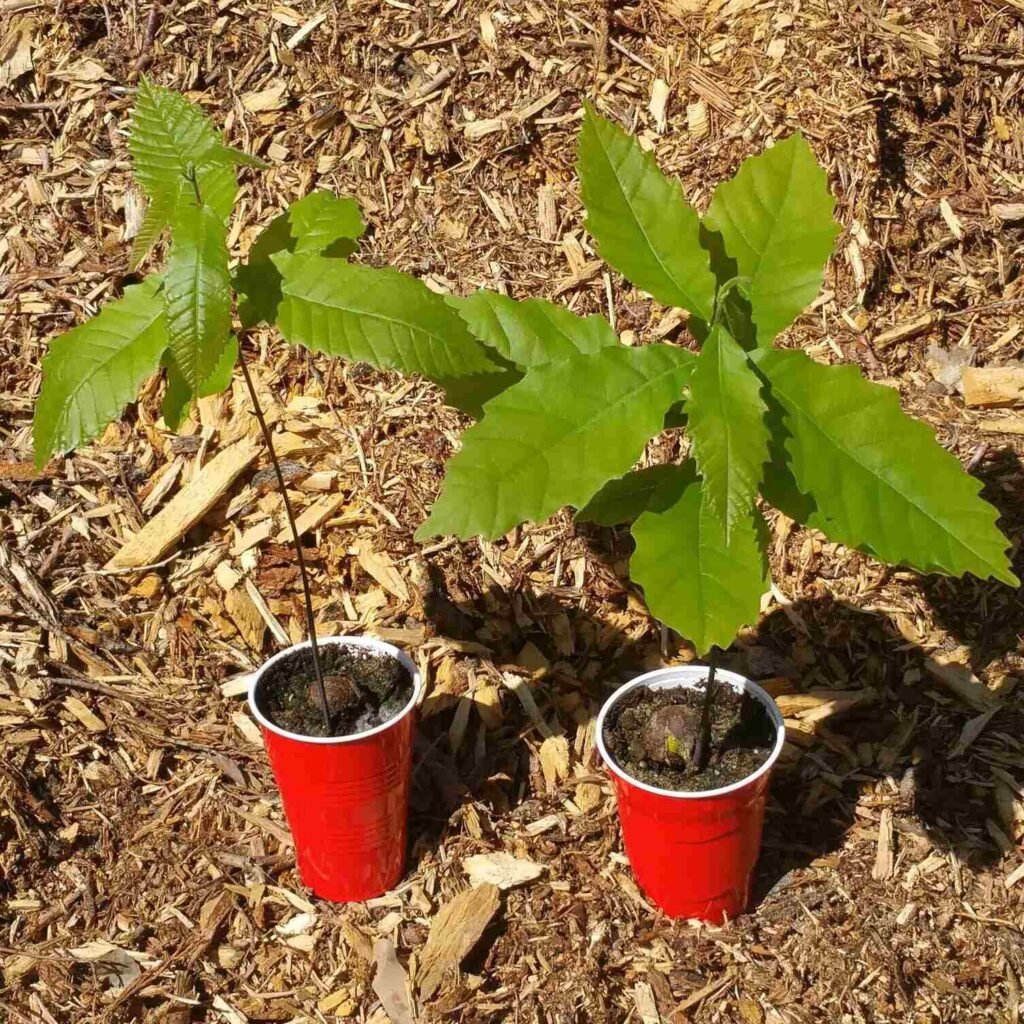
11. Germination Results and Observations
If you follow the above method, you can expect around 50–70% germination success with viable, raw pistachio seeds. Key observations include:
- Root tips appear after 4–6 weeks of stratification.
- Sprouts emerge within 2–3 weeks after planting.
- Growth is initially slow but picks up once the seedlings are 3–4 months old.
Though it may take years for your tree to fruit, the satisfaction of watching it grow from a humble grocery nut into a thriving tree is priceless.
12. Final Thoughts
Growing pistachio trees from grocery store nuts may sound like an ambitious experiment, but with the right preparation and patience, it’s absolutely achievable. From selecting viable raw pistachios to germinating, transplanting, and nurturing young trees, each stage is a rewarding lesson in plant science and care.
Whether your goal is to produce your own nuts someday or simply enjoy the challenge of nurturing an exotic tree, the process offers an exciting, hands-on experience.
So next time you grab a handful of pistachios, save a few raw ones — they just might grow into something extraordinary!