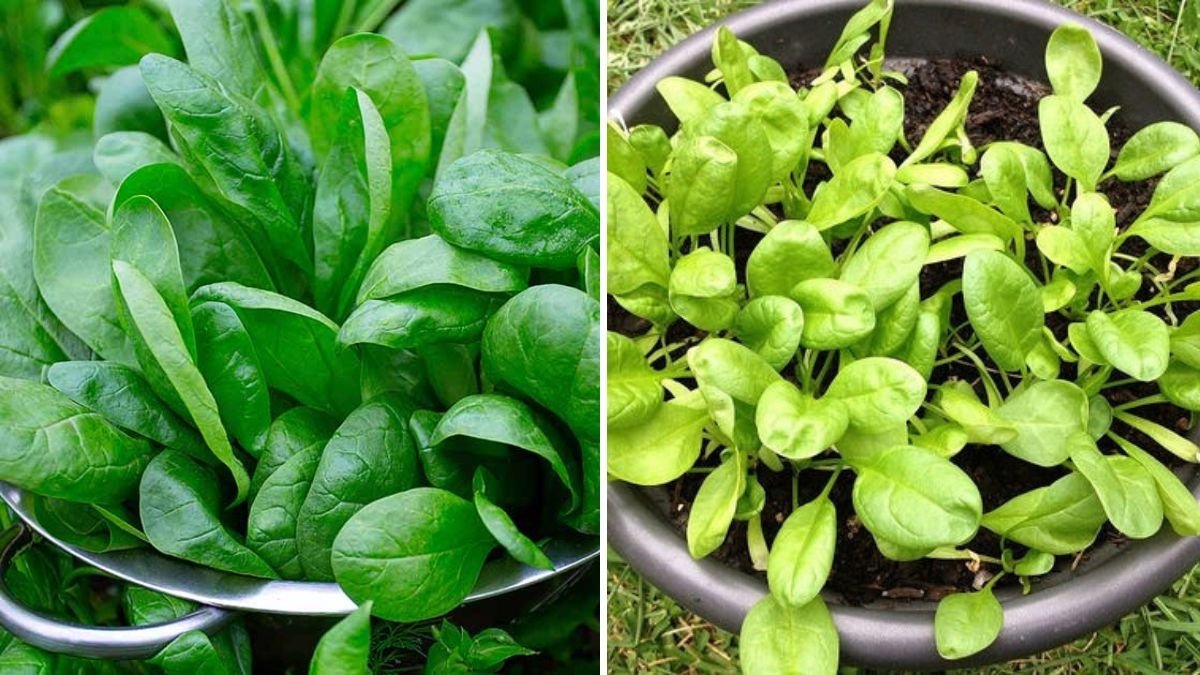
Growing spinach at home is one of the most rewarding gardening experiences, especially if you love having fresh, nutrient-rich greens available year-round. Spinach is a fast-growing leafy vegetable that can thrive in containers, raised beds, or even small backyard patches. Whether you’re a beginner gardener or an experienced grower, understanding the right methods—from seed selection to harvesting—can make all the difference in achieving lush, flavorful spinach leaves.
In this detailed guide inspired by the video “How To Grow Spinach At Home – Full Information With Updates,” you’ll learn everything you need to know about successfully growing spinach at home, including soil preparation, watering, sunlight needs, pest control, and tips for continuous harvests.
Why Grow Spinach at Home?
Spinach (Spinacia oleracea) is a cool-season leafy vegetable rich in vitamins A, C, K, and folate, as well as minerals like iron, calcium, and magnesium. It’s known for its versatility—you can use it in salads, soups, smoothies, and curries.
When you grow spinach at home, you gain several advantages:
- Freshness: Homegrown spinach is tender, flavorful, and pesticide-free.
- Cost-effective: A single packet of seeds can yield several harvests.
- Nutrient-rich diet: Fresh leaves retain more vitamins and minerals than store-bought options.
- Sustainability: Growing your own food reduces waste and supports an eco-friendly lifestyle.
Step 1: Choosing the Right Spinach Variety
There are several spinach varieties suited for different climates and preferences. Here are some popular options you can try:
- Bloomsdale Long Standing: A classic variety with dark green, crinkled leaves; great for cooler weather.
- Baby Leaf Spinach: Perfect for salads; grows quickly and can be harvested early.
- New Zealand Spinach: A heat-tolerant option that thrives in warmer climates.
- Malabar Spinach: A vining spinach suitable for tropical and humid regions.
For home gardeners in warm regions, New Zealand or Malabar spinach is ideal because they can withstand higher temperatures without bolting (premature flowering). In cooler areas, classic spinach types like Bloomsdale or Giant Winter are better choices.

Step 2: Preparing the Soil
Spinach thrives in loose, well-drained, fertile soil that’s rich in organic matter. A slightly acidic to neutral pH (6.0–7.0) works best.
Here’s how to prepare your growing medium:
- Loosen the soil using a garden fork or trowel to ensure proper aeration.
- Mix in organic compost or well-rotted manure to enrich the soil with nutrients.
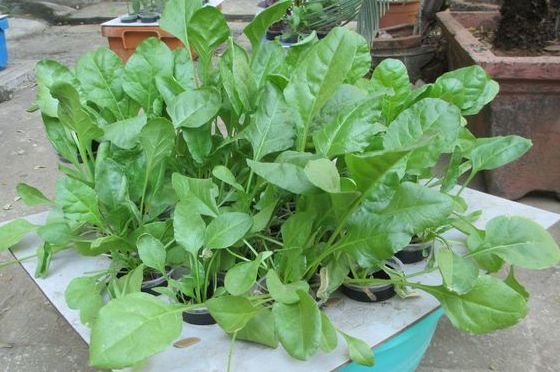
- If you’re growing spinach in containers, use a mixture of:
- 50% garden soil
- 30% compost or cow dung manure
- 20% cocopeat or sand for drainage
Avoid heavy clay soil, as it retains too much water, which can cause root rot.
Step 3: Selecting the Ideal Spot
Spinach prefers partial to full sunlight, depending on your region. In cooler climates, give your spinach 5–6 hours of direct sun. In hotter areas, partial shade helps protect the tender leaves from excessive heat.
A balcony, terrace, or kitchen garden that receives morning sun and afternoon shade is perfect. For indoor growers, place the pots near a sunny window or use LED grow lights to provide sufficient light.
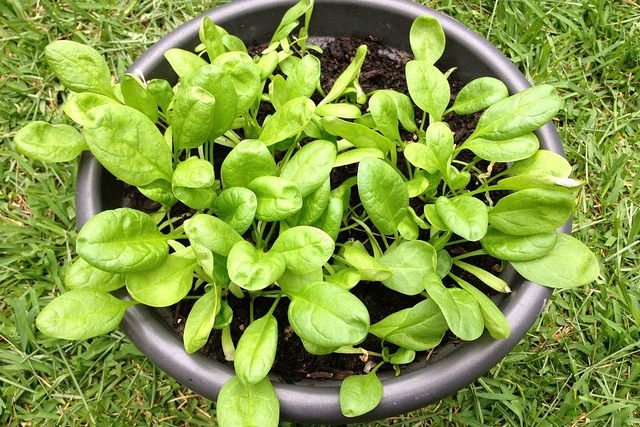
Step 4: Sowing Spinach Seeds
You can start spinach from seeds easily.

Steps for sowing:
- Soak the seeds in water for 10–12 hours before planting to improve germination.
- Sow seeds about ½ inch deep and 2 inches apart in rows.
- Lightly cover with soil and gently water using a spray bottle or watering can.
- Keep the soil moist until seeds germinate, which usually takes 7–10 days.
Once the seedlings appear, thin them out to ensure enough space for growth—each plant should have around 3–4 inches between them.
Step 5: Watering and Fertilizing
Spinach loves moisture but hates soggy conditions. Keep the soil consistently damp, especially during dry periods. Water early in the morning or late evening to minimize evaporation.
Watering tips:
- Avoid overhead watering to prevent fungal diseases.
- Ensure good drainage in pots and garden beds.
- Mulch around the plants to retain soil moisture.
Fertilization:
Spinach is a heavy feeder. Use a nitrogen-rich fertilizer to promote lush green growth. You can apply:
- Liquid seaweed extract or compost tea every 10–15 days, or
- A balanced organic fertilizer (NPK 10:10:10) monthly.
Avoid over-fertilizing—too much nitrogen can lead to excessive leaf growth but poor flavor.

Step 6: Managing Pests and Diseases
Spinach is relatively low-maintenance, but a few pests and diseases can affect it.
Common pests:
- Aphids
- Leaf miners
- Cutworms
- Slugs and snails
Control tips:
- Spray neem oil solution (5 ml per liter of water) every 7–10 days as a natural pesticide.
- Keep the area weed-free to discourage pest habitats.
- Handpick visible pests early in the morning.
- Avoid overwatering to prevent fungal infections like downy mildew.
If you notice yellow or wilted leaves, remove them promptly to prevent the spread of disease.
Step 7: Growth Updates and Maintenance
Spinach grows quickly, often ready for harvest within 30–45 days after sowing. During this period:
- Regularly check soil moisture and water as needed.
- Pinch off flower buds as soon as they appear to delay bolting.
- Add light compost around the plants every two weeks to encourage new leaf growth.
If you want a continuous supply of spinach, sow new seeds every 2–3 weeks. This staggered planting ensures you’ll always have fresh greens available.

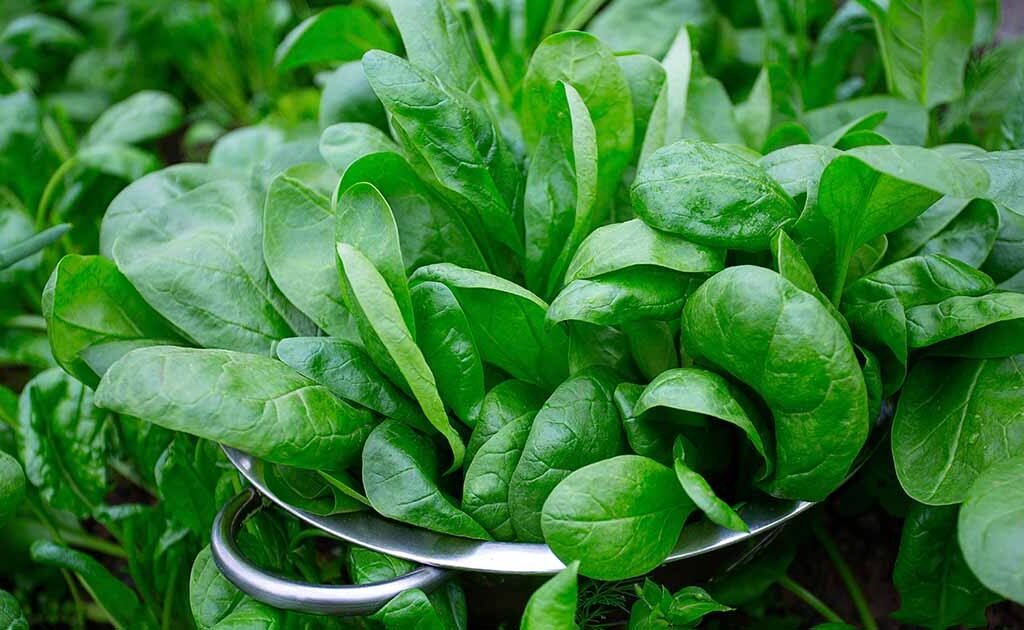
Step 8: Harvesting Spinach
You can start harvesting baby spinach leaves when they’re about 3–4 inches long. For mature leaves, wait until they reach 6–8 inches.
How to harvest:
- Use scissors or garden shears to cut the outer leaves, allowing the inner leaves to continue growing.
- Avoid pulling out the whole plant if you want multiple harvests.
- Harvest early in the morning when the leaves are crisp and full of moisture.
Frequent harvesting encourages new growth, giving you fresh leaves for several weeks.
Step 9: Post-Harvest Care and Regrowth
After harvesting, keep watering and lightly feeding the plant. Spinach will regrow if the central crown remains intact. However, once it bolts or the weather becomes too warm, the leaves may turn bitter.
You can collect seeds from the bolted plants by allowing them to dry on the stem. Store the seeds in a cool, dry place for your next planting season.
Bonus Tips for Spinach Success
- Avoid overcrowding: Proper spacing improves air circulation and reduces disease risk.
- Companion planting: Grow spinach alongside carrots, radishes, or onions—they make great neighbors.
- Use mulch: Helps regulate soil temperature and retains moisture.
- Rotate crops: Don’t plant spinach in the same spot season after season to prevent soil-borne diseases.
- Winter growing tip: In cold climates, cover spinach beds with a frost cloth to extend the growing season.
Health Benefits of Homegrown Spinach
Fresh spinach isn’t just delicious—it’s a nutritional powerhouse. Regular consumption supports:

- Healthy eyesight: Rich in lutein and beta-carotene.
- Bone strength: High in vitamin K and calcium.
- Heart health: Packed with antioxidants that reduce inflammation.
- Improved immunity: Contains vitamins A and C to fight infections.
Eating spinach fresh from your garden ensures you get maximum nutritional value without chemical residues.
Final Thoughts
Growing spinach at home is simple, fast, and highly rewarding. With proper soil preparation, watering, and care, you can enjoy multiple harvests throughout the year. Whether you’re growing in a small pot on your balcony or in a backyard garden, spinach adapts well to most environments.
Remember, success lies in consistency—regular watering, pest management, and timely harvesting will give you lush, flavorful leaves. So, grab a handful of seeds, prepare your soil, and start growing your own spinach today. You’ll not only save money but also enjoy the unbeatable taste and nutrition of homegrown greens!
Leave A Comment