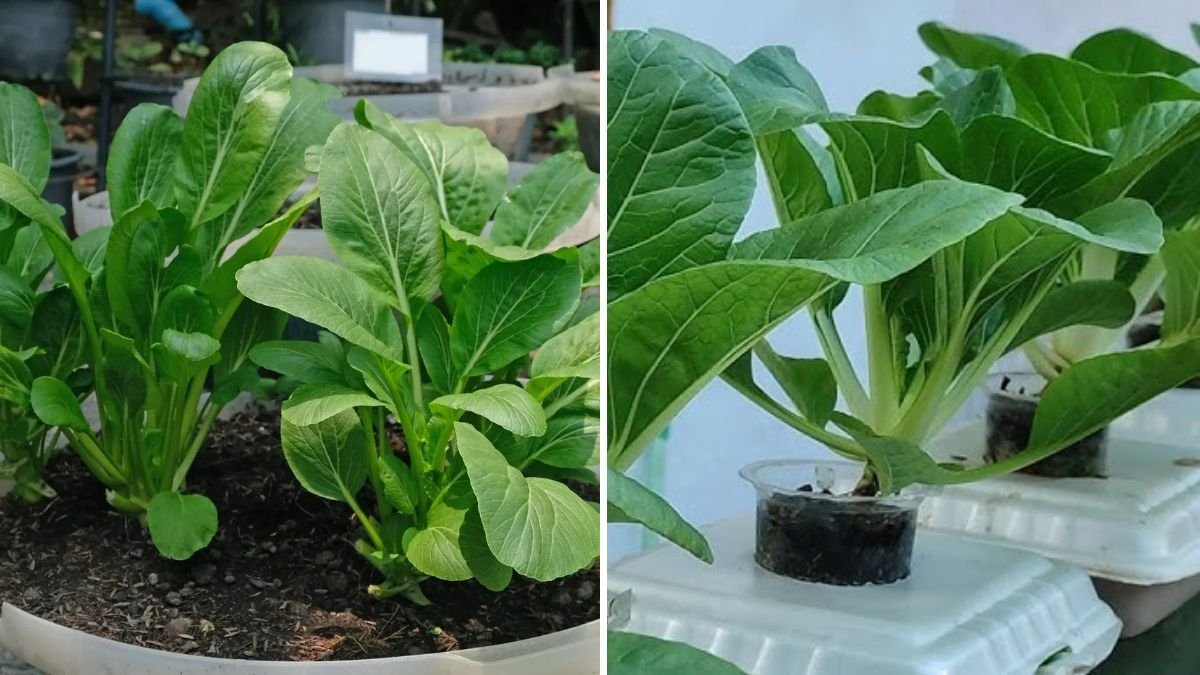
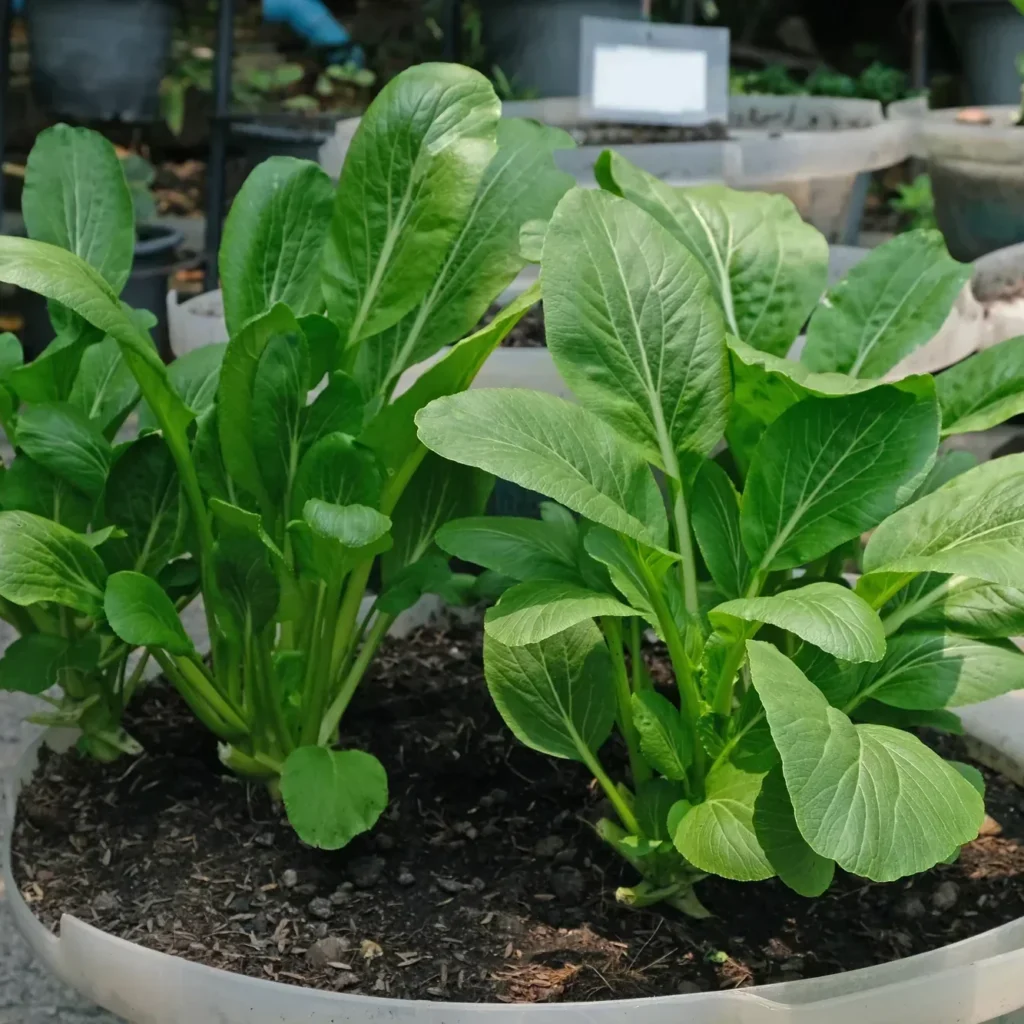
Mustard greens are among the easiest and most rewarding leafy vegetables you can grow at home. Known for their peppery flavor, quick growth, and impressive nutritional value, these greens thrive in both garden beds and containers. Whether you’re an experienced gardener or a beginner just starting out, growing mustard greens from seed offers a fast and satisfying harvest. In this guide, we’ll take you through every step — from selecting seeds and preparing soil to planting, caring, and harvesting your mustard greens for an endless supply of fresh leaves.
Why Grow Mustard Greens?
Mustard greens (Brassica juncea) are a powerhouse of nutrition, packed with vitamins A, C, and K, along with calcium and antioxidants. These leafy greens are also incredibly versatile — you can enjoy them in salads, stir-fries, soups, or as steamed greens.
One of the best things about mustard greens is how easy they are to grow. They germinate quickly, tolerate mild frost, and can be harvested multiple times throughout their growing season. With proper care, a single planting can provide you with weeks of delicious, tender greens.
Step 1: Choosing the Right Variety
Mustard greens come in many shapes, sizes, and flavors — from mild and tender to bold and spicy. Some popular varieties include:
- Green Wave: A fast-growing, curly-leaved variety known for its strong flavor and heat tolerance.
- Southern Giant Curled: Classic variety with large, frilly leaves and a bold taste.
- Red Giant: Adds color and a milder, slightly sweet flavor to your dishes.
- Florida Broadleaf: Smooth leaves, mild flavor, and great for cooler weather.
Choose a variety that suits your taste and growing conditions. If you’re new to mustard greens, start with Green Wave or Southern Giant Curled for reliable performance.

Step 2: Preparing the Soil
Mustard greens grow best in well-draining, fertile soil that’s rich in organic matter. The ideal soil pH is between 6.0 and 7.5.
Before planting:
- Loosen the soil to a depth of about 10–12 inches.
- Incorporate compost or well-rotted manure to boost fertility.
- Avoid compacted or waterlogged soil — mustard greens prefer consistent moisture but not standing water.
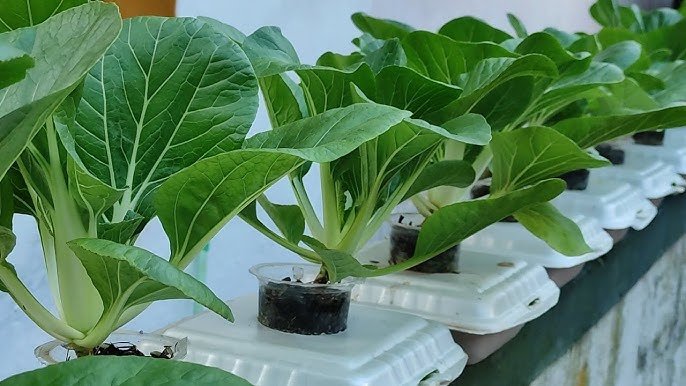
If you’re growing in containers, choose a pot at least 12 inches deep and fill it with a high-quality vegetable potting mix enriched with compost.
Step 3: Planting Mustard Greens from Seed
Mustard greens grow best in cool weather, making them perfect for spring or fall planting.
- Timing:
- Spring: Sow seeds 3–4 weeks before the last expected frost date.
- Fall: Sow seeds 6–8 weeks before the first expected frost.
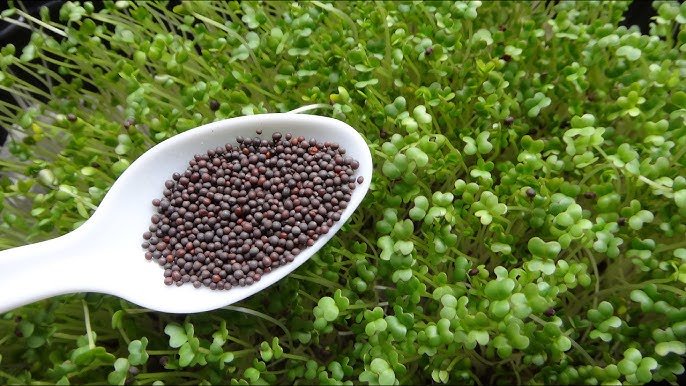
- Planting depth: Sow seeds ¼ to ½ inch deep.
- Spacing:
- For baby greens: Space seeds about 2 inches apart.
- For mature leaves: Space plants 6–8 inches apart.
Cover seeds lightly with soil and water gently. Seeds usually germinate within 4–7 days when the temperature is between 50°F and 75°F (10°C–24°C).

Step 4: Watering and Light Requirements
Mustard greens thrive with consistent moisture. Keep the soil evenly moist but not soggy. Uneven watering can lead to bitter-tasting leaves or early bolting (flowering).
- Water deeply once or twice a week, depending on weather conditions.
- Mulch around the plants with straw or leaves to help retain soil moisture and control weeds.
- Mustard greens love full sun, but they’ll also tolerate partial shade — especially helpful in warmer climates to prevent bolting.
Step 5: Fertilizing for Healthy Growth
Mustard greens are moderate feeders. Adding compost at planting time usually provides enough nutrients for good growth, but you can boost their performance with a balanced fertilizer.
- Apply a nitrogen-rich organic fertilizer (like fish emulsion or compost tea) every 3–4 weeks to encourage lush, leafy growth.
- Avoid over-fertilizing, as this can cause excessive leaf growth and reduce flavor intensity.
Step 6: Managing Pests and Diseases
Like other leafy greens, mustard plants can attract a few common pests. Keep an eye out for:
- Aphids: These tiny insects can cluster on leaves; rinse them off with a strong water spray or use neem oil.
- Flea beetles: Small black beetles that create tiny holes in leaves. Floating row covers can protect young plants.
- Cabbage worms: Green caterpillars that chew through leaves. Handpick them or use organic insecticidal soap.
Practicing crop rotation and avoiding overhead watering helps prevent diseases like downy mildew and leaf spot.
Step 7: Thinning and Maintenance
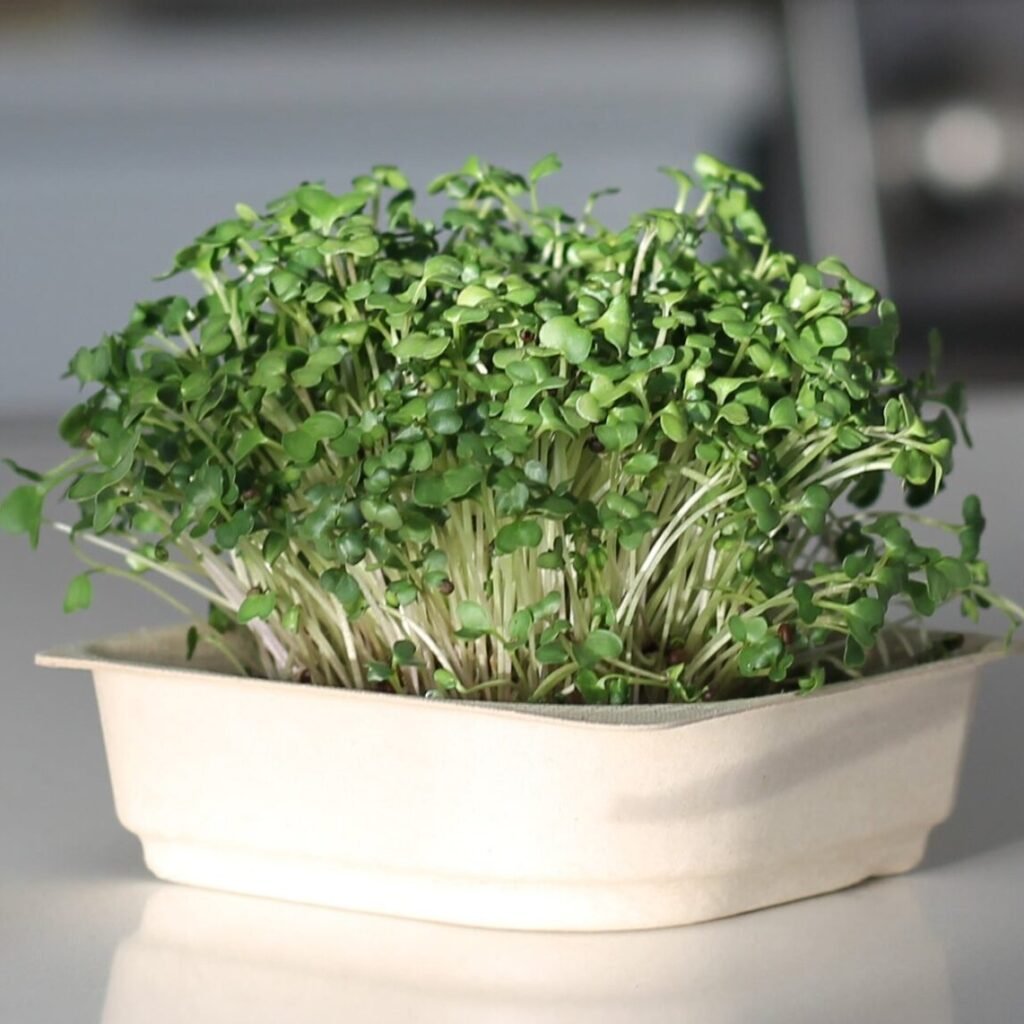
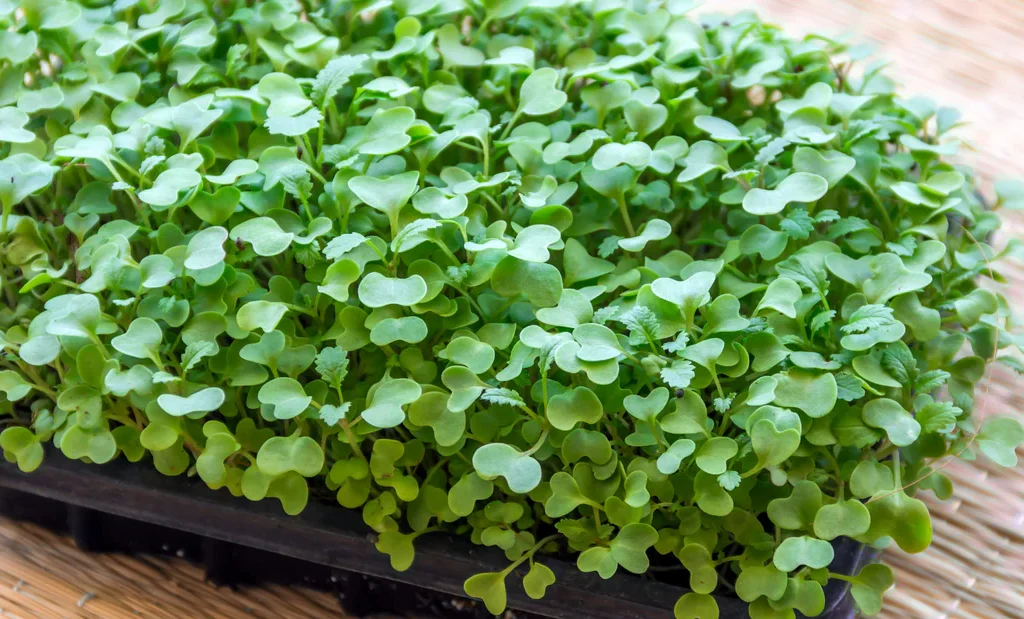
Once seedlings reach about 3 inches tall, thin them to allow proper air circulation and room for growth. The thinned seedlings can be used as microgreens — tender and packed with flavor.

Keep your garden bed weed-free, as weeds compete for nutrients and moisture. Lightly cultivate the soil around the plants to avoid damaging the shallow roots.
Step 8: Harvesting Mustard Greens
Mustard greens grow quickly — you can start harvesting as soon as 3 to 4 weeks after planting for baby greens and 6 to 8 weeks for mature leaves.
- For baby greens: Cut outer leaves when they’re about 3–5 inches long.
- For full-sized greens: Harvest larger leaves first, allowing inner ones to continue growing.
- Always harvest in the cool morning hours to ensure crisp, tender leaves.
Regular harvesting encourages new growth, extending your harvest season.
Step 9: How to Have a Continuous Supply
To enjoy mustard greens for months, use succession planting. Sow new seeds every 2 to 3 weeks during the growing season. This ensures you always have fresh greens ready to pick.
In warm regions, mustard greens can bolt quickly when temperatures rise. To prolong the season:

- Provide partial shade using garden fabric.
- Keep the soil consistently moist.
- Choose bolt-resistant varieties like Red Giant.
Step 10: Storing and Using Mustard Greens
Freshly harvested mustard greens can be stored in the refrigerator for up to a week. Wash them thoroughly and pat dry before storing them in a perforated plastic bag.
You can also blanch and freeze the leaves for long-term storage:
- Blanch in boiling water for 2 minutes.
- Cool immediately in ice water.
- Drain and pack into freezer-safe bags.
These greens are perfect in soups, stews, stir-fries, or simply sautéed with garlic and olive oil. Their slightly spicy kick adds a burst of flavor to any dish.
Bonus: Collecting Seeds for Next Season
If you’d like to save your own seeds, let a few mustard plants bolt and produce seed pods. Once the pods turn brown and dry, collect them and remove the seeds. Store seeds in a cool, dry place for up to three years.
This not only saves money but also helps you maintain a cycle of homegrown greens year after year.

Final Thoughts
Growing mustard greens from seed is an easy and rewarding way to fill your garden — and your kitchen — with fresh, nutritious greens. With minimal effort, you can enjoy multiple harvests throughout the year, especially in cooler months. Whether you prefer them raw in salads, lightly steamed, or stir-fried, mustard greens are a versatile addition to any home garden.
By following these simple steps — from choosing the right variety to harvesting regularly — you’ll soon have a vibrant patch of mustard greens ready to enjoy. So grab your seeds, prepare your soil, and start growing your own flavorful greens today!
Leave A Comment