In a world where plastic waste has become one of the biggest environmental concerns, finding creative ways to reuse and recycle it is more important than ever. One of the simplest and most effective ways to do this is through container gardening — and yes, even using old plastic bottles can help you grow a lush, healthy garden!
In this post, we’ll explore how to grow lemongrass in excess plastic bottles, inspired by the clever gardening method shared by Agri CAMBO. This eco-friendly approach not only reduces waste but also allows anyone—whether you live in an apartment, urban home, or rural area—to grow fresh, aromatic lemongrass with minimal space and effort.
Let’s learn step-by-step how to turn your discarded plastic bottles into thriving mini-gardens for lemongrass!
1. Why Grow Lemongrass in Plastic Bottles?
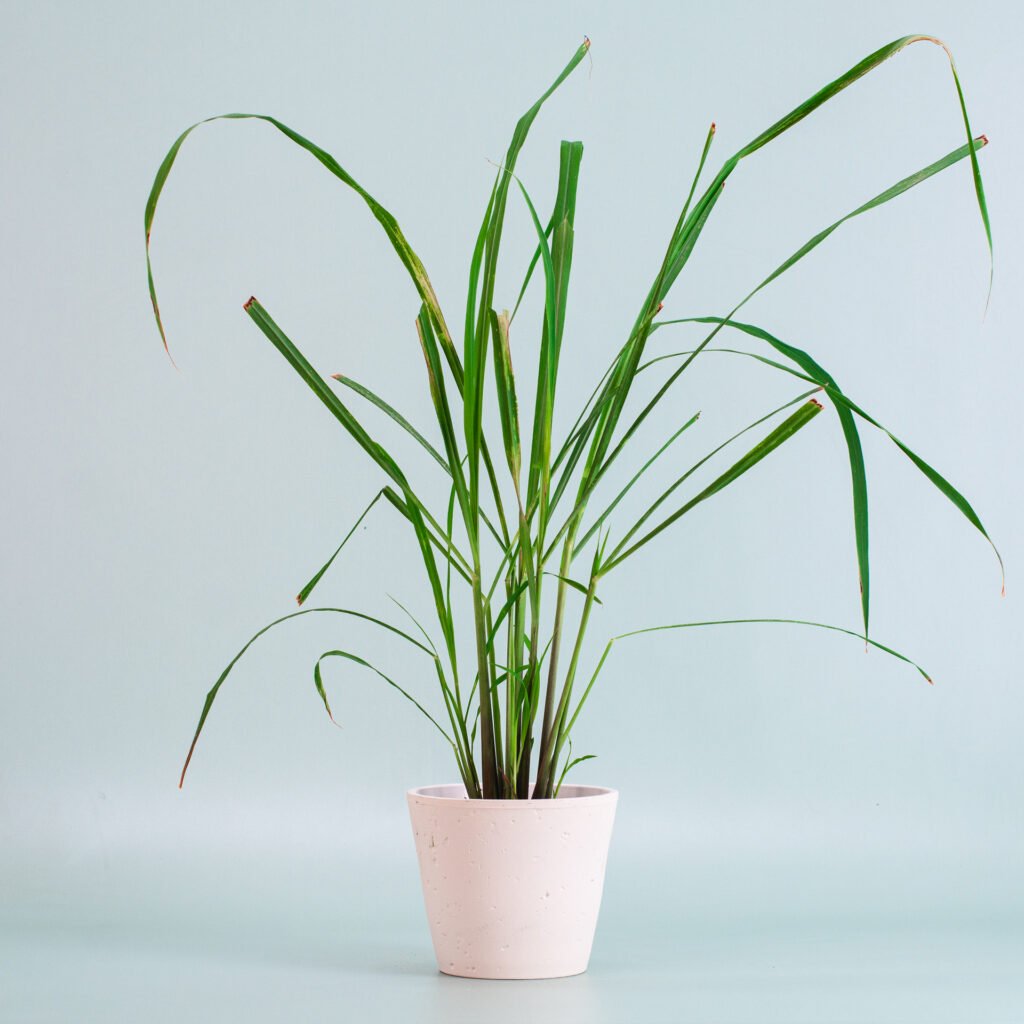
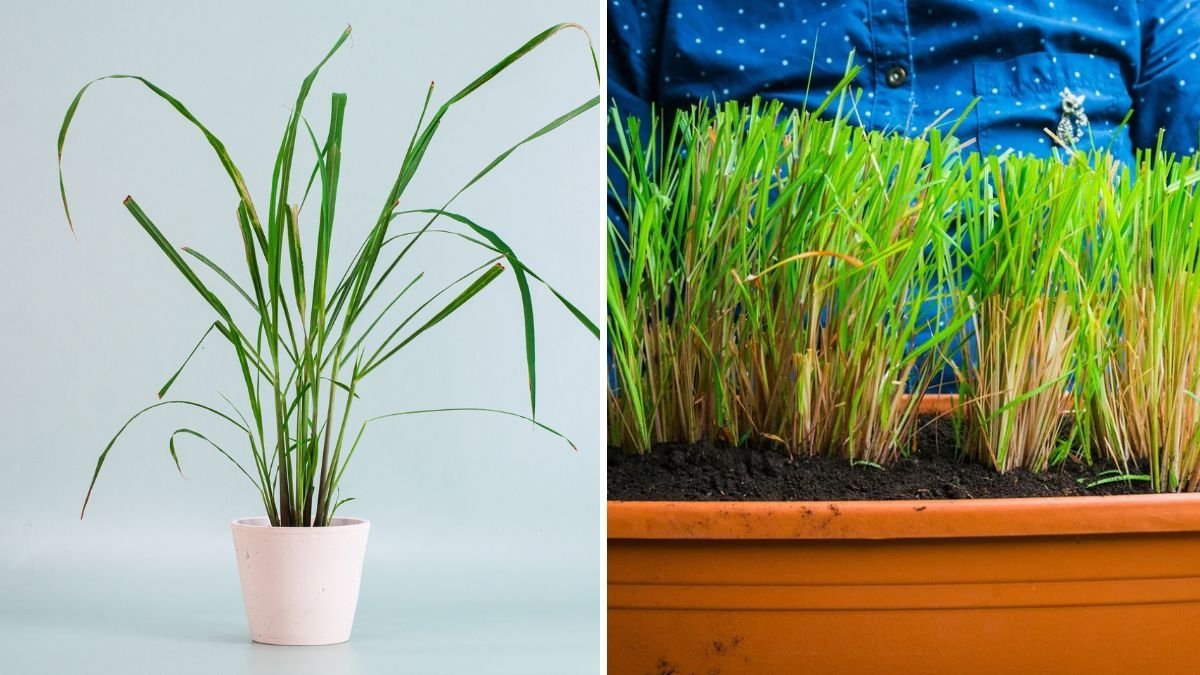
Lemongrass (Cymbopogon citratus) is a tropical herb known for its refreshing citrus aroma and wide range of uses in cooking, tea, and natural medicine. Traditionally, it grows best in warm, sunny regions, but with a bit of creativity, you can cultivate it almost anywhere—even in recycled plastic bottles.
Here’s why growing lemongrass in bottles is such a great idea:
- Eco-friendly: It helps reduce plastic waste by giving bottles a second life.
- Space-saving: Perfect for small gardens, balconies, or kitchen windows.
- Low-cost gardening: You don’t need fancy pots or expensive equipment.
- Portable: Easy to move around for sunlight or weather protection.
- Hydro-efficient: Plastic bottles allow better water management and control.
This simple yet impactful method is proof that sustainable gardening can start with what you already have at home.
2. Understanding Lemongrass: The Herb That Keeps on Giving
Before you start planting, it’s helpful to know a little about lemongrass itself. Lemongrass is a tropical perennial that loves sunlight, warmth, and moisture. It grows in clumps and has long, slender leaves that release a sweet citrus scent when crushed.

In addition to its culinary uses in soups, teas, and curries, lemongrass is valued for its medicinal properties—it helps improve digestion, relieve stress, and even repel mosquitoes naturally.
With just a few bottles and basic care, you can grow lemongrass plants that not only enhance your dishes but also purify your surroundings.
3. Materials You’ll Need

You don’t need much to get started. Most of the materials can be found around your home or easily purchased at a local gardening store.
Here’s what you’ll need:
- Empty plastic bottles (1–2 liters preferred)
- A sharp cutter or scissors
- Lemongrass stalks (with roots) or lemongrass seeds
- Potting soil (or a mix of garden soil, compost, and sand)
- Watering can or spray bottle
- Organic compost or manure
- A sunny location (balcony, terrace, or windowsill)
Once you’ve gathered these materials, you’re ready to begin transforming waste into a green treasure.
4. Preparing the Plastic Bottles
To turn a plastic bottle into a functional planter, follow these simple steps:
- Clean the Bottle:
Rinse thoroughly to remove any leftover soda or juice. This ensures that the soil and roots won’t be harmed by residual sugar or chemicals. - Cut the Bottle:
Depending on your setup, you can:- Option 1: Cut horizontally in half and use the bottom portion as a pot.
- Option 2: Cut vertically on one side to create a trough-style planter.
- Option 3: Keep the bottle intact and cut a rectangular window on the side to insert soil and plants.
- Make Drainage Holes:
Poke small holes at the bottom to allow excess water to drain. Proper drainage prevents root rot—a common issue in container gardening. - Optional Decoration:
You can paint or wrap the bottle to make it more attractive and protect it from sun damage.
Now, you have your eco-friendly plant container ready for action!

5. Preparing Lemongrass for Planting
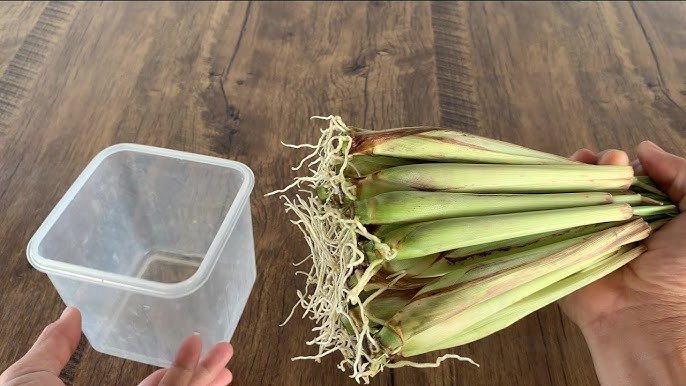
You can grow lemongrass either from seeds or stalk cuttings. However, the easiest and fastest method is using fresh lemongrass stalks purchased from the market.
Steps to prepare lemongrass stalks:
- Choose fresh, green stalks with the bulb (base) still attached.
- Trim the tops slightly and remove any dry outer layers.
- Place the stalks in a glass of water, ensuring that the bulbs are submerged.
- Keep the glass in a warm, bright spot for about 1 to 2 weeks.
- Once roots appear (around 2 inches long), they’re ready to be planted in the bottles.
This rooting process gives your lemongrass a strong start before transplanting it into the container.
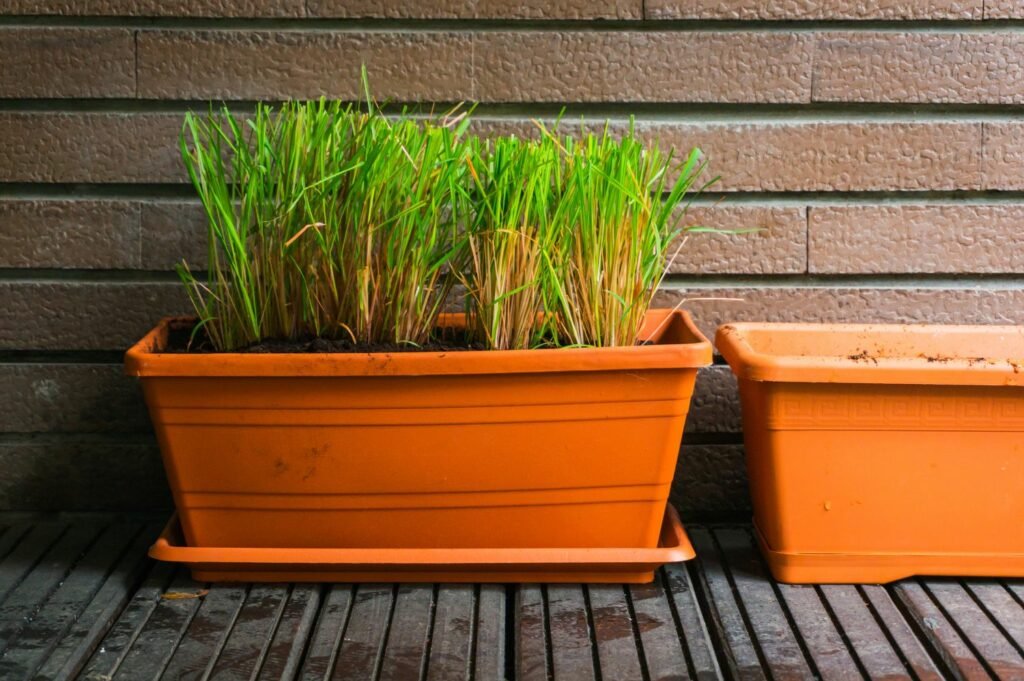
6. Planting Lemongrass in Plastic Bottles
Here’s how to plant your prepared lemongrass cuttings into the bottle planters:
- Add Drainage Layer:
Place a thin layer of small pebbles or broken pot pieces at the bottom of the bottle to improve drainage. - Fill with Soil:
Add your soil mix — a combination of garden soil, compost, and sand (1:1:1) works perfectly. Lemongrass prefers fertile, well-drained soil. - Plant the Stalks:
Insert the rooted lemongrass stalks into the soil, burying the roots and base of the stem about 2 inches deep. - Firm and Water:
Gently press the soil around the stalk to hold it upright, and water thoroughly to settle the soil. - Placement:
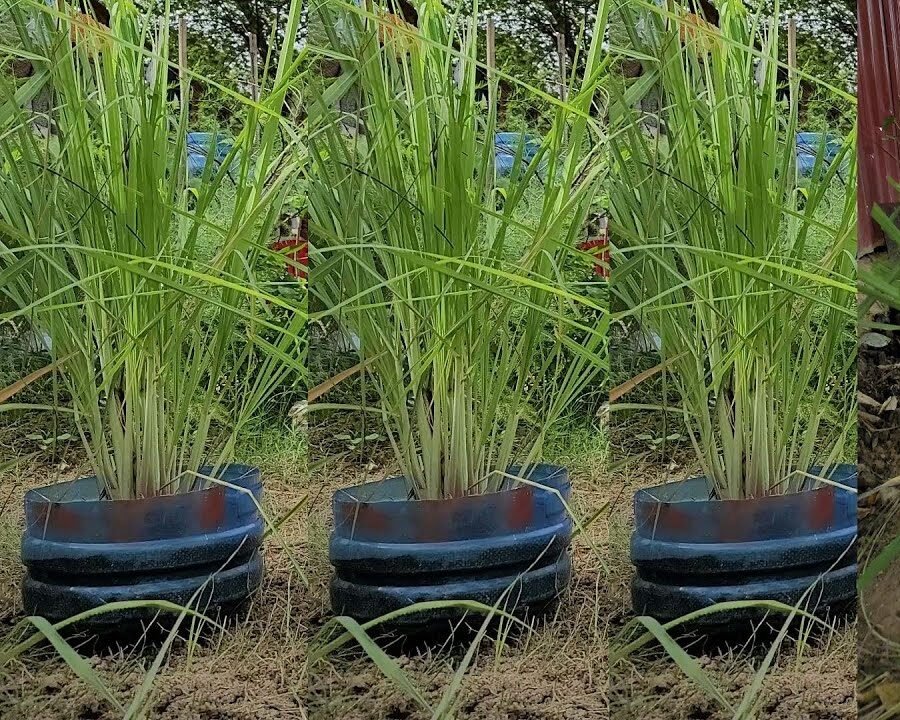
Place the bottle planter in a sunny spot that gets at least 6–8 hours of sunlight daily.
Your plastic-bottle lemongrass garden is now ready to grow!
7. Caring for Your Lemongrass Plants
Once planted, lemongrass is quite hardy and doesn’t need constant attention. However, a few care tips will keep it healthy and productive.
Watering:
Lemongrass enjoys consistently moist soil but hates being waterlogged. Water every 2–3 days or when the top inch of soil feels dry. During hot weather, increase watering slightly.

Fertilizing:
Feed your plants with organic compost or liquid fertilizer once every 3–4 weeks. This encourages lush, fragrant leaves.
Pruning:
Trim away dry or yellow leaves regularly. Pruning helps the plant focus energy on new growth.
Mulching:
Add a light mulch layer of dried leaves or straw on the soil surface to retain moisture and suppress weeds.
Pest Control:
Lemongrass naturally repels insects, but occasionally aphids or leafhoppers may appear. A gentle neem oil spray once a week will keep pests away without harming the plant.
8. Transplanting and Multiplying Lemongrass
After a few months, your lemongrass clumps will become thicker and may outgrow their containers. You can easily transplant or divide them into new bottles or garden beds.
Steps to transplant:
- Gently remove the plant from the bottle, keeping the root ball intact.
- Separate the clumps into smaller sections, ensuring each has roots attached.
- Plant these divisions into fresh soil or new bottles.
- Water and keep them shaded for a few days to help them adjust.
This way, one lemongrass plant can turn into several, multiplying your harvest while recycling more bottles!

9. Harvesting Lemongrass
Lemongrass is ready to harvest about 3–4 months after planting when the stalks are thick and tall.
How to harvest:
- Cut the outer stalks close to the base, leaving the inner shoots to continue growing.
- Always harvest the mature stems first to encourage new ones to develop.
- Freshly cut lemongrass can be used immediately in cooking or dried for tea.
Storage tips:
- Fresh lemongrass can be refrigerated for up to 2 weeks.
- For long-term use, slice and freeze the stalks or dry them for herbal tea blends.
10. Benefits of Growing Lemongrass in Plastic Bottles
By now, you’ll realize that this method offers benefits far beyond just growing herbs.
✅ Environmental Benefits: Reduces plastic waste and promotes recycling.
✅ Space Efficiency: Great for small apartments, rooftops, or balconies.
✅ Cost-Effective: Requires no expensive pots or gardening materials.
✅ Aesthetic Appeal: Adds greenery and freshness to your living space.
✅ Health Boost: Provides easy access to organic, chemical-free lemongrass.
Plus, lemongrass emits a pleasant aroma that helps repel mosquitoes and purify the air — a perfect bonus for your eco-friendly home!
11. Common Mistakes to Avoid
Even though lemongrass is easy to grow, beginners often make a few common mistakes:

- Overwatering: Causes root rot; always ensure proper drainage.
- Insufficient sunlight: Lemongrass needs full sun to thrive.
- Poor soil mix: Heavy, compact soil restricts root growth.
- Neglecting pruning: Can make the plant woody and unproductive.
Avoid these issues, and you’ll have thriving, healthy plants year-round.
Conclusion
Growing lemongrass in plastic bottles is one of the most sustainable and rewarding gardening projects you can start today. It’s an ingenious way to reuse waste, save money, and enjoy the many benefits of this fragrant, versatile herb right from your balcony or kitchen garden.
By following the Agri CAMBO-inspired steps — preparing bottles, rooting stalks, transplanting, and regular care — you’ll soon have a lush green lemongrass garden that not only looks beautiful but also promotes a greener lifestyle.
So, before you throw away that empty plastic bottle, think again — it could be the perfect new home for your next lemongrass plant! Embrace sustainable gardening and let every sip of lemongrass tea remind you that small eco-friendly choices can make a big difference. 🌿
Leave A Comment