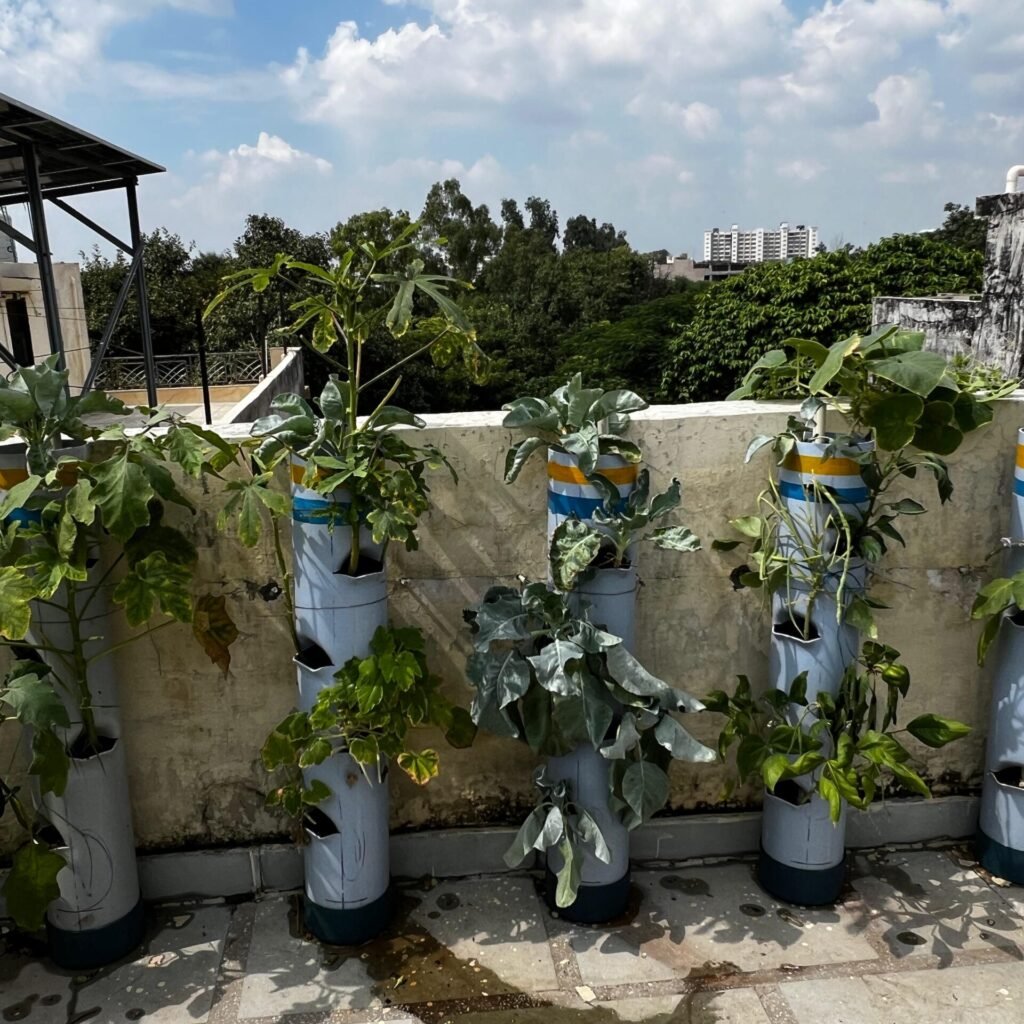
Growing your own vegetables at home is one of the most rewarding gardening experiences — and when it comes to leafy greens, kale stands out as a nutrient powerhouse. If you’re looking for a creative and space-saving way to grow kale, using PVC pipes is a brilliant solution. This innovative method not only saves space but also allows for easy management and a clean, efficient growing system.
In this detailed guide, we’ll explore how to grow kale at home in PVC pipes, including the materials you’ll need, step-by-step planting instructions, and expert care tips to ensure your kale plants thrive all year long. Whether you live in an apartment or have a full backyard, this DIY setup can fit perfectly into any home garden.
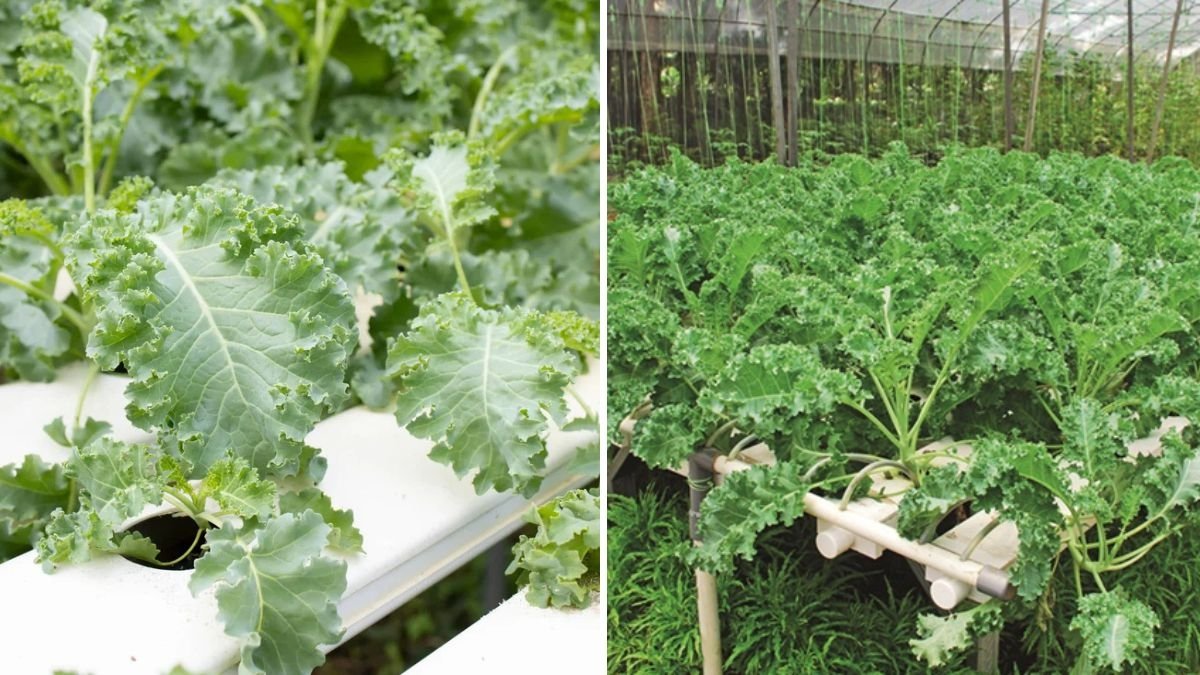
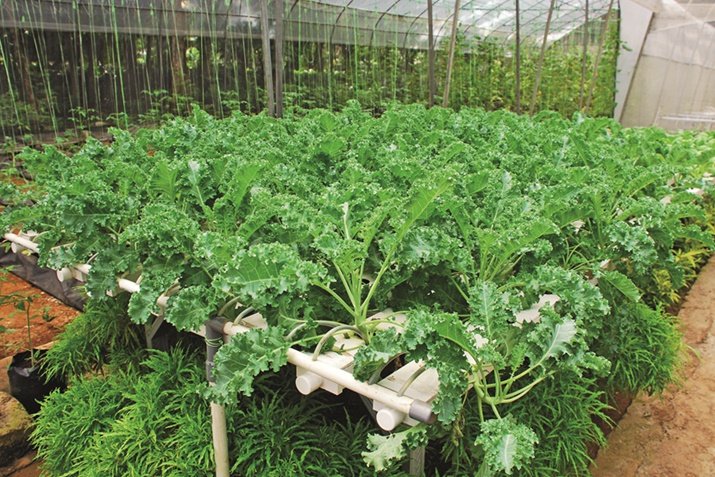
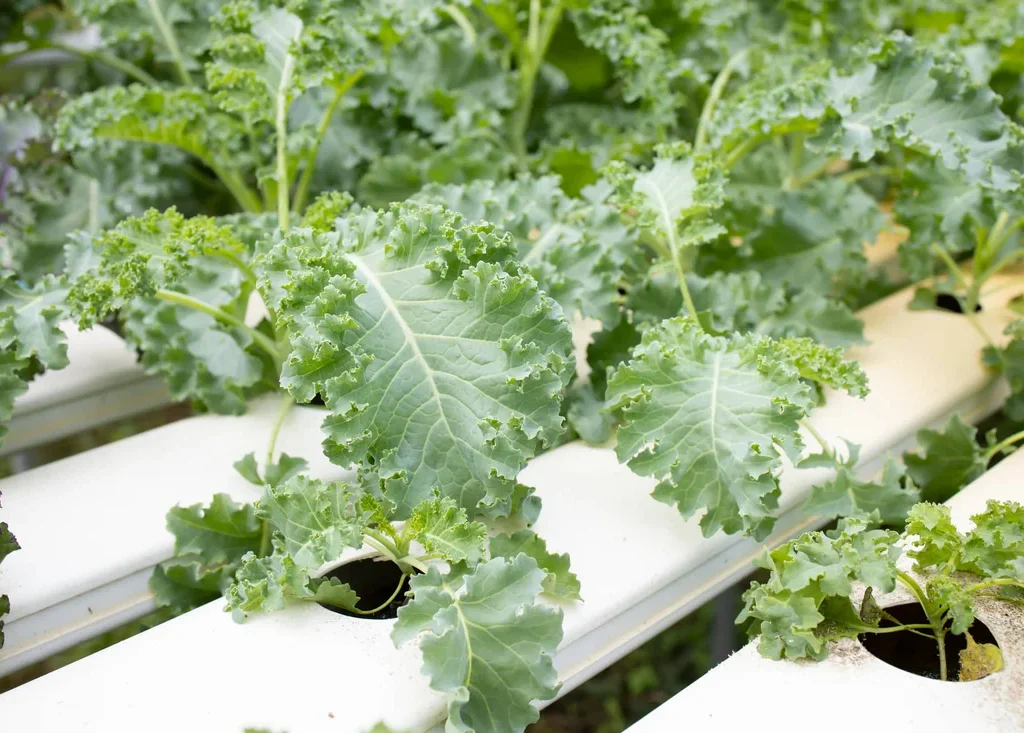
Why Grow Kale in PVC Pipes?
Kale is a hardy, cool-season crop packed with vitamins A, C, K, calcium, and antioxidants. Traditionally, kale is grown in garden beds or pots, but using PVC pipes offers unique benefits:
- Space Efficiency: Ideal for balconies, rooftops, and small gardens.
- Clean and Organized Setup: Less soil mess and easy watering.
- Efficient Water Use: Perfect for hydroponic or soil-based systems.
- Reusable and Durable: PVC pipes last for years with minimal maintenance.
- Pest Control: Elevated growing reduces soil-borne pest issues.
This method allows you to enjoy fresh, organic kale without needing large garden space — making it perfect for urban gardeners.
Materials You’ll Need
Before you start, gather all the required materials. Here’s what you’ll need for your PVC pipe kale garden:

- PVC Pipes (4–6 inches in diameter) – Choose sturdy pipes long enough to fit your space.
- PVC End Caps – To close both ends and retain water/soil.
- Hole Saw or Drill – To make planting holes.
- Net Cups or Small Pots – Optional if using a hydroponic setup.
- Potting Mix or Cocopeat – For soil-based growing.
- Nutrient Solution (for hydroponic method) – Balanced NPK fertilizer for leafy greens.
- Kale Seeds or Seedlings – Choose your favorite variety like curly kale or Tuscan kale.
- Watering Can or Drip System – For regular watering.
- Support Stands or Brackets – To hold pipes in place.
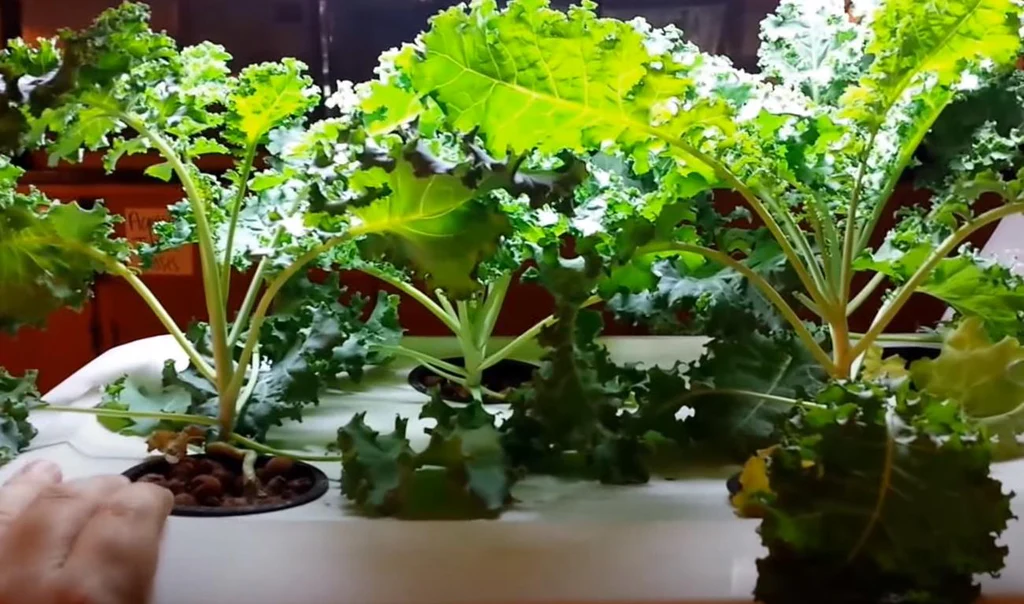
You can choose between a soil-based system or a hydroponic setup depending on your preference and resources.
Step-by-Step Guide to Grow Kale in PVC Pipes
Let’s break down the entire process — from pipe preparation to harvesting lush, green kale leaves.
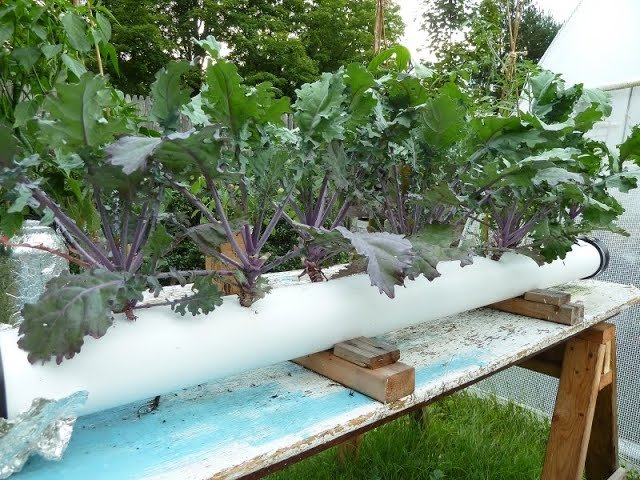
Step 1: Preparing the PVC Pipes
Start by measuring and cutting your PVC pipes according to your available space. A 4–6 foot pipe works well for most home gardens.
- Use a hole saw or drill to make planting holes about 3–4 inches apart along the top side of the pipe.
- The holes should be around 2 inches wide — large enough for a small kale seedling.
- Seal both ends with PVC caps to prevent water or soil from escaping.
- Place the pipe horizontally on supports or brackets to keep it stable.
If you’re using multiple pipes, you can stack them vertically for a multi-layer garden structure.
Step 2: Setting Up the Growing Medium
For Soil-Based Setup:

- Fill the pipe with a mix of garden soil, compost, and cocopeat (in equal parts).
- This ensures good aeration, drainage, and nutrient balance.
- You can also add a handful of organic fertilizer or vermicompost for a nutrient boost.
For Hydroponic Setup:
- Instead of soil, use net cups filled with cocopeat or perlite.
- Place them in the planting holes.
- Circulate a nutrient-rich water solution through the pipe using a small pump or manual watering.
Step 3: Sowing Kale Seeds or Transplanting Seedlings
You can start kale either from seeds or seedlings.
- If using seeds, plant 2–3 seeds per hole, about ¼ inch deep.
- Keep the soil moist until germination, which usually takes 5–10 days.
- Once seedlings are 2–3 inches tall, thin them out, leaving the strongest plant per hole.
If you already have seedlings, gently transplant them into the holes, ensuring their roots are covered with soil or growing medium.
Step 4: Watering and Nutrient Management
Kale prefers consistent moisture but doesn’t like soggy roots.
- Water your plants regularly, ensuring the medium stays moist but not waterlogged.
- For hydroponic systems, maintain a steady flow of nutrient solution.
- Use a balanced fertilizer (NPK 10-10-10) or organic compost tea every 10–14 days.
Monitor the plants for signs of nutrient deficiency — pale leaves usually indicate a lack of nitrogen.

Step 5: Providing Sunlight and Ideal Conditions
Kale loves cool temperatures and plenty of light.
- Place your PVC setup in a sunny spot that gets at least 5–6 hours of sunlight daily.
- If growing indoors or on balconies with limited light, use LED grow lights.
- The ideal temperature range for kale is 15–25°C (59–77°F).
In hot climates, provide partial shade during the afternoon to prevent leaf scorching.
Step 6: Managing Pests and Diseases
Although kale is hardy, it can occasionally attract pests like aphids, caterpillars, and whiteflies.
- Inspect your plants regularly and remove pests by hand or spray them with neem oil or insecticidal soap.
- Maintain good air circulation between the plants to prevent fungal diseases like powdery mildew.
Growing kale in PVC pipes also minimizes contact with soil pests, making this method naturally more pest-resistant.
Step 7: Harvesting Your Homegrown Kale
Your kale plants will be ready to harvest in about 50–70 days after planting.

- Harvest the outer leaves first, allowing the inner ones to continue growing.
- Regular harvesting encourages new growth and keeps the plant productive for months.
- Use clean scissors to cut the leaves about an inch above the base.
Freshly harvested kale can be used in salads, smoothies, soups, or sautéed dishes — a true reward for your DIY efforts.
Tips for Success
- Rotate the pipes occasionally for even sunlight exposure.
- Mulch the soil surface (if possible) to retain moisture.
- Clean the pipes between growing cycles to prevent algae buildup.
- If using a hydroponic setup, change the nutrient solution every 2 weeks.
- Choose compact or dwarf kale varieties for smaller pipes or limited space.
With proper care, your PVC kale garden can yield fresh greens for several months — and it’s easy to replant once the season ends.
Advantages of Growing Kale in PVC Pipes
- Eco-Friendly Gardening: Reuses materials and saves water.
- Space Optimization: Ideal for tight spaces or apartment balconies.
- Aesthetic Appeal: Looks neat and modern — perfect for decorative kitchen gardens.
- Less Weeding & Soil Issues: Minimal contact with ground soil reduces weed problems.
- Scalable Design: You can expand or move the system easily.
This system works equally well for other leafy greens like lettuce, spinach, basil, or Swiss chard — making it a versatile gardening solution.
Final Thoughts
Growing kale in PVC pipes is not only practical but also an enjoyable DIY project that brings innovation into home gardening. It combines creativity, sustainability, and health, offering you a continuous supply of organic greens right from your balcony or backyard.
Whether you’re a beginner gardener or an experienced plant lover, this method can easily fit into your lifestyle. With minimal space and effort, you can grow lush, nutrient-rich kale all year round — proving that you don’t need a big garden to enjoy big harvests.

So, gather your materials, set up your PVC pipes, and start your kale-growing journey today. Soon, you’ll be harvesting fresh, crisp kale leaves straight from your own DIY garden system — a true symbol of modern, sustainable living!
Leave A Comment