
Growing ginger in containers is one of the most rewarding gardening experiences you can have — even if you don’t have a large backyard. This fragrant, flavorful root not only enhances your meals but also offers incredible health benefits. The best part? You can easily grow it in pots right on your balcony, patio, or kitchen garden and enjoy a huge harvest with just a little care.
In this complete guide, we’ll walk you through everything you need to know — from choosing the right ginger rhizomes to harvesting a bountiful crop.
1. Why Grow Ginger in Containers?
Ginger (Zingiber officinale) is a tropical plant that thrives in warm, humid conditions. But with a bit of creativity, you can grow it successfully even in cooler climates by using containers. Growing ginger in pots has several advantages:
- Perfect for small spaces: Ideal for apartment balconies, patios, or terrace gardens.
- Easy to control: You can manage soil moisture, temperature, and sunlight more effectively.
- Portable: Move containers indoors during cold weather or excessive rain.
- Less pest and disease problems: Container growing helps keep rhizomes healthier.
If you love fresh, homegrown ingredients and want to add a tropical touch to your container garden, ginger is a perfect choice.
2. Choosing the Right Ginger Variety
Before planting, it’s important to choose the right type of ginger. Most grocery store ginger can sprout and grow successfully, but for the best results, select organic ginger rhizomes. Non-organic ones are often treated with growth inhibitors that prevent sprouting.
Look for varieties such as:
- Common culinary ginger: Ideal for everyday cooking.
- Baby ginger: Harvested earlier, tender, and milder in flavor.
- Turmeric (Curcuma longa): A close relative that grows similarly, known for its golden hue and medicinal value.
Pro tip: Visit a local nursery or order online for certified disease-free ginger roots.

3. Preparing the Ginger for Planting
Once you’ve got your ginger rhizomes, preparation is key.
Steps:
- Select healthy rhizomes: Choose plump, firm pieces with visible “eyes” or growth buds.
- Cut into sections: If your rhizome is large, divide it into 2–3-inch pieces, each with at least one growth bud.
- Pre-sprout (optional but effective): Soak the pieces in warm water overnight to remove chemicals and encourage sprouting.
- Pre-germinate: Place the soaked rhizomes in a moist paper towel or cocopeat tray for about a week until small shoots appear.
Pre-sprouting helps ginger establish faster when planted in containers.
4. Choosing the Right Container
Ginger roots spread horizontally rather than deep into the soil. Therefore, the ideal container should be wide and shallow.
- Container size: At least 12 inches deep and 14–16 inches wide.
- Drainage: Make sure the pot has good drainage holes to prevent waterlogging.
- Material: Plastic, terracotta, or fabric grow bags all work well. Fabric pots are excellent because they provide better aeration and prevent root rot.
If you plan to grow multiple rhizomes, use one large container or several medium-sized ones for better yields.
5. Best Soil Mix for Growing Ginger
Ginger loves loose, well-draining soil rich in organic matter. Heavy clay or compacted soil can stunt growth and cause rot.
Ideal soil mix:

- 40% garden soil
- 30% compost or well-rotted cow manure
- 20% coco peat or peat moss
- 10% sand or perlite for better drainage
Mix everything well and fill your container, leaving about 2 inches of space from the rim.
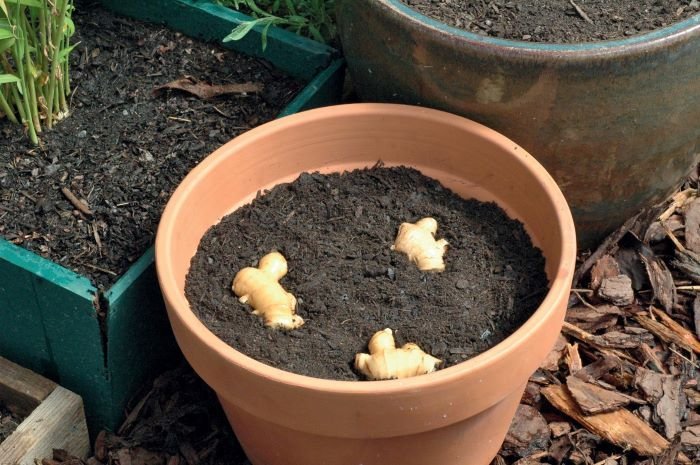
6. Planting Ginger Rhizomes

Here’s how to plant ginger correctly:
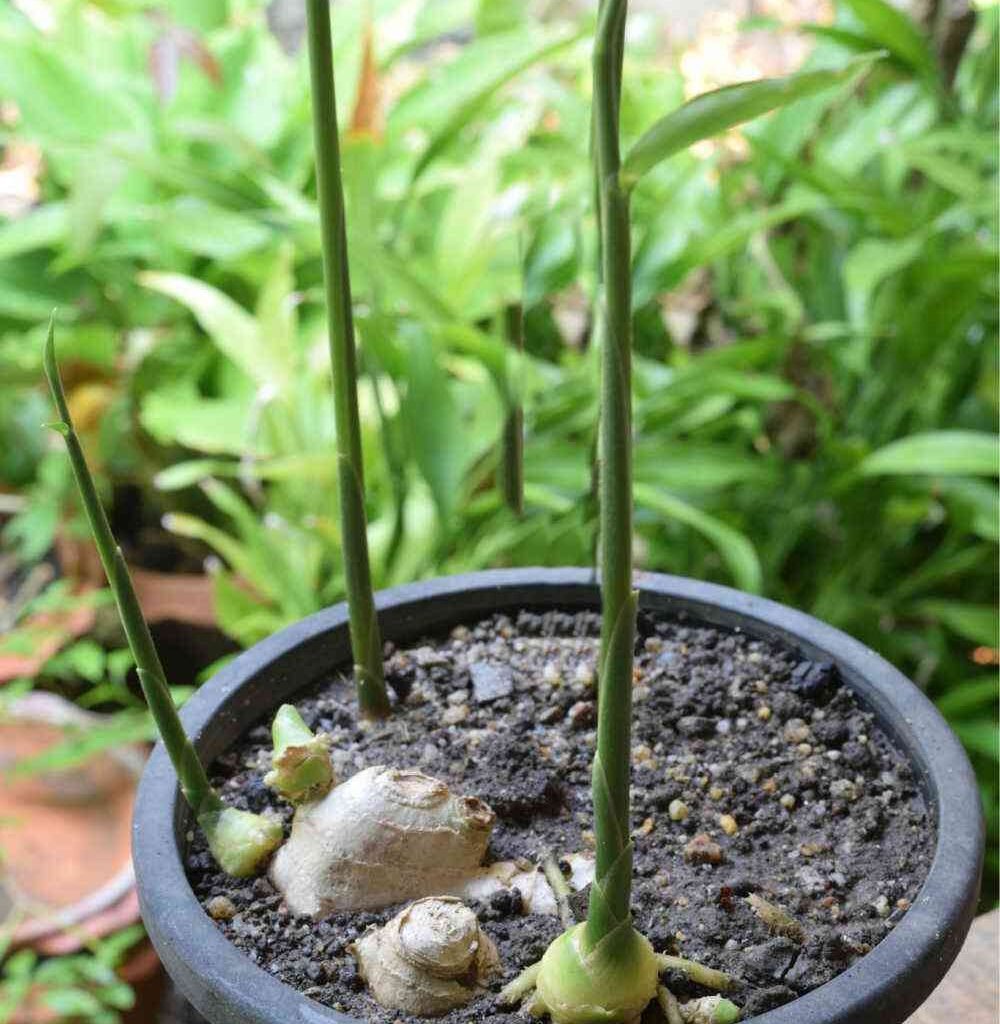
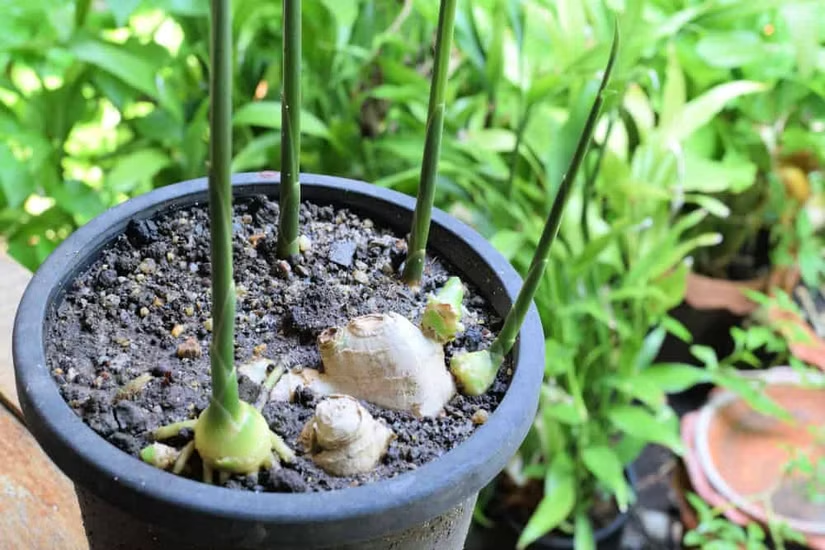
- Lay rhizomes horizontally with buds facing upward.
- Cover with 1–2 inches of soil. Don’t bury too deep — shallow planting encourages sprouting.
- Water lightly to moisten the soil, not soak it.
- Place the pot in a warm, shaded area with indirect sunlight (about 4–5 hours of light daily).
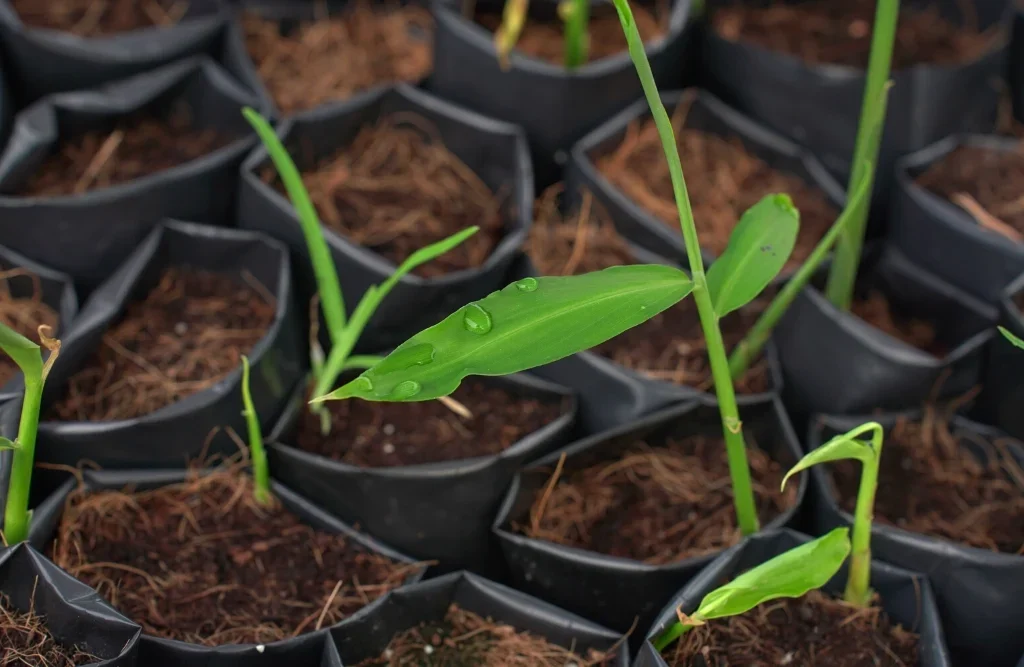
Within 2–3 weeks, you’ll notice green shoots emerging from the soil — that’s your ginger starting to grow!
7. Watering and Mulching
Ginger needs consistent moisture but dislikes soggy soil. Overwatering is one of the most common mistakes gardeners make.
Watering tips:
- Keep the soil consistently moist but not waterlogged.
- Water deeply once or twice a week, depending on your climate.
- In hot, dry weather, mist the soil surface lightly between waterings.
Adding a layer of mulch (such as straw, dried leaves, or compost) helps retain moisture, suppress weeds, and keep roots cool.
8. Providing Light and Temperature
Ginger thrives in warm, humid environments — between 75°F and 85°F (24°C to 29°C).
It prefers indirect sunlight, as too much direct sun can scorch the leaves. If you live in a cooler region, place the container in a greenhouse or a sunny indoor area.

During winter, move your containers indoors or cover them with protective material to avoid frost damage.
9. Feeding Your Ginger Plants
For a lush and productive ginger plant, regular feeding is essential.
Fertilizing schedule:
- At planting: Mix compost or organic manure into the soil.
- Every 3–4 weeks: Apply a liquid fertilizer like seaweed extract or compost tea.
- Mid-growth stage: Use a potassium-rich fertilizer to promote strong rhizome development.
Avoid nitrogen-heavy fertilizers in excess — they may cause too much leafy growth and smaller rhizomes.
10. Managing Pests and Diseases
Container-grown ginger is relatively pest-free, but keep an eye out for:
- Aphids and spider mites: Spray with neem oil solution weekly.
- Rhizome rot: Avoid overwatering and ensure proper drainage.
- Fungal infections: Add organic fungicide or cinnamon powder to the soil occasionally.
Healthy soil and moderate watering are the best preventive measures.
11. Pruning and Maintenance
Remove any yellowing or damaged leaves to allow better air circulation.
If shoots grow too densely, thin them slightly to encourage healthy rhizome expansion.

Keep the container weed-free — weeds compete for nutrients and can crowd the ginger roots.
12. Harvesting Ginger for Maximum Yield
Ginger takes about 8–10 months to mature fully. However, you can start harvesting baby ginger after 4–5 months when the rhizomes are tender and less fibrous.
How to harvest:
- Gently dig around the base using your hands or a small trowel.
- Remove the entire plant or cut off part of the rhizome and let the rest keep growing.
- Shake off soil and rinse thoroughly.
If you want a huge harvest, allow the plants to grow for at least 8 months until the leaves start to yellow and dry — that’s the sign of full maturity.
13. Storing and Using Your Homegrown Ginger
Once harvested, wash the rhizomes and let them air dry for a day. Store them in:
- Cool, dry place for up to a few weeks.
- Refrigerator: In a paper towel or breathable bag for 2–3 months.
- Freezer: Peel and store slices in airtight containers for long-term use.
You can also set aside a few healthy pieces to replant next season — your self-sustaining ginger supply!
14. Common Mistakes to Avoid
To ensure a big harvest, avoid these common errors:

- Overwatering or waterlogged soil.
- Planting in compact or clay-heavy soil.
- Exposing plants to harsh direct sunlight.
- Neglecting fertilization during mid-growth.
- Harvesting too early.
With patience and proper care, your container-grown ginger can yield an abundant harvest every season.
15. Bonus Tip: Regrow Ginger Easily
After harvesting, save a few pieces with healthy buds.
Let them dry for a day or two and replant them using the same method. Ginger is a perennial, meaning you can keep regrowing it year after year!
Final Thoughts
Growing ginger in containers is a simple yet satisfying process that anyone — from beginners to seasoned gardeners — can enjoy. With the right soil, moisture, and temperature, your ginger plants will flourish, giving you a continuous supply of aromatic, flavorful rhizomes.
Whether you use it in teas, curries, or homemade remedies, there’s nothing quite like the taste of freshly harvested ginger from your own container garden.
Leave A Comment