Did you know that you can grow both ginger and turmeric right from the skins you normally throw away — and even eat them too? Yes! Those thin peels are packed with life and potential. With the right setup, you can grow a generous supply of these tropical superfoods in containers or raised garden beds, all while keeping your garden eco-friendly and sustainable.
This guide will walk you through how to grow ginger and turmeric from skins, the best soil mix, container setup, watering tips, and how to harvest a huge, healthy crop — all while getting the most out of your plants.
1. Why Grow Ginger and Turmeric from Skin?
Both ginger and turmeric belong to the same plant family (Zingiberaceae), and they share many growing habits. These rhizomes are powerhouses of flavor and nutrition — used in cooking, teas, and even home remedies.
Growing them from skins — the outer peel — may sound unusual, but it’s an effective, zero-waste gardening method that recycles your kitchen scraps into thriving plants.
Here’s why it’s worth doing:
- Eco-friendly: Reduces waste by using kitchen peels as planting material.
- Cost-effective: No need to buy new rhizomes or seeds.
- Nutrient-rich: You can grow organic, chemical-free ginger and turmeric.
- Small-space friendly: Perfect for balconies, patios, or raised garden beds.
Even better — the skins are edible! They’re loaded with antioxidants, fiber, and essential oils. You can wash and use them in teas, smoothies, or stews, while keeping a few pieces aside to sprout new plants.
2. Understanding How It Works
Ginger and turmeric reproduce through rhizomes, not seeds. Each small section — even a peel — contains growth nodes or “eyes.” When placed in the right conditions (moisture, warmth, and light), these nodes can sprout and grow into new plants.
It’s similar to how potatoes sprout from their eyes. With patience and the right environment, even a thin skin of ginger or turmeric can grow roots and shoots.
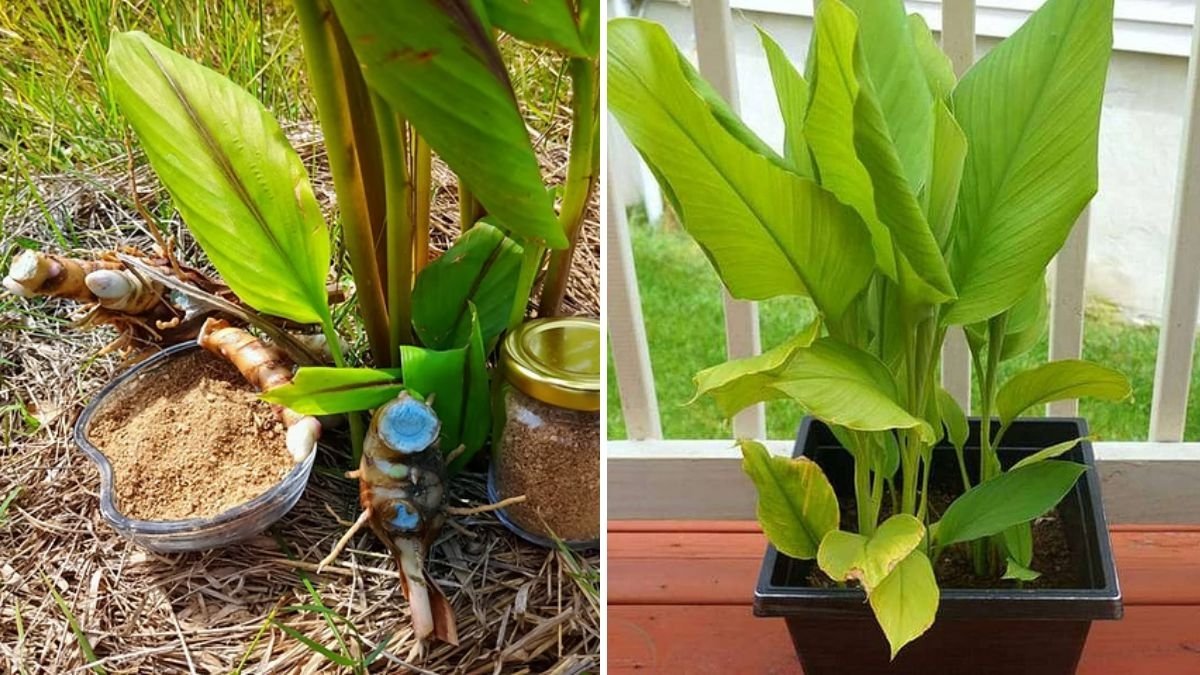
3. Collecting and Preparing the Skins
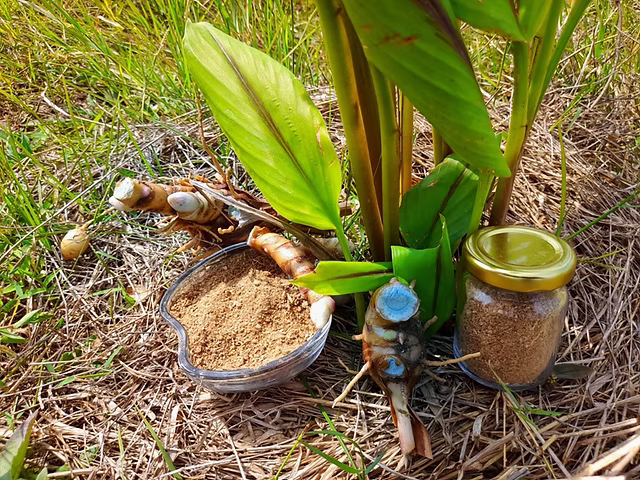
Start by selecting fresh, healthy, organic ginger and turmeric. Organic rhizomes are best because store-bought non-organic ones may have been treated with chemicals that inhibit sprouting.

Steps to prepare:
- Wash thoroughly to remove dirt.
- Peel carefully — try to keep the skin slightly thick (1–2 mm) to ensure it includes some living tissue and buds.
- Save your peels in a bowl of water for a few hours to hydrate them.
- Optional pre-sprouting: Place the peels on moist paper towels or coco peat for 5–7 days in a warm spot (around 25–30°C).
Soon, you’ll notice tiny green or white buds emerging — these are your future plants!
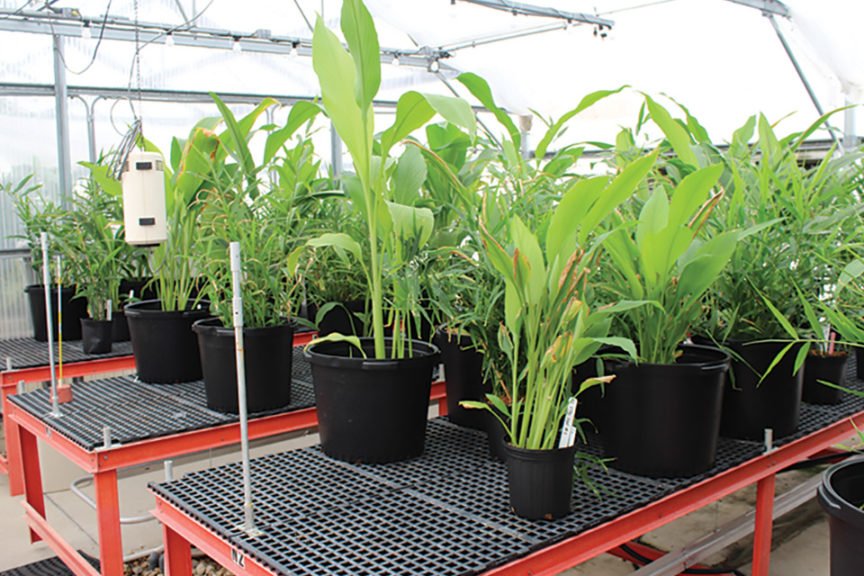
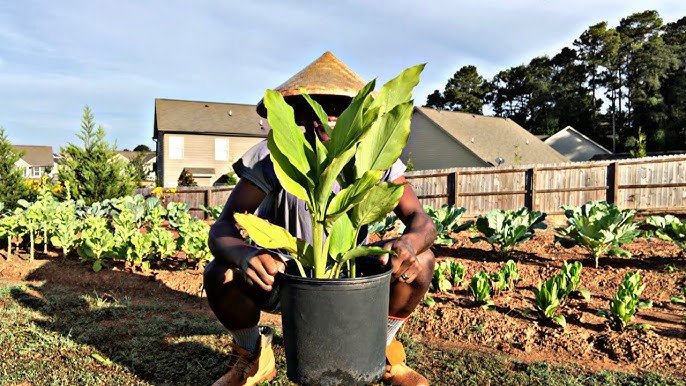
4. Choosing Containers or Raised Beds
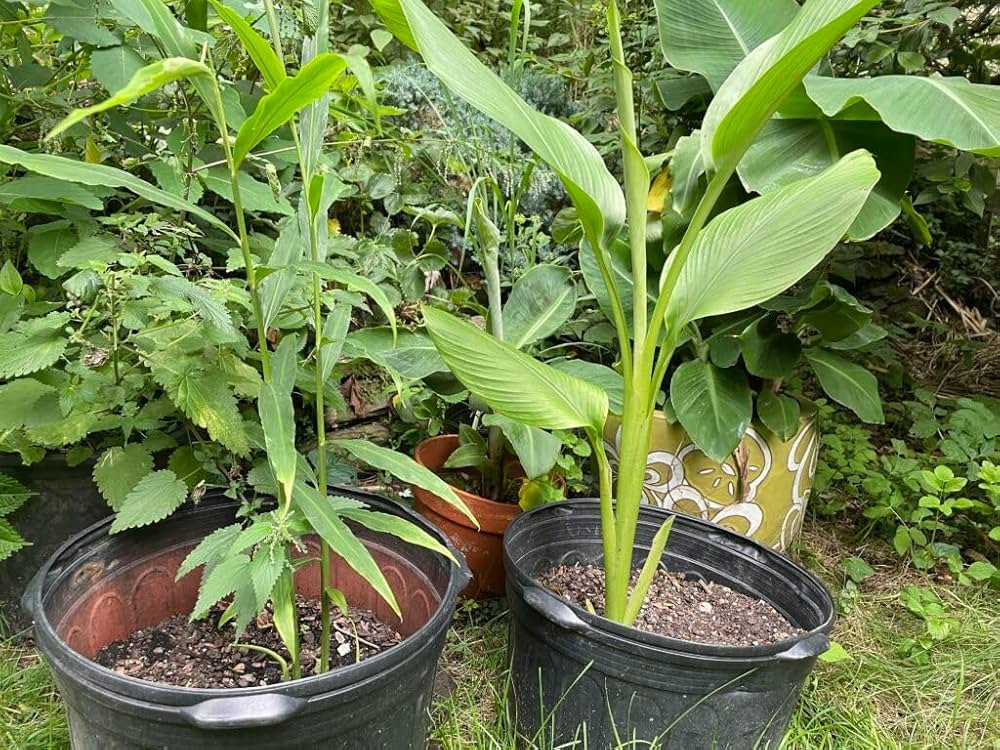
Both ginger and turmeric grow horizontally rather than deep into the soil. That means you need wide containers or raised beds with loose, rich soil.
For containers:
- Depth: At least 12 inches deep.
- Width: 14–18 inches wide.
- Drainage: Must have holes at the bottom.
For raised beds:
- Height: Around 10–12 inches.
- Spacing: Keep at least 6–8 inches between each planting spot.
Fabric grow bags, terracotta pots, or wooden boxes are all excellent options. Raised beds are ideal if you plan to grow large quantities.
5. The Perfect Soil Mix
Ginger and turmeric need loose, well-draining, nutrient-rich soil to spread their rhizomes freely.
Ideal soil mix:
- 40% garden soil
- 30% compost or well-rotted cow manure
- 20% coco peat or peat moss
- 10% sand or perlite for aeration
You can also mix in a handful of neem cake powder or bone meal for natural pest resistance and slow nutrient release.

Before planting, moisten the soil lightly — it should feel damp but not soggy.
6. How to Plant Ginger and Turmeric Skins
Planting ginger and turmeric from skins is simple and fun.
Here’s how to do it:
- Lay the skins flat on the soil surface, ensuring the bud side faces up.
- Cover lightly with about 1 inch of soil.
- Water gently — just enough to moisten the soil.
- Keep in a warm, shaded location with indirect sunlight (around 4–5 hours daily).
If you’re using both ginger and turmeric, plant them in separate containers or keep at least 12 inches apart in raised beds, as turmeric takes slightly longer to mature.
7. Watering and Moisture Management
Consistent moisture is key — but overwatering is the biggest mistake gardeners make with ginger and turmeric.
Watering tips:
- Keep the soil evenly moist, not soggy.
- During summer, water every 2–3 days or when the top inch of soil feels dry.
- Use mulch (like straw or dry leaves) to retain moisture and protect roots from heat.
If growing indoors or on a balcony, mist occasionally to maintain humidity — these plants love tropical conditions.
8. Providing Light and Temperature
Both ginger and turmeric are warm-weather crops. They thrive in temperatures between 75°F and 90°F (24°C to 32°C).
They prefer bright, indirect sunlight — too much harsh sun can scorch their leaves. A partially shaded area or dappled light is perfect.

If your region has cool winters, move the containers indoors during cold months or cover your raised beds with a plastic sheet or greenhouse film.
9. Feeding Your Plants for Strong Growth
To encourage healthy growth and large rhizomes, feed your plants regularly with organic fertilizers.
Feeding schedule:
- At planting: Mix compost or cow manure into the soil.
- Every 4 weeks: Add compost tea, seaweed extract, or diluted fish emulsion.
- After 3 months: Use a potassium-rich fertilizer (like banana peel compost) to help rhizomes bulk up.
Avoid chemical fertilizers — organic nutrients build healthier soil and more flavorful harvests.
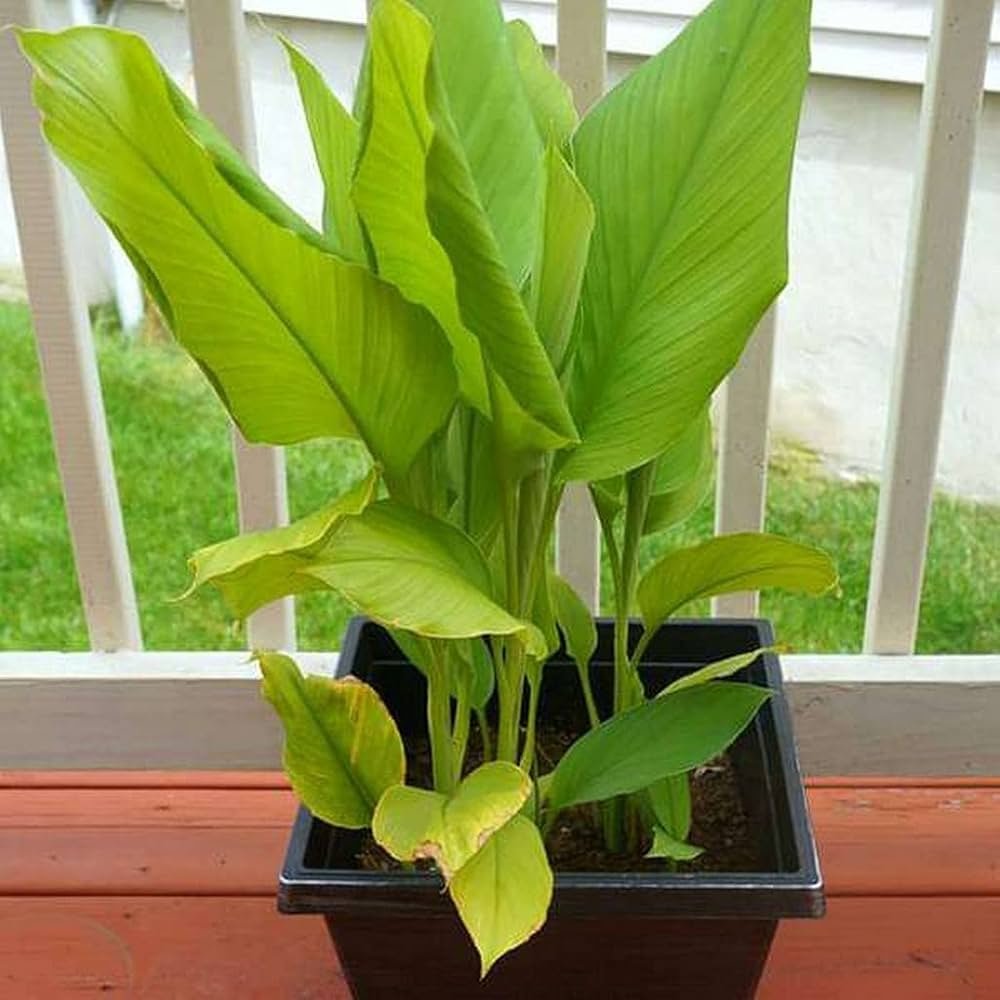
10. Caring for Ginger and Turmeric Plants
As your plants grow, they’ll develop lush green leaves resembling bamboo or canna plants.
Care tips:
- Keep soil loose — gently aerate it once a month.
- Remove weeds to prevent competition for nutrients.
- Watch for pests like aphids or mites — use neem oil spray once every 10 days as a preventive measure.
- Prune yellowing leaves occasionally to promote airflow.
Both plants love humidity — misting leaves occasionally helps them thrive.
11. Harvesting Ginger and Turmeric
Patience pays off!
Ginger and turmeric typically take 8–10 months to reach full maturity. You can start harvesting baby ginger or baby turmeric after 4–5 months if you prefer a milder flavor and tender texture.
Signs they’re ready to harvest:

- Leaves begin to yellow and dry out.
- Stems turn light brown.
How to harvest:
- Carefully dig around the base of the plant.
- Gently lift the rhizomes out of the soil.
- Shake off excess dirt and wash clean.
You can either harvest the entire plant or cut off portions of the rhizomes and leave the rest to regrow.
12. How to Eat Ginger and Turmeric Skins
One of the biggest secrets of this growing method is that the skins themselves are edible and nutritious. They contain antioxidants, anti-inflammatory compounds, and essential oils.
Ways to use them:
- Add to smoothies or juices for a health boost.
- Boil in tea with honey and lemon.
- Toss into soups or curries for extra flavor.
- Dry and grind into powder for spice mixes.
Always wash the skins thoroughly before consuming to remove any dirt.
13. Storing Your Homegrown Ginger and Turmeric
To store your harvest:
- Short-term: Keep in a cool, dry place for up to 2 weeks.
- Medium-term: Refrigerate in a breathable bag or wrap in a paper towel for 2–3 months.
- Long-term: Peel, slice, and freeze in airtight containers for year-round use.
You can also dehydrate and powder them for homemade spices!
14. Common Problems and How to Fix Them
Even with easy-growing plants like ginger and turmeric, a few issues can arise.
| Problem | Cause | Solution |
|---|---|---|
| Yellowing leaves early | Overwatering or poor drainage | Check soil moisture, improve drainage |
| Rhizomes rotting | Fungal infection or soggy soil | Use neem cake, reduce watering |
| No sprouting | Too cold or dry | Move to warmer spot, keep soil moist |
| Small rhizomes | Poor nutrition or crowding | Feed more often, provide space |
Consistent care and balanced watering solve most problems quickly.

15. Saving Skins for the Next Season
After harvest, keep a few healthy skins or small rhizome pieces with visible buds.
Let them air dry for 1–2 days and store in a cool, dry place until the next planting season.
This way, you can continue regrowing your own ginger and turmeric — for free — year after year!
Final Thoughts
Growing ginger and turmeric from skin is one of the simplest and most rewarding gardening hacks you can try. It’s a fantastic zero-waste project that turns everyday kitchen scraps into lush, productive plants — even if you only have a balcony or a small garden bed.
With the right soil, warmth, and moisture, you’ll be harvesting baskets of aromatic ginger and golden turmeric in just a few months. Plus, you’ll enjoy knowing that every part of your plant — even the skins — can be used and appreciated.
Leave A Comment