If you love fresh, crunchy bean sprouts in your stir-fries, soups, or salads, you’ll be thrilled to know that growing them at home is easier than you might think. Forget the complicated setups or fake gardening hacks you see online — this method is real, simple, and proven to work. In just four days, you can grow your own healthy, chemical-free bean sprouts using plastic bottles and a few common household items.
This article will walk you through the entire process step-by-step — from preparing your beans to harvesting plump, juicy sprouts — while also explaining why this method is one of the most efficient and eco-friendly ways to grow food at home.
Why Grow Bean Sprouts at Home?
Bean sprouts are a staple in many Asian cuisines and are packed with nutrients like vitamin C, protein, fiber, and antioxidants. Growing them yourself has several advantages:
- Freshness: Homegrown sprouts taste crisp and clean — no preservatives or chemicals.
- Safety: You control the growing environment, ensuring hygiene and purity.
- Sustainability: Using plastic bottles for gardening helps reduce waste and promote eco-friendly living.
- Speed: You can harvest in just 4 days — perfect for those who want quick, fresh results.
- Low Cost: It requires no special tools or soil — just beans, water, and recycled bottles.
What You’ll Need
Before starting, gather these simple materials:
- 2 plastic bottles (1.5 or 2 liters each)
- Mung beans or soybeans (the most common for sprouting)
- A sharp knife or scissors
- Water (filtered or clean tap water)
- A piece of breathable cloth or mesh (to cover the bottle’s mouth)
- Rubber bands or string (to secure the cloth)
That’s it! You don’t need soil, fertilizer, or direct sunlight — this is pure hydroponic-style sprouting done the easy way.

Step 1: Preparing the Beans
- Measure the right amount: For one 2-liter bottle, use about 3–4 tablespoons of mung beans. This may not seem like much, but sprouts expand dramatically in size.
- Rinse thoroughly: Wash the beans in clean water two to three times to remove dust and impurities.
- Soak overnight: Place the beans in a bowl and fill it with enough water to submerge them completely. Leave them to soak for 8–10 hours or overnight.
- Drain and rinse again: After soaking, the beans will have swelled up. Drain the water and rinse once more to prepare them for sprouting.
Step 2: Preparing the Bottle
- Cut holes for drainage and airflow:
Using a knife or scissors, poke a few small holes around the sides and bottom of the bottle. This allows excess water to drain and air to circulate, preventing mold growth. - Cut the bottle top:
Remove the top 1/3 of the bottle (just below the neck). This makes it easier to add and remove the beans. You can keep the top piece as a cover later to block light. - Secure the mesh or cloth:
Cover the bottle’s mouth with breathable cloth and fix it tightly with a rubber band. This will help when you rinse the sprouts later without losing any beans.
Step 3: Adding the Beans
Transfer the soaked beans into the bottle. Spread them evenly at the bottom so they’re not overcrowded — sprouts need space to grow.
After placing them, cover the bottle lightly (you can use the top piece you cut earlier as a shade). Sprouts grow best in the dark, so keeping them out of direct sunlight helps them develop white, thick stems.
Step 4: Rinsing and Draining
This is the most important part of growing healthy bean sprouts.
- Rinse twice a day: In the morning and evening, fill the bottle with clean water, swirl gently to rinse the beans, and drain completely.
- Keep the bottle tilted: Place the bottle at a slight angle (mouth downward) so any leftover water drains out completely. Stagnant water can cause rot or mold.
- Avoid direct sunlight: Keep the bottle in a cool, shaded area — like a kitchen corner or under a shelf. Light exposure will make the sprouts turn green and bitter.
Step 5: Watching the Magic — The 4-Day Growth Cycle
Here’s what you can expect during the four days of sprouting:
Day 1:
The beans begin to split open, and small white roots emerge. You’ll notice a faint smell of fresh greenery.

Day 2:
Sprouts grow longer and thicker. Keep rinsing twice daily and draining well. The bottle should start filling up as the sprouts expand.
Day 3:
The sprouts are now 3–4 cm long and look fuller. They’re nearly ready, but giving them one more day makes them even juicier.
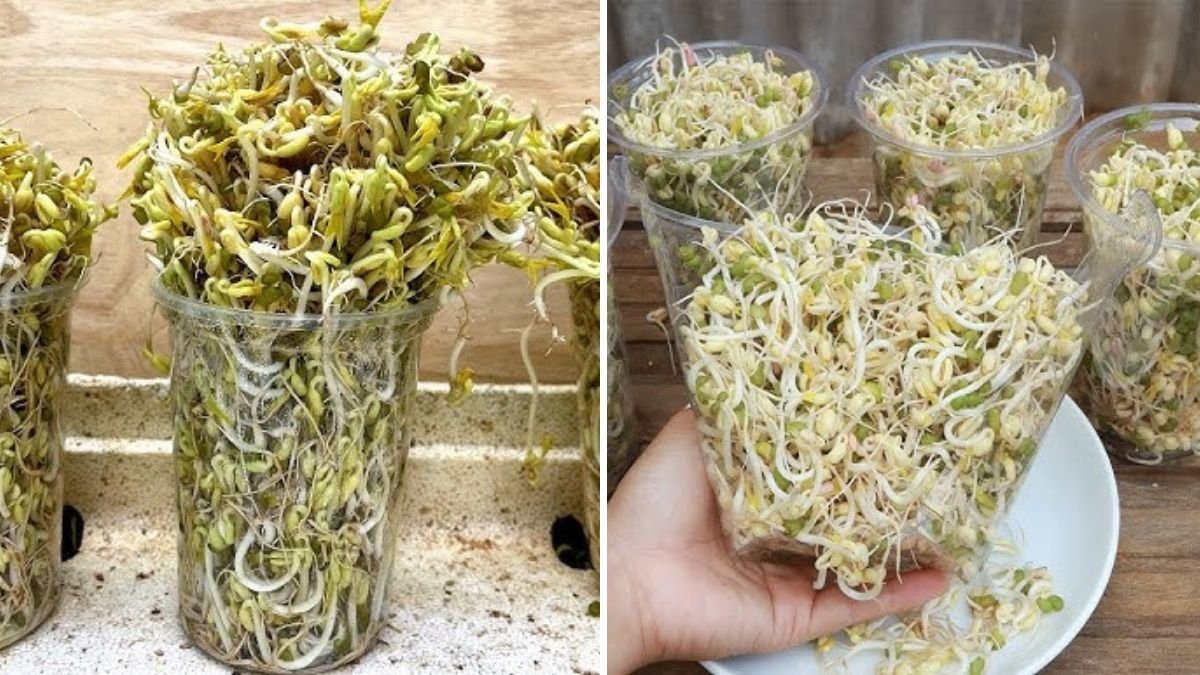
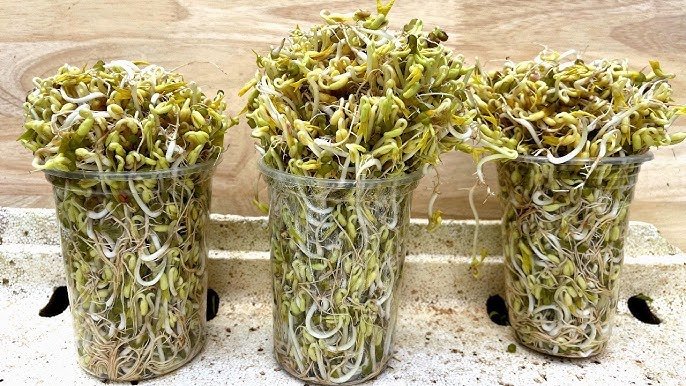
Day 4:
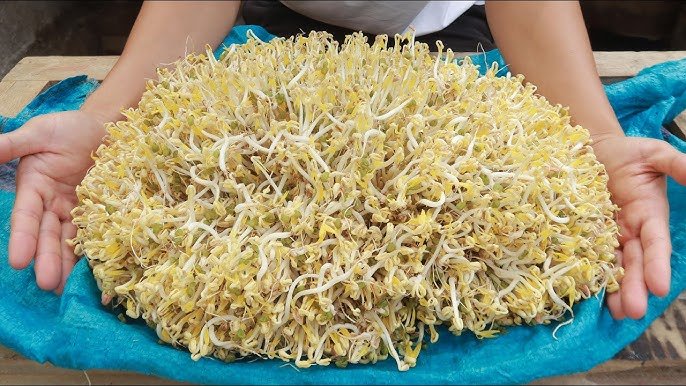
Harvest time! Your bottle will now be packed with plump, crisp, white sprouts ready to eat.
Step 6: Harvesting and Storage
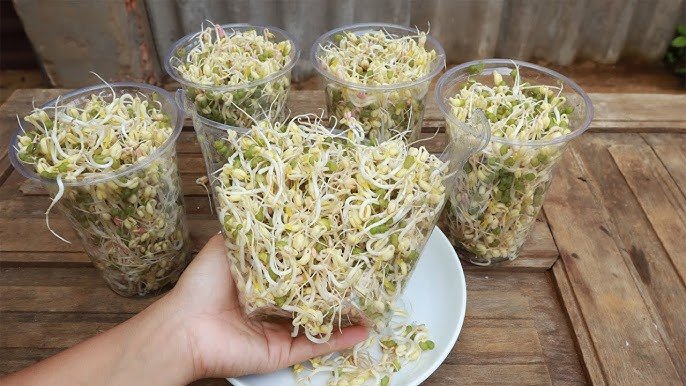
To harvest, simply remove the sprouts from the bottle and rinse them thoroughly under clean water. You can gently remove the seed coats if desired, though they’re edible.
Store them in an airtight container in the refrigerator — they’ll stay fresh for up to 3–4 days. For the best flavor and crunch, consume them the same day they’re harvested.

Tips for Success
- Use good-quality beans: Choose organic mung beans or soybeans — they sprout more evenly and taste better.
- Keep it dark: Cover the bottle with a towel or keep it in a cupboard. Light exposure can make sprouts turn green and slightly bitter.
- Don’t skip rinsing: Regular rinsing prevents odor and mold. Clean water is crucial for healthy growth.
- Avoid overcrowding: If beans are packed too tightly, airflow decreases and sprouts become weak.
- Use the right temperature: Room temperature (20–25°C or 68–77°F) is ideal for quick sprouting.
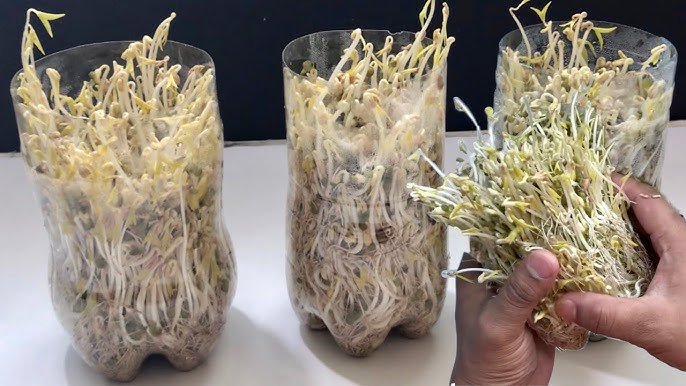
Why This Method Is So Effective
Unlike traditional sprouting trays or jars, using plastic bottles creates a compact, controlled environment. The holes allow excellent drainage and airflow, while the bottle shape keeps humidity just right for rapid growth.
It’s also an eco-friendly gardening hack — giving new life to plastic bottles that would otherwise be thrown away. Plus, it’s perfect for small spaces like apartments, dorms, or urban homes where gardening space is limited.
This “real gardening” approach doesn’t rely on chemicals, fertilizers, or fake soil. It’s all-natural — just seeds, air, and water.
Health Benefits of Bean Sprouts
Sprouting not only makes beans easier to digest but also enhances their nutritional value. Here are a few amazing benefits:
- Rich in antioxidants: Helps reduce inflammation and support immune function.
- High in fiber: Promotes gut health and prevents constipation.
- Low in calories: Ideal for weight loss or balanced diets.
- Improved protein content: Sprouting increases amino acid availability.
- Supports heart health: Sprouts contain enzymes and compounds that lower cholesterol levels.
Whether you toss them into salads, stir-fry with garlic, or add to soups, bean sprouts are a powerhouse of nutrition and freshness.

Creative Ways to Use Bean Sprouts
Once you’ve harvested your sprouts, here are some tasty ways to enjoy them:
- Stir-Fried Bean Sprouts: Toss them with soy sauce, garlic, and sesame oil for a quick side dish.
- Sprout Salad: Mix with carrots, cucumber, and lemon dressing for a refreshing snack.
- Sprout Soup: Add to hot broth with tofu, mushrooms, or noodles.
- Sandwich Filling: Use them raw for extra crunch in sandwiches or wraps.
- Smoothie Booster: Believe it or not, a handful of sprouts can add freshness and nutrients to green smoothies!
Conclusion
Growing bean sprouts in plastic bottles is one of the simplest, fastest, and most rewarding DIY gardening projects you can do. In just four days, you’ll have a batch of crisp, delicious sprouts — no chemicals, no soil, no fake tricks. Just real gardening, real results.
This sustainable technique not only saves money but also helps reduce plastic waste, making it a small but meaningful step toward eco-friendly living. Whether you’re a beginner gardener or simply love fresh, healthy food, this method is a must-try.
So grab a few bottles, soak some beans, and watch nature work its magic — right in your own kitchen!

Leave A Comment