Growing cauliflower at home is an incredibly rewarding gardening experience. This nutrient-rich, cool-season vegetable might look challenging to grow, but with the right steps and consistent care, you can enjoy fresh, organic cauliflower straight from your kitchen garden. Whether you’re a beginner gardener or an experienced home grower, this complete guide with full updates will show you how to grow cauliflower successfully at home—from seed to harvest.
Why Grow Cauliflower at Home

Cauliflower is one of the most versatile and nutritious vegetables you can grow. It belongs to the same family as broccoli, kale, and cabbage but needs a bit more attention during growth. Here’s why growing cauliflower at home is worth your time:
- Fresh and Organic Produce: Homegrown cauliflower is free from harmful chemicals and synthetic fertilizers.
- Nutrient-Rich: Packed with vitamins C and K, folate, fiber, and antioxidants.
- Cost-Effective: A single plant can produce a large, dense head, saving you money.
- Perfect for Kitchen Gardens: You can grow cauliflower in pots, raised beds, or directly in the soil.
Step 1: Choosing the Right Variety
Choosing the right cauliflower variety is the first step to ensure success. Some varieties are early-maturing, while others take longer but produce larger heads.
Fast-growing varieties:
- Snowball: Popular for kitchen gardens, produces compact white heads.
- Early White: Matures quickly and tolerates a range of climates.
- Pusa Deepali: Suitable for Indian climates, early-maturing and productive.
- Cheddar Cauliflower: Unique orange-colored variety, rich in beta-carotene.
If you live in a warm region, go for heat-tolerant or tropical varieties to prevent premature flowering (bolting).
Step 2: Preparing the Soil
Cauliflower thrives in rich, fertile, and well-drained soil with a pH between 6.0 and 7.0. To prepare the perfect soil:

- Add Organic Compost: Mix 40% garden soil, 40% compost, and 20% sand or cocopeat for better drainage.
- Add Vermicompost or Cow Dung Manure: This provides nitrogen, which supports leaf and head development.
- Include Bone Meal or Rock Phosphate: Enhances root and flower growth.
- Maintain Moisture: Cauliflower requires moist but not waterlogged soil, so ensure proper drainage.
If you’re using containers, choose one that’s at least 12 inches deep and wide, with several drainage holes.
Step 3: Sowing the Seeds
Cauliflower can be grown from seeds or nursery seedlings, but starting from seeds gives better control and organic purity.
Seed Sowing Process:
- Sow seeds ½ inch deep in seed trays or small pots.
- Keep the soil consistently moist but not soggy.
- Seeds usually germinate in 5–10 days.
- Keep the seed trays in a bright, warm place with indirect sunlight.
Once the seedlings reach 4–5 inches tall and develop 3–4 true leaves, they are ready for transplanting into the main pot or garden bed.
Step 4: Transplanting the Seedlings
When transplanting, handle the seedlings gently to avoid damaging the delicate roots.
Steps for Transplanting:

- Transplant during the evening or on a cloudy day to prevent shock.
- Maintain 18–20 inches spacing between plants.
- Water thoroughly right after transplanting.
- Apply a light layer of mulch to retain moisture and regulate soil temperature.
Step 5: Sunlight and Watering
Cauliflower requires 6 to 8 hours of sunlight daily. However, in extremely hot regions, partial shade during peak afternoon hours can help prevent stress.
Watering Tips:
- Keep the soil evenly moist at all times, especially during head formation.
- Avoid overhead watering, which can cause fungal diseases.
- Use a watering can or drip irrigation for even moisture.
- Mulch around the base with dry leaves, straw, or coco husk to retain soil moisture.
Step 6: Feeding and Fertilizing Organically
To grow healthy, large cauliflower heads, you need to provide steady nutrition. Use organic fertilizers regularly for best results.
- Compost Tea or Vermiwash: Feed every 10–15 days for nutrient supply.
- Banana Peel Fertilizer: Rich in potassium, promotes healthy head formation.
- Cow Dung Slurry: Apply once every 20 days to boost nitrogen levels.
- Seaweed or Fish Emulsion: Strengthens plants and promotes steady growth.
Avoid over-fertilizing, as too much nitrogen can result in leafy plants with small heads.
Step 7: Temperature and Climate Requirements
Cauliflower is a cool-season crop and grows best in temperatures between 15°C and 25°C (59°F to 77°F).
In hot regions:

- Use shade nets or grow under partial cover.
- Mulch heavily to cool the soil.
- Water early in the morning or evening.
In cold regions:
- Protect plants from frost by covering them with plastic or jute sheets at night.
- Grow early or late varieties suited for your climate zone.
Step 8: Pest and Disease Management
Cauliflower plants can attract pests like aphids, cabbage worms, caterpillars, and whiteflies. To keep them under control naturally:
- Neem Oil Spray: Mix 5 ml neem oil in 1 liter of water and spray every 7 days.
- Garlic and Chili Spray: Repels most common insects.
- Manual Removal: Inspect leaves daily and remove visible pests.
- Companion Planting: Grow marigolds, mint, or basil near cauliflower to repel insects naturally.
For fungal diseases like downy mildew, use baking soda spray (1 teaspoon baking soda in 1 liter of water) once every two weeks as a preventive measure.
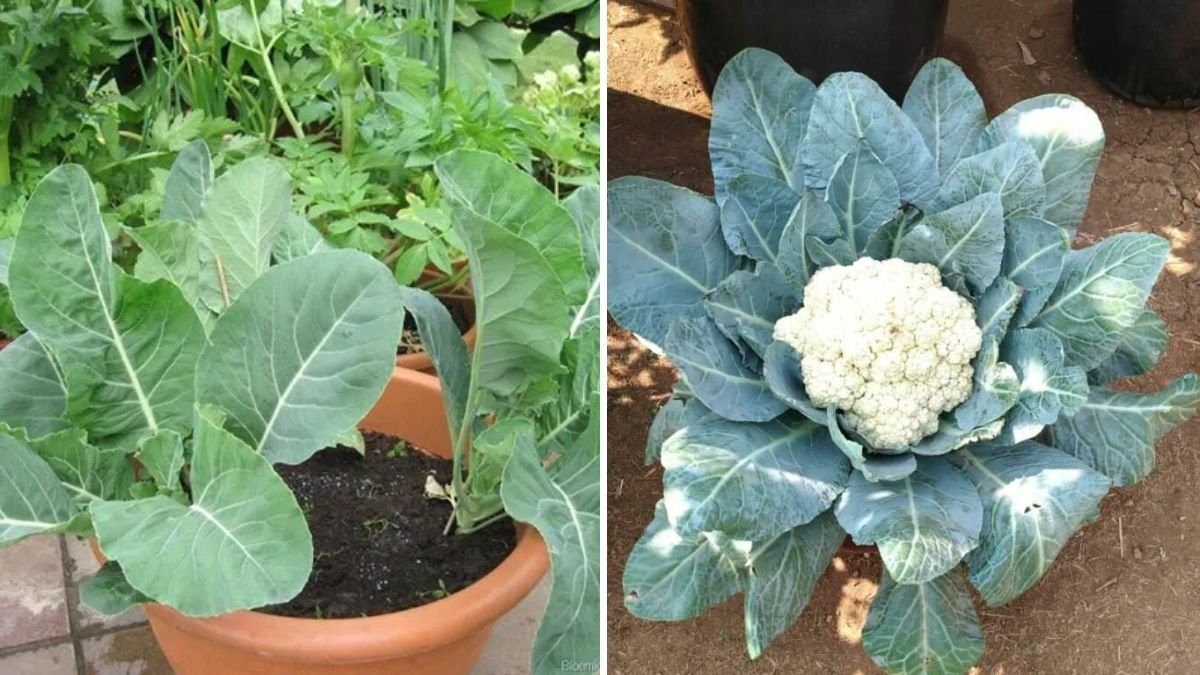
Step 9: Blanching the Cauliflower Head
Blanching is an important step to keep the cauliflower head white and tender.
What Is Blanching?
When the cauliflower head begins to form (around 2 inches in diameter), gently bring the outer leaves over the head and tie them with soft twine or rubber bands. This shields the developing head from direct sunlight and prevents it from turning yellow.
Check the tied leaves regularly to ensure no pests are trapped inside.

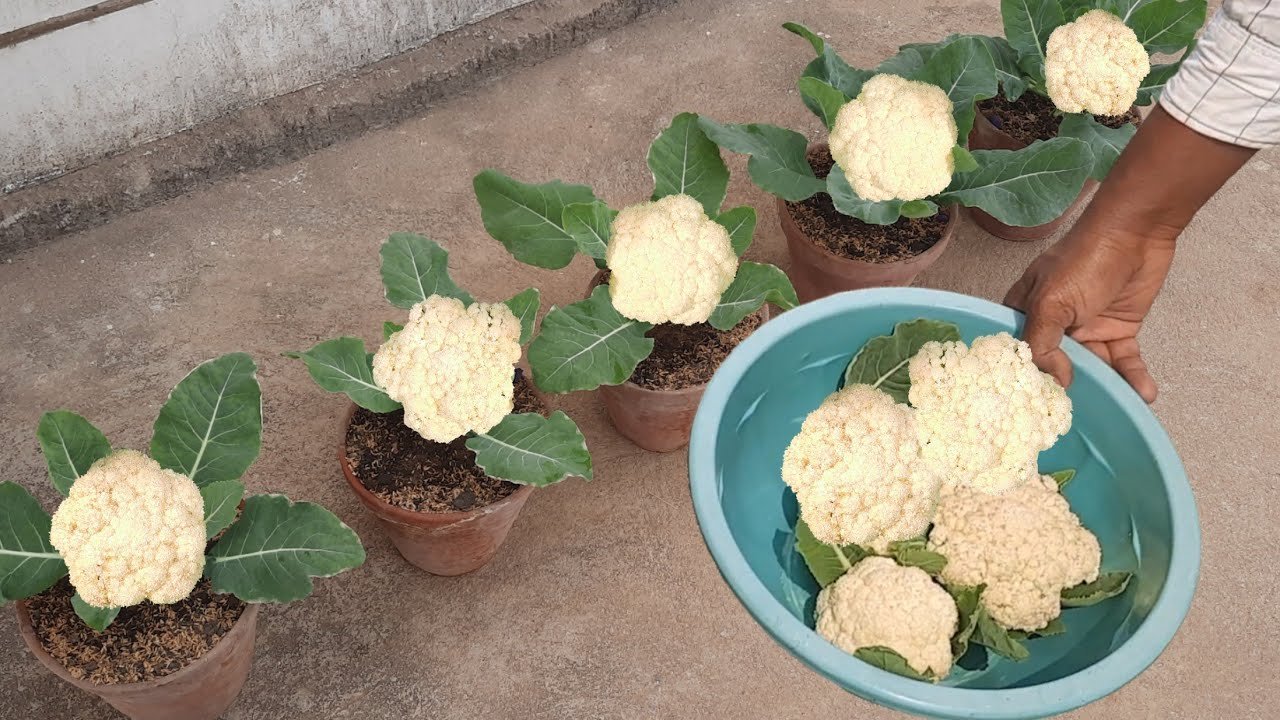
Step 10: Harvesting Cauliflower
Cauliflower is ready to harvest 70–100 days after transplanting, depending on the variety and growing conditions.
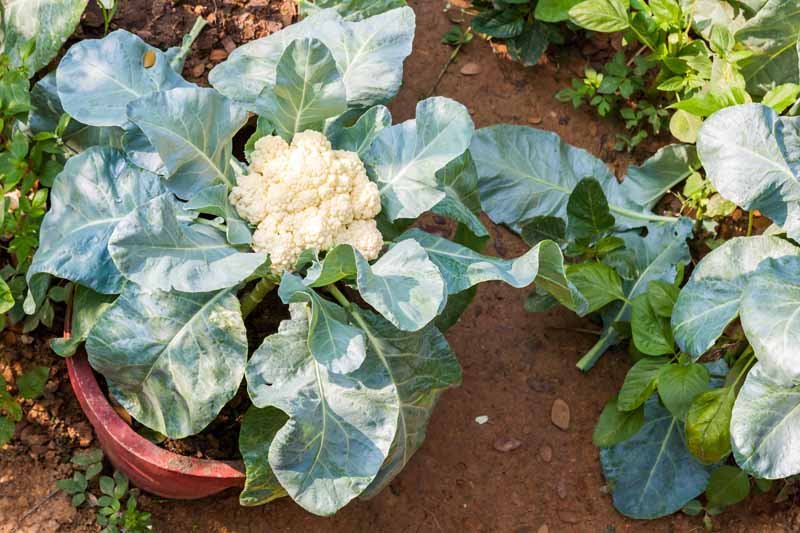
How to Know It’s Ready:
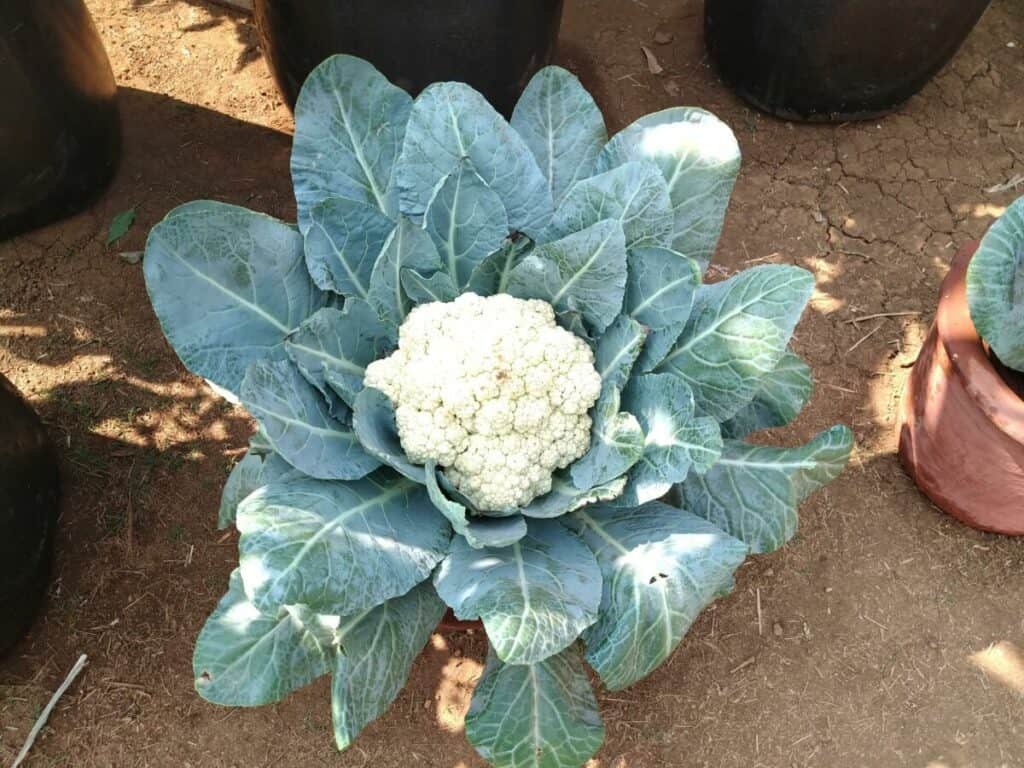
- The head (curd) should be compact, firm, and fully developed.
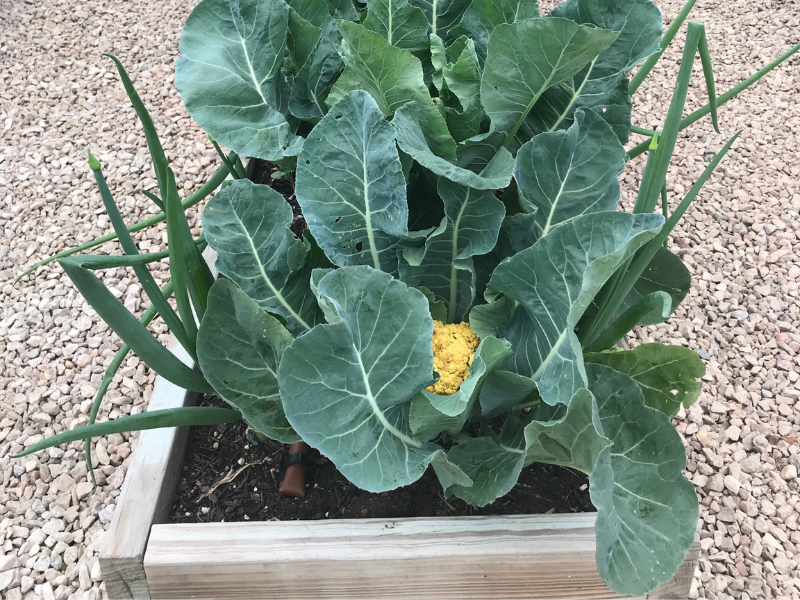
- The color should be pure white, creamy white, or light green depending on the variety.
- Harvest before the florets start to separate or turn yellow.
How to Harvest:
- Use a sharp knife to cut the head off along with a few surrounding leaves for protection.
- Handle gently to avoid bruising the head.
After harvesting, smaller side shoots may form, especially in some varieties—these can also be harvested later.
Step 11: Post-Harvest Care and Continuous Growth
Even after harvesting the main head, the plant can continue producing smaller florets. Keep watering moderately and feed with compost tea once a week.
Once the plant stops producing, remove it and add the remains to your compost bin to enrich your garden soil naturally.

Step 12: Common Mistakes to Avoid
- Irregular Watering: Causes poor head formation.
- Planting Too Late: Cauliflower doesn’t tolerate heat well; start early.
- Using Poor Soil: Lacking nutrients will result in small or deformed heads.
- Ignoring Pests: Early pest control is crucial for success.
- Not Blanching: Leads to yellow or loose heads.
Step 13: Health Benefits of Homegrown Cauliflower
Homegrown cauliflower isn’t just tastier; it’s also healthier. Here are some key benefits:
- Rich in Antioxidants: Helps reduce inflammation.
- Supports Heart Health: Promotes better circulation and reduces cholesterol.
- Aids Digestion: High fiber content keeps your gut healthy.
- Boosts Immunity: High vitamin C supports immune function.
- Weight Management: Low in calories but high in nutrients.
Step 14: Bonus Tips for Faster Growth
- Soak seeds in warm water overnight before sowing for faster germination.
- Use raised beds for better drainage and faster root growth.
- Keep soil consistently moist but avoid waterlogging.
- Rotate cauliflower with other crops like beans or onions to improve soil health.
- Apply Epsom salt solution (one teaspoon per liter of water) monthly to strengthen the plants.
Final Thoughts
Growing cauliflower at home may seem challenging at first, but once you understand its needs—cool temperature, steady moisture, rich organic soil, and proper care—it becomes an enjoyable process. The satisfaction of harvesting your own organic cauliflower is unmatched, both in taste and health benefits.
By following these full updates and step-by-step instructions, you can successfully grow cauliflower in pots, containers, or your kitchen garden with great results. With patience, observation, and organic care, your garden will reward you with beautiful white cauliflower heads that are as fresh as they are flavorful.
Leave A Comment