Bell peppers — vibrant, flavorful, and packed with nutrients — are among the most rewarding vegetables you can grow at home. Whether you enjoy them in salads, stir-fries, or stuffed with your favorite fillings, there’s nothing quite like harvesting big, sweet, and colorful bell peppers straight from your own garden.
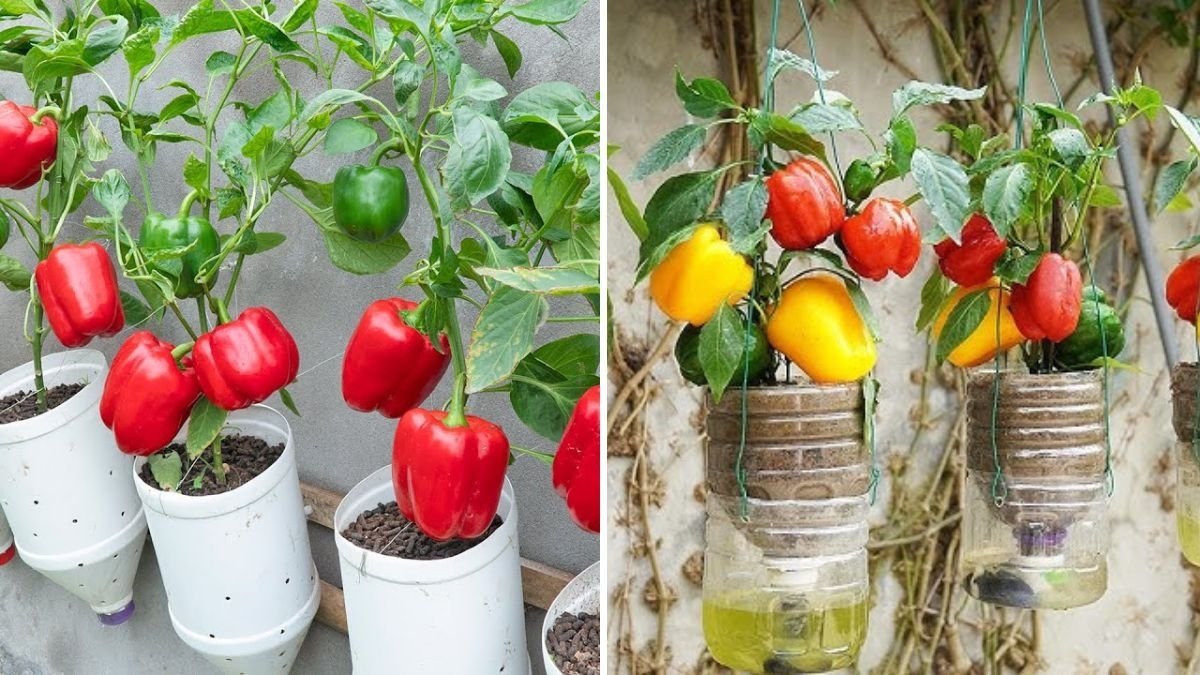
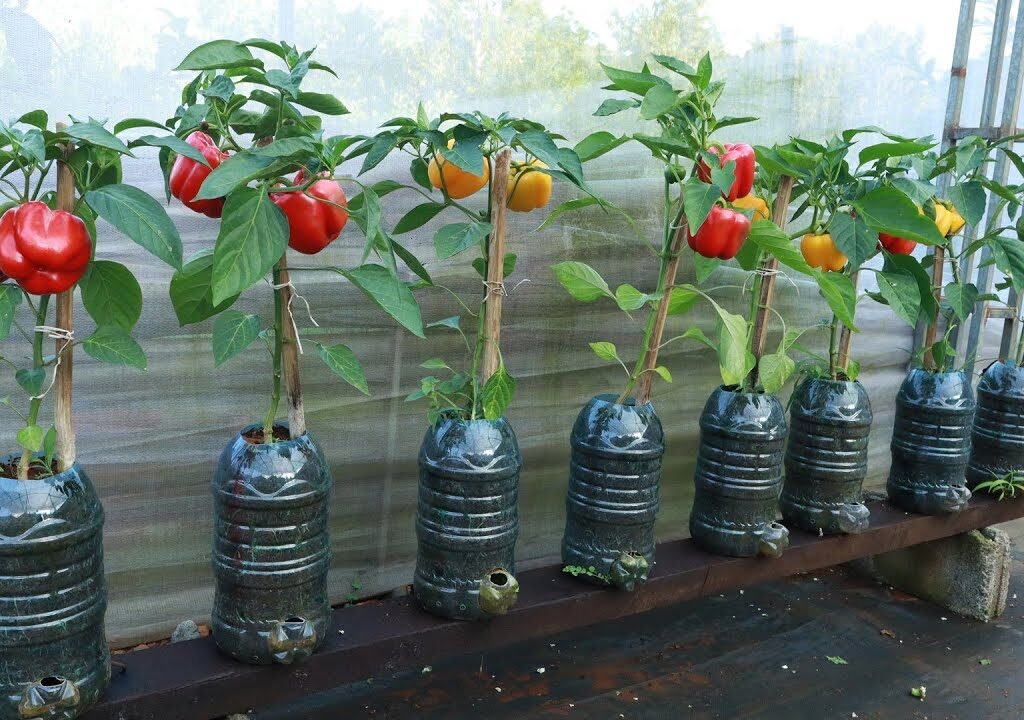
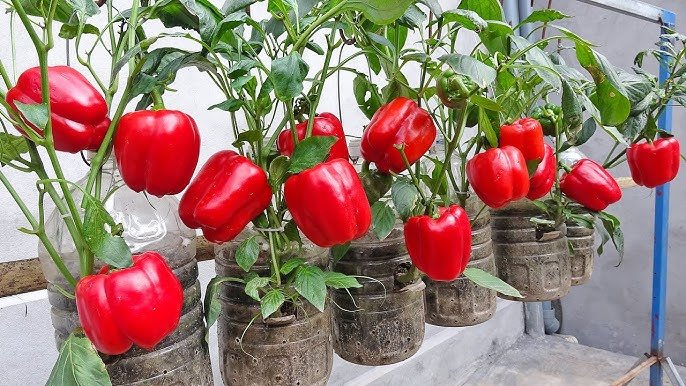
But here’s the best part: you don’t need a large garden or fancy equipment to grow them successfully. With the right method, you can grow large, juicy, and sweet bell peppers right in plastic containers — on your balcony, terrace, or even in a sunny window space.
Inspired by the YouTube video “How to grow bell peppers in plastic containers – Tips to grow bigger and sweeter bell peppers,” this step-by-step guide will walk you through everything — from choosing the right seeds to achieving healthy plants that produce heavy yields of delicious peppers.
Why Grow Bell Peppers in Plastic Containers?
Growing bell peppers in containers offers a ton of benefits, especially for urban gardeners with limited space. Here’s why it’s a great choice:
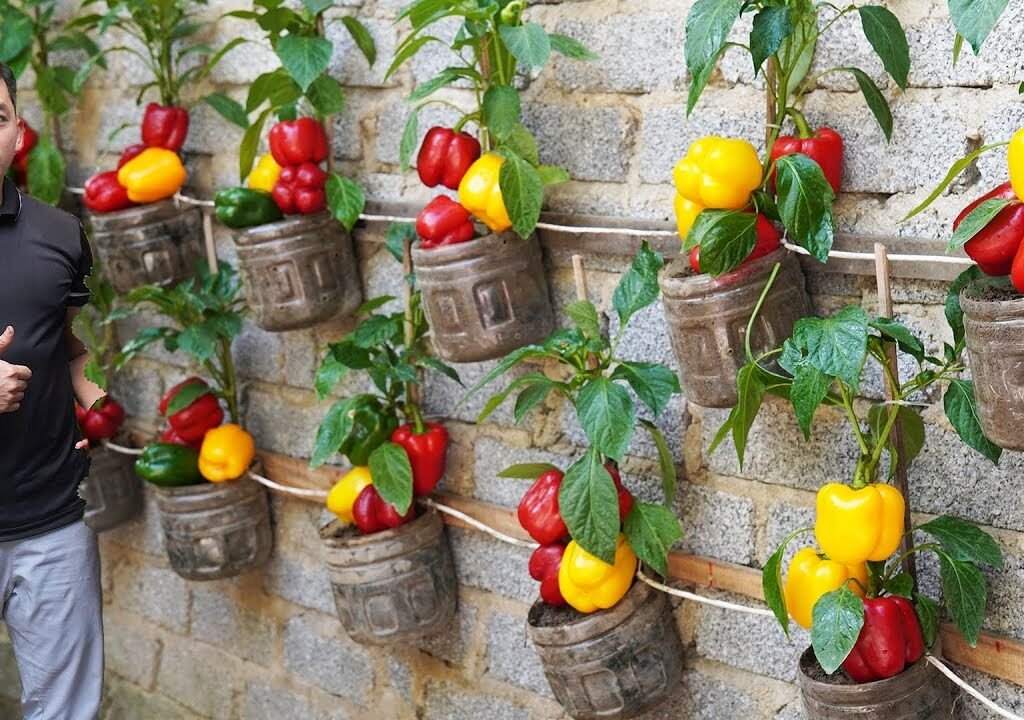
- Space-efficient: You can grow them on balconies, terraces, patios, or even windowsills.
- Easy to manage: Container gardening gives you full control over soil, water, and nutrients.
- Pest control: Fewer weeds and easier pest monitoring compared to in-ground planting.
- Eco-friendly: Reusing plastic containers helps reduce waste.
- Consistent results: Proper soil mix and container drainage encourage faster growth and bigger fruits.
Whether you’re a beginner or an experienced gardener, this method guarantees a sweet and plentiful harvest.
Step 1: Choosing the Right Container
To grow big, healthy bell peppers, your container must provide enough space for roots to expand and support the plant’s growth.
Ideal container size:
- Depth: At least 12–14 inches
- Width: Minimum 12 inches (per plant)
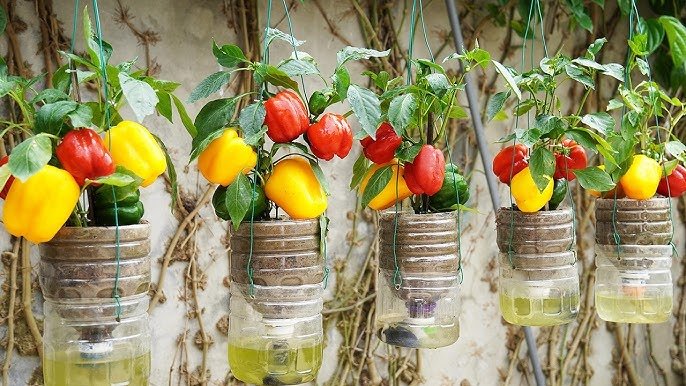
You can use plastic tubs, buckets, old paint cans, or recycled water bottles (cut large enough). Just make sure:

- Each container has drainage holes at the bottom.
- The material is durable and non-toxic.
If you’re using a deep container, you can even plant two seedlings per container — just give them enough space to spread.
Step 2: Preparing the Soil Mix
Bell peppers love loose, nutrient-rich, and well-drained soil. A good potting mix is essential for root development and fruit size.
Here’s the perfect blend for container-grown peppers:
- 40% garden soil or coco peat
- 30% compost or cow dung manure
- 20% sand or perlite (for aeration)
- 10% neem cake or organic fertilizer powder
Mix everything thoroughly before filling the containers. This blend ensures proper drainage, prevents fungal growth, and supplies long-term nutrition.
Step 3: Seed Selection and Germination
You can either buy high-quality seeds from a local nursery or extract them from a ripe, healthy bell pepper. Choose red, yellow, or orange peppers for a sweeter taste.
Steps to germinate seeds:
- Soak seeds in warm water for 8–10 hours to soften the outer layer.
- Fill a small tray or nursery pot with moist potting mix.
- Place seeds 1–2 cm deep and lightly cover with soil.
- Mist with water and cover the tray with plastic wrap or a lid to retain humidity.
- Keep in a warm, shaded place (25–30°C) for 7–14 days until seedlings appear.
Once the seedlings grow about 10–12 cm tall and develop 4–6 true leaves, they’re ready for transplanting into containers.
Step 4: Transplanting the Seedlings
- Fill your plastic containers with the prepared potting mix, leaving 2–3 inches at the top.
- Make a small hole in the center.
- Gently remove the seedling from the tray, keeping the roots intact.
- Place it into the hole and cover lightly with soil.
- Water immediately after transplanting to help the roots settle.
If you’re planting multiple containers, space them 20–25 cm apart for proper airflow and sunlight access.

Step 5: Providing the Right Conditions
Bell peppers thrive in warm, sunny environments. Here’s how to keep them happy:
Sunlight:
- Provide 6–8 hours of direct sunlight daily.
- If growing indoors, place near a bright window or use LED grow lights.
Temperature:
- Ideal range: 20–30°C (68–86°F).
- Protect from strong winds or cold drafts — peppers are sensitive to low temperatures.
Humidity:
- Maintain moderate humidity (50–70%). Too much moisture can lead to fungal diseases.
Step 6: Watering the Plants
Bell peppers need consistent moisture — not too dry, not too soggy.
Watering tips:
- Water when the top 1 inch of soil feels dry.
- Use a watering can with a narrow spout or a spray bottle for even distribution.
- Avoid overwatering — waterlogged roots cause yellow leaves and stunted growth.
- In hot weather, water daily in small amounts.
To retain moisture, add mulch (dry leaves, coco husk, or straw) around the plant base.
Step 7: Fertilizing for Bigger, Sweeter Peppers
Nutrition makes all the difference between small, bland peppers and big, sweet, and colorful ones.

Feed your plants regularly every 15–20 days with organic fertilizer. Here’s a simple natural feeding plan:
- Compost tea:
- Mix 2 tablespoons of compost in 1 liter of water.
- Let it sit for 24 hours, then strain and pour at the base.
- Banana peel fertilizer:
- Boil banana peels in water for 10 minutes.
- Cool and use this potassium-rich solution to sweeten the fruits.
- Bone meal or fish emulsion:
- Add a teaspoon to the soil once a month for calcium and phosphorus, boosting fruit size.
Avoid chemical fertilizers — they can make the peppers grow fast but reduce their natural sweetness.
Step 8: Pruning and Supporting the Plants
As bell peppers grow, they tend to get bushy. Pruning helps the plant focus energy on producing large, healthy fruits.
Pruning steps:
- Remove any yellow or dead leaves.
- Pinch off the first flowers (up to 30 cm plant height) — this strengthens the main stem.
- Cut small side shoots growing between branches (called suckers).
Use a small bamboo stick or stake to support the plant as it grows taller. Tie it gently with a soft cloth or string to prevent bending under the fruit’s weight.
Step 9: Encouraging Pollination
Bell peppers are self-pollinating, but gentle assistance can improve yields, especially if you’re growing indoors.
You can:
- Gently shake the plant to spread pollen between flowers.
- Use a small brush or cotton swab to transfer pollen manually.
- Keep windows open for a few hours to let air and insects assist naturally.
Proper pollination leads to fuller fruits and better shape.

Step 10: Pest and Disease Management
Container-grown bell peppers are easier to monitor, but some pests can still appear.
Common issues and remedies:
- Aphids or whiteflies: Spray diluted neem oil every 7–10 days.
- Leaf curl: Caused by viral infection — remove affected leaves and ensure airflow.
- Yellowing leaves: Usually from overwatering or nitrogen deficiency — adjust watering and apply compost tea.
Keep your containers clean and rotate them occasionally for even sunlight exposure.
Step 11: Harvesting Your Bell Peppers
Bell peppers typically mature 60–80 days after transplanting.
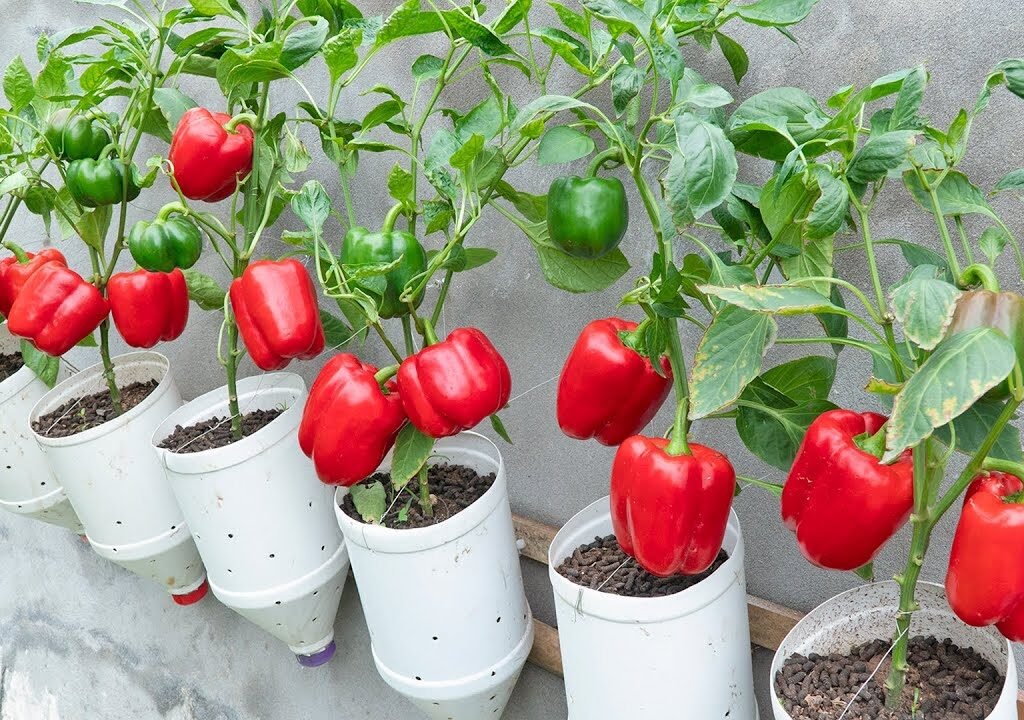
- For green peppers: Harvest when they reach full size and glossy texture.
- For red, yellow, or orange peppers: Leave them on the plant longer to ripen fully — sweetness increases with color.
Use scissors or a knife to cut the fruit with a small portion of the stem attached. Avoid pulling to prevent stem damage.
After harvesting, the same plant can continue producing for 3–4 months with proper care.
Step 12: Health Benefits of Bell Peppers
Homegrown bell peppers aren’t just delicious — they’re packed with health benefits:
- Rich in vitamin C: Strengthens immunity and promotes glowing skin.
- Loaded with antioxidants: Fights inflammation and cell damage.
- High in fiber: Improves digestion and supports gut health.
- Low in calories: Ideal for weight management diets.
- Contains capsaicin (mild): Boosts metabolism and heart health.
Eating a variety of colored peppers ensures a wide range of nutrients and phytonutrients that support your overall health.

Step 13: Sustainability and Reuse
Once your harvest is complete, you can reuse the plastic containers for the next crop.
- Replace the old soil with fresh potting mix and compost.
- Wash and disinfect containers before replanting.
- Rotate crops — grow herbs or leafy greens next to maintain soil health.
This way, your container garden stays productive year-round, reducing waste and maximizing space.
Conclusion
Growing bell peppers in plastic containers is one of the easiest, most sustainable ways to enjoy homegrown produce. With the right soil mix, regular watering, and natural fertilizing, you can achieve bigger, sweeter, and more colorful peppers even in a small space.
This method proves that gardening doesn’t require acres of land — just a bit of creativity, consistency, and care. In just a few weeks, your balcony or terrace can transform into a lush green space bursting with vibrant peppers ready for harvest.
So, grab some seeds, recycle those plastic containers, and start your bell pepper growing journey today — your taste buds and the planet will thank you!
Leave A Comment