Edamame — also known as young soybeans — are not only delicious and nutritious but also surprisingly easy to grow in your home garden or containers. Whether you’re a beginner gardener or a seasoned grower, understanding how to nurture edamame plants from nursery to harvest will reward you with a plentiful, protein-packed crop.
In this complete guide (inspired by “How to Grow and Care for Edamame Nursery Plant Part 4: Harvest”), we’ll take you through every stage of the process — from caring for young nursery plants to harvesting mature pods bursting with flavor.
1. What is Edamame and Why Grow It?
Edamame (Glycine max) is the immature form of soybeans, harvested before the pods fully harden. These bright green pods are rich in protein, fiber, and antioxidants, making them a favorite among health-conscious gardeners.
Benefits of growing edamame:
- High in plant-based protein.
- Improves soil fertility by fixing nitrogen.
- Grows easily in containers or garden beds.
- Yields nutritious, fresh produce within 2–3 months.
If you enjoy snacking on steamed edamame or adding it to stir-fries and salads, growing your own ensures fresher, tastier results with zero chemicals.
2. Understanding the Edamame Growth Cycle
To grow edamame successfully, it’s important to know its growth stages:
- Germination: Seeds sprout within 5–7 days after planting.
- Seedling stage: True leaves emerge, forming a small nursery plant.
- Vegetative growth: The plant grows taller, forming lush green foliage.
- Flowering: Small purple or white blooms appear.
- Pod formation: Pods develop and fill with tender beans.
- Harvest: Pods turn plump and slightly fuzzy, ready to pick and eat.
Each stage requires slightly different care, so let’s dive into how to manage each one effectively.
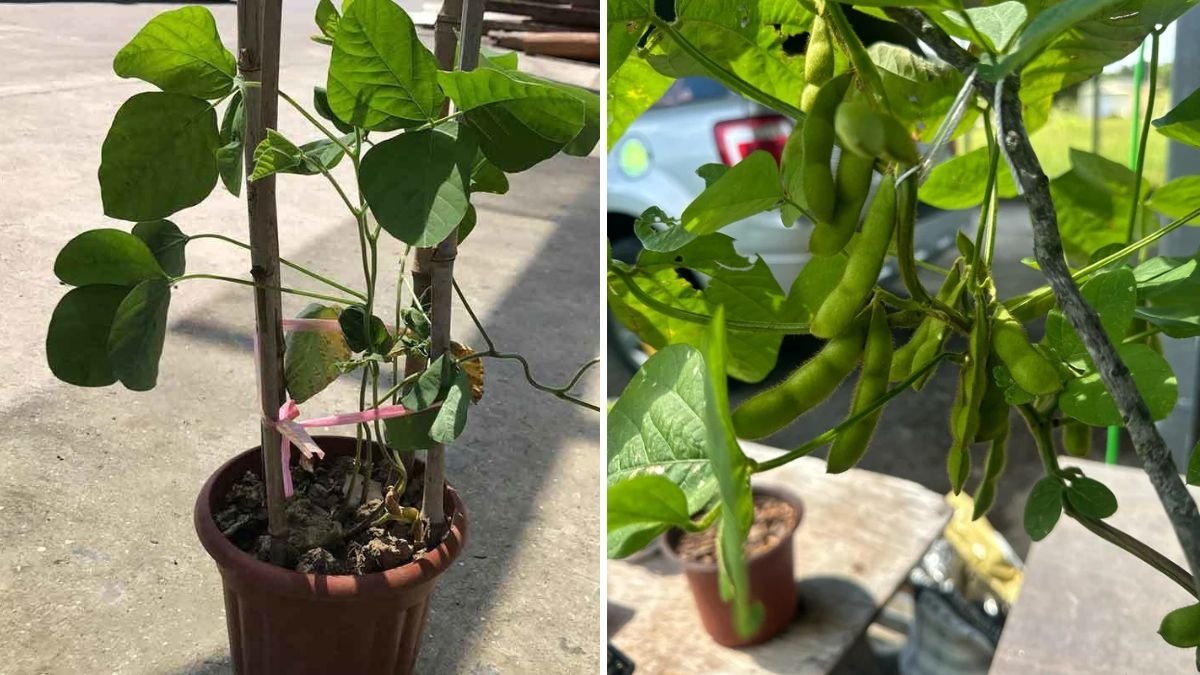
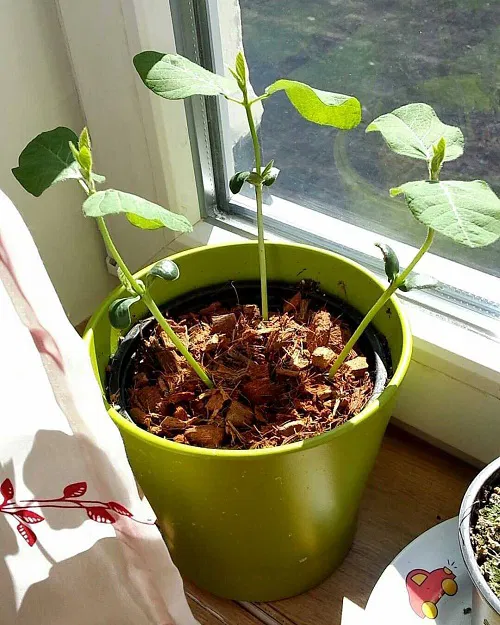
3. Preparing for Transplanting Nursery Plants
If you’ve started your edamame from seeds in small pots or trays, your next step is transplanting the nursery plants into containers or garden beds.

Best time to transplant:
When seedlings are about 4–6 inches tall and have at least two sets of true leaves.
Steps:
- Choose the right location: Edamame loves full sun — at least 6 hours daily.
- Prepare the soil: Use loose, well-draining soil enriched with compost.
- Spacing: Plant seedlings about 12 inches apart in rows spaced 18 inches apart.
- Transplant gently: Avoid disturbing the roots. Place each seedling at the same depth it was growing in the nursery tray.
- Water thoroughly: Keep the soil moist after transplanting to help roots establish quickly.
If growing in containers, choose a 12-inch deep pot with good drainage and plant 2–3 seedlings per container.
4. The Ideal Soil Mix for Edamame
Edamame plants grow best in slightly acidic to neutral soil (pH 6.0–7.0). The soil should be rich in organic matter but light enough for root aeration.
Recommended mix:
- 50% garden soil
- 25% compost or well-rotted manure
- 20% coco peat or peat moss
- 5% sand or perlite for drainage
Since edamame belongs to the legume family, it forms root nodules that fix nitrogen — meaning it naturally enriches your garden soil over time!
5. Watering and Moisture Needs
Edamame requires consistent moisture throughout its growth, especially during flowering and pod development. However, overwatering can lead to root rot.
Watering tips:

- Keep soil evenly moist, not soggy.
- Water deeply twice a week during dry weather.
- Mulch the soil with straw or leaves to conserve moisture.
- Avoid wetting leaves to prevent fungal infections.
During flowering and pod formation, moisture stress can cause flower drop or small, empty pods — so stay consistent with watering during these stages.
6. Fertilizing Your Edamame Plants
Since edamame is a nitrogen-fixing plant, it doesn’t need heavy nitrogen fertilizers. Instead, focus on a balanced feeding to encourage healthy growth and abundant pods.
Fertilizing schedule:
- Before planting: Mix compost or vermicompost into the soil.
- Mid-growth: Add organic potassium and phosphorus (like banana peel compost or bone meal) to support flowering and pod development.
- Avoid overfeeding: Too much nitrogen promotes leafy growth instead of pods.
You can also spray seaweed extract or compost tea every 2–3 weeks to boost nutrient uptake naturally.
7. Light and Temperature Requirements
Edamame thrives in warm weather.
Ideal growing conditions:
- Temperature: 70°F–85°F (21°C–29°C).
- Sunlight: 6–8 hours of full sun daily.
- Climate: Best grown in spring and summer or early fall in warm regions.
In cooler climates, start plants indoors and move them outside after the last frost. Avoid extreme cold or heavy rains during flowering, as these can affect pod formation.
8. Caring for Edamame Plants
Once your edamame plants are growing steadily, regular maintenance will help ensure a healthy and productive crop.

Care tips:
- Weeding: Keep the area weed-free — weeds compete for nutrients and water.
- Mulching: Add organic mulch to maintain soil temperature and reduce evaporation.
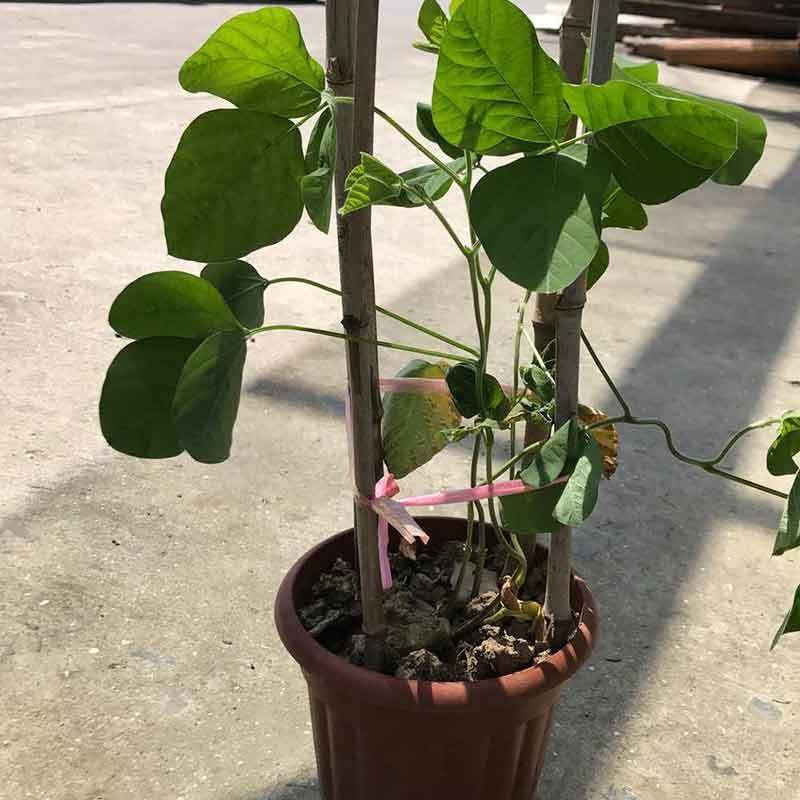
- Support: While edamame plants are usually self-supporting, taller varieties may benefit from light staking or netting.
- Pest control: Watch for aphids, caterpillars, or bean beetles. Spray neem oil every 10–15 days as a preventive measure.
Healthy plants should grow compact and bushy, with small clusters of pods forming after about 50–60 days.
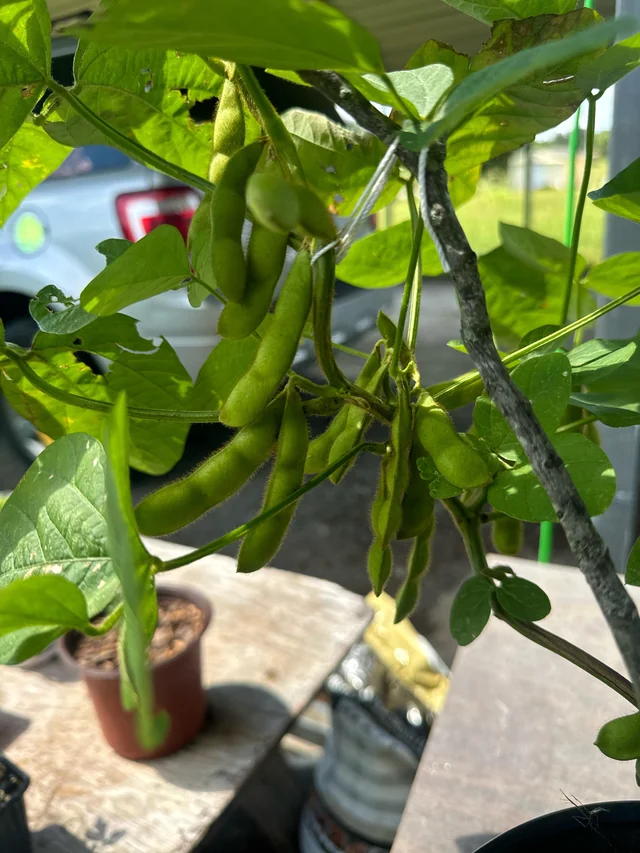
9. Flowering and Pod Development Stage
Around 6–8 weeks after transplanting, you’ll notice small, delicate purple or white flowers forming on your edamame plants. These blooms mark the beginning of pod development.
What to do during this stage:
- Continue consistent watering.
- Avoid disturbing plants — flowers are delicate.
- Add a potassium-rich feed to promote plump pod formation.
- Keep an eye out for pests, especially during this tender phase.
Within a few weeks, pods will start forming and gradually swell as the beans inside mature.
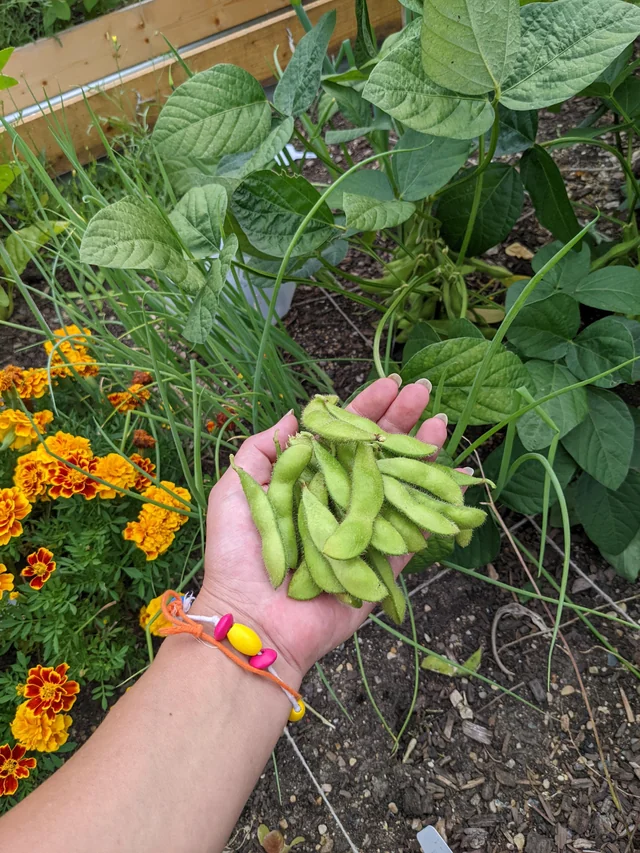
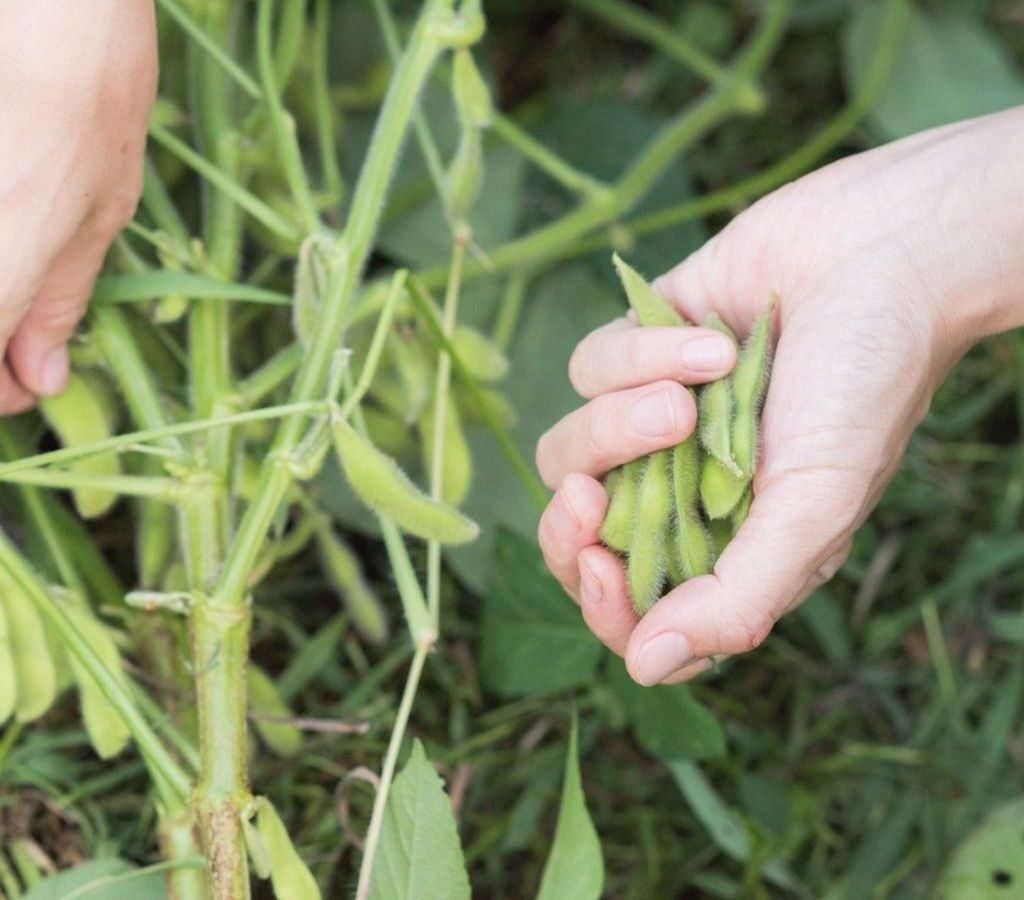
10. Harvesting Edamame
The most exciting part — harvest time!
Edamame is ready for harvest about 75–100 days after planting. The pods should be:
- Bright green and slightly fuzzy.
- Plump but not yellow or hard.
- About 2–3 inches long, containing 2–3 beans each.
Harvesting steps:

- Check for maturity — pods should be filled but not dry.
- Use scissors or garden shears to snip the pods off the plant.
- Alternatively, pull up the entire plant if all pods have matured together.
Harvesting at the right time ensures the beans are tender, sweet, and packed with flavor.
11. How to Enjoy Your Fresh Harvest
Freshly harvested edamame can be prepared and enjoyed in many delicious ways!
To cook:
- Rinse pods thoroughly.
- Boil in salted water for 3–5 minutes until bright green.
- Drain and serve hot with sea salt or chili flakes.
You can also steam, stir-fry, or roast them for a healthy snack. Inside the pod, the beans pop out easily — buttery, nutty, and full of nutrition.
12. Post-Harvest Care and Storage
If you’ve harvested more than you can eat right away, don’t worry — edamame stores beautifully.
Storage options:
- Refrigerate: Keep fresh pods in a zip-lock bag for up to 5 days.
- Freeze: Blanch pods in boiling water for 2–3 minutes, then cool in ice water and freeze. They’ll stay fresh for up to 6 months.
- Dry: For longer storage, you can also dry the beans and use them as mature soybeans later.
13. Saving Seeds for the Next Season
If you’d like to save seeds for replanting, leave a few plants unharvested. Allow the pods to dry naturally on the plant until they turn brown and brittle.
Collect and store the dried beans in an airtight jar in a cool, dry place — they’ll stay viable for next season’s planting.

14. Common Problems and Solutions
| Problem | Likely Cause | Solution |
|---|---|---|
| Yellow leaves | Overwatering or poor drainage | Water less frequently, ensure good drainage |
| Few or no pods | Too much nitrogen fertilizer | Switch to phosphorus and potassium feed |
| Pests (aphids, beetles) | Insects feeding on leaves/pods | Use neem oil or garlic spray |
| Dropping flowers | Heat stress or drought | Maintain consistent watering and mulch |
By maintaining balanced care, your edamame crop will thrive beautifully.
15. Why You’ll Love Growing Edamame
Growing edamame offers more than just a tasty harvest — it’s a rewarding gardening experience. These hardy plants:
- Enrich your soil naturally.
- Require minimal maintenance.
- Produce delicious, protein-packed snacks.
- Grow well in limited spaces and containers.
Plus, watching the pods fill and ripen is deeply satisfying — it’s like growing your own mini soybean farm right at home.
Final Thoughts
From nurturing nursery plants to harvesting vibrant green pods, growing edamame is a simple, sustainable, and rewarding journey for any gardener. With the right balance of sunlight, soil, and care, you can enjoy multiple flushes of tender, flavorful beans throughout the growing season.
So whether you’re cultivating edamame in raised beds or containers on your balcony, remember: with a little patience and consistent care, those small nursery plants can give you a generous, healthy harvest.
Leave A Comment