Growing your own vegetables at home is not only fun and rewarding but also an excellent way to eat fresh, chemical-free food. Among all the plants you can grow, bean sprouts are one of the easiest and fastest options. They require minimal space, no soil, and very little maintenance. And here’s the best part — you can grow them using something as simple as plastic bottles that would otherwise end up in the trash!
This DIY gardening project is perfect for anyone who loves sustainability, creativity, and home-grown food. In this blog, we’ll walk you through the process of using plastic bottles to grow bean sprouts at home, explain why this method works so well, and share tips to ensure a healthy and continuous harvest.
Why Grow Bean Sprouts at Home?
Bean sprouts are young, tender shoots that emerge from germinated beans, usually mung beans or soybeans. They are rich in vitamins A, B, C, and E, minerals like calcium, magnesium, and iron, and are high in plant-based protein.
Here are a few reasons why growing them at home is a great idea:

- Fast Harvest: You can enjoy fresh sprouts in as little as 3–5 days.
- No Soil Needed: Bean sprouts grow hydroponically, which means they only need water.
- Eco-Friendly: Reusing plastic bottles reduces waste and helps the environment.
- Space-Saving: Perfect for small apartments, balconies, or even kitchen windowsills.
- Cost-Effective: You can grow a constant supply for pennies compared to store-bought options.
What You’ll Need
Before we start, gather a few simple items — most of which you probably already have at home:
- 1 or more empty plastic bottles (1.5 or 2 liters is ideal)
- A sharp knife or scissors (to cut the bottles)
- A piece of clean cloth or mesh (for covering bottle mouths)
- A rubber band (to secure the cloth)
- Mung beans or soybeans (these are the best for sprouting)
- Clean water
That’s it! With these simple materials, you can start your own mini sprout garden in minutes.
Step-by-Step Guide: How to Grow Bean Sprouts in Plastic Bottles
Let’s go step by step to ensure you get the best results.
Step 1: Prepare the Beans
Start by selecting high-quality, whole mung beans or soybeans. Avoid split or damaged seeds, as they won’t sprout properly.

- Rinse the beans thoroughly to remove dust and impurities.
- Soak them in a bowl of water for about 8 to 10 hours (overnight works best).
During this time, the beans will absorb water and swell up, beginning the germination process.
Step 2: Prepare the Plastic Bottle
Now, take your plastic bottle and clean it thoroughly with soap and water. Remove all labels to allow sunlight to reach the sprouts evenly.
- Cut the top of the bottle to create an opening wide enough to add and remove beans easily.
- Use a heated needle, knife tip, or small drill to make several tiny drainage holes near the bottom and on the sides for air circulation and water drainage.
This prevents mold growth and keeps the beans healthy.
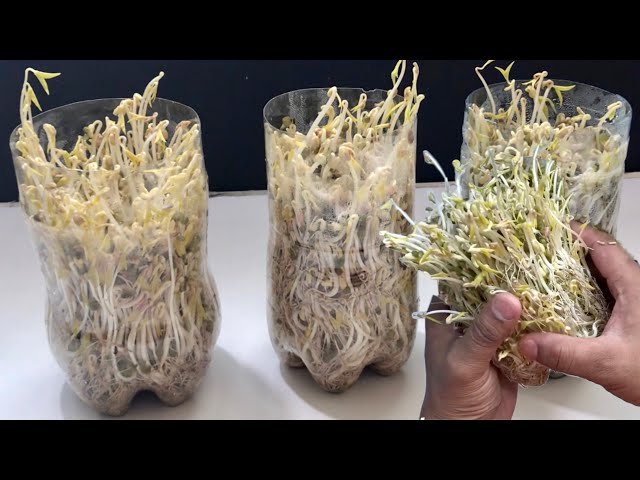
Step 3: Set Up the Sprouting Container
- Place the soaked beans into the bottle, filling only about one-quarter of its capacity.
(The beans will expand as they sprout, so don’t overcrowd them.) - Cover the bottle’s mouth with a piece of cloth or mesh and secure it tightly using a rubber band.
- This allows for easy rinsing and airflow while keeping insects and debris out.
Step 4: Rinse and Drain Daily
For the next 3–5 days, you’ll need to rinse and drain the beans 2–3 times per day.
Here’s how:
- Pour clean water through the cloth-covered opening.
- Swirl the bottle gently to rinse all beans.
- Invert the bottle to drain excess water completely.
Place the bottle in a shaded area (away from direct sunlight). Bean sprouts prefer a cool, dark environment for optimal growth.
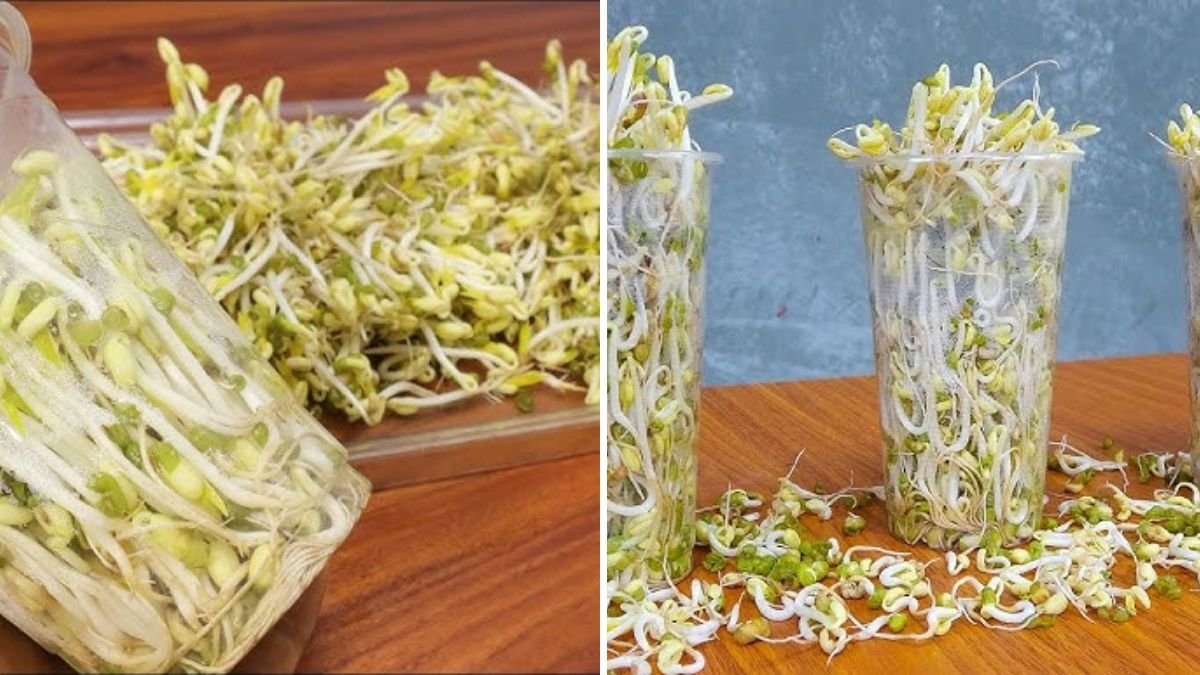
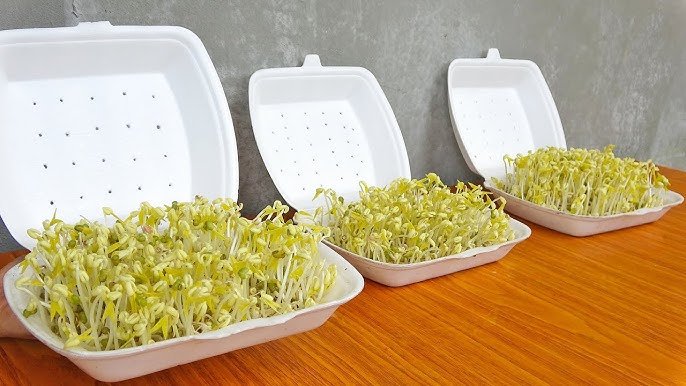
After a few days, you’ll notice tiny white shoots starting to appear — a sign your sprouts are growing beautifully!

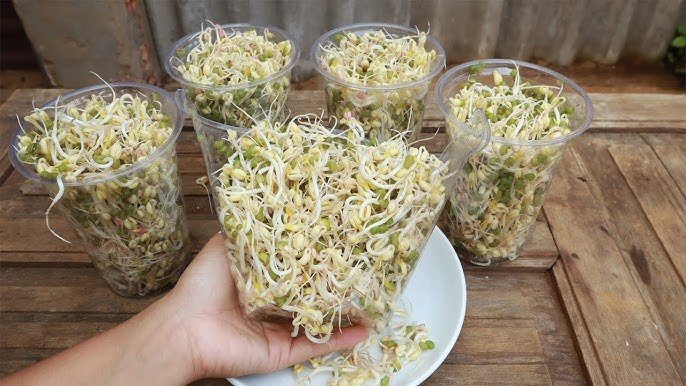
Step 5: Harvesting the Sprouts
By day 4 or 5, your bean sprouts should be about 2–3 inches long and ready to harvest.
Here’s what to do:
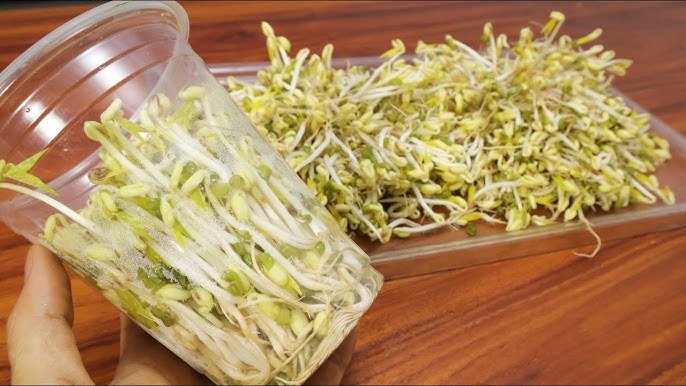
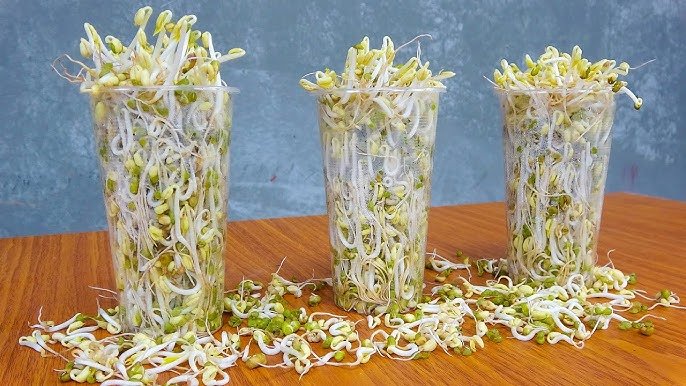
- Pour the sprouts out of the bottle into a bowl of clean water.
- Swirl gently to separate the seed husks (they’ll float on top and can be skimmed off easily).
- Drain and rinse one final time.
- Let them air dry for 30 minutes before storing.
Store your fresh sprouts in the refrigerator in an airtight container for up to 4 days.
However, for the best nutrition and crunch, it’s always better to consume them within 24–48 hours of harvest.
Tips for Success
- Use Clean Water: Always use filtered or boiled (then cooled) water to prevent bacterial contamination.
- Avoid Direct Sunlight: Bright light can make sprouts turn green and bitter.
- Keep It Moist, Not Wet: Overwatering can cause rot. Make sure to drain thoroughly after every rinse.
- Maintain Hygiene: Wash your hands, utensils, and bottles before every use.
- Rotate Bottles: If you want a continuous supply, start a new bottle every 2–3 days.
How to Use Fresh Bean Sprouts
Once you’ve harvested your crunchy sprouts, the culinary possibilities are endless!
Here are a few tasty and healthy ways to enjoy them:
- Stir-Fries: Add to noodles, fried rice, or sautéed vegetables for extra crunch.
- Salads: Mix with cucumber, carrots, and sesame dressing for a refreshing dish.
- Soups: Drop them into hot broth just before serving for added freshness.
- Sandwiches & Wraps: Layer with lettuce and avocado for a healthy filling.
- Smoothies: Yes, you can even blend them for a protein-packed green drink!
Bean sprouts not only enhance texture and flavor but also boost your meal’s nutritional value dramatically.

The Eco-Friendly Side of DIY Bottle Gardening
Using plastic bottles to grow food is a fantastic example of creative recycling. Instead of discarding bottles into landfills or oceans, you’re giving them a second life.
Here’s why this DIY gardening project is great for the planet:
- Reduces Plastic Waste: Every reused bottle saves energy and resources.
- Promotes Urban Gardening: Even if you live in a city apartment, you can grow fresh food.
- Saves Water: The enclosed bottle system uses minimal water compared to soil gardening.
- Teaches Sustainability: It’s a great hands-on activity for children to learn about eco-friendly living.
So, while you enjoy your delicious sprouts, you’re also doing your part to protect the environment!
Common Problems and How to Fix Them
Even though growing bean sprouts is simple, you might run into a few minor issues. Here’s how to handle them:
| Problem | Cause | Solution |
|---|---|---|
| Mold or foul smell | Too much moisture or poor airflow | Rinse and drain more thoroughly, add more air holes |
| Sprouts turning green | Exposure to sunlight | Move to a darker area |
| Beans not sprouting | Old or damaged seeds | Use fresh mung or soybean seeds |
| Sprouts too short | Harvested too early | Allow 1–2 more days for growth |
With a bit of observation and care, you’ll soon master the perfect balance for lush, healthy sprouts every time.

Final Thoughts
Growing bean sprouts in plastic bottles is one of the easiest, cheapest, and most rewarding gardening projects you can do at home. It doesn’t require any fancy equipment, soil, or large space — just creativity and consistency.
In less than a week, you can harvest fresh, crisp, nutrient-rich sprouts straight from your kitchen counter. Plus, this method turns everyday waste into a sustainable growing container, making it an eco-friendly and educational project for kids and adults alike.
So next time you finish a bottle of water or soda, don’t throw it away.
Give it a second life — turn it into a mini sprout garden and enjoy fresh greens all year round!
Leave A Comment