There’s nothing quite like the excitement of receiving a new plant in the mail — the anticipation, the unboxing, and the joy of adding another treasure to your garden collection. Recently, I added something truly special: a White Pakistan Mulberry.
This unique variety isn’t your typical mulberry. Known for its long, pale fruit and exceptionally sweet flavor, the White Pakistan Mulberry (Morus alba ‘Pakistan White’) is a must-have for gardeners who love growing exotic and rewarding fruit trees. In this post, I’ll share everything about this delightful new addition — from its origins and benefits to planting tips, growing care, and why it deserves a place in your own garden.
1. The Excitement of Receiving a New Plant
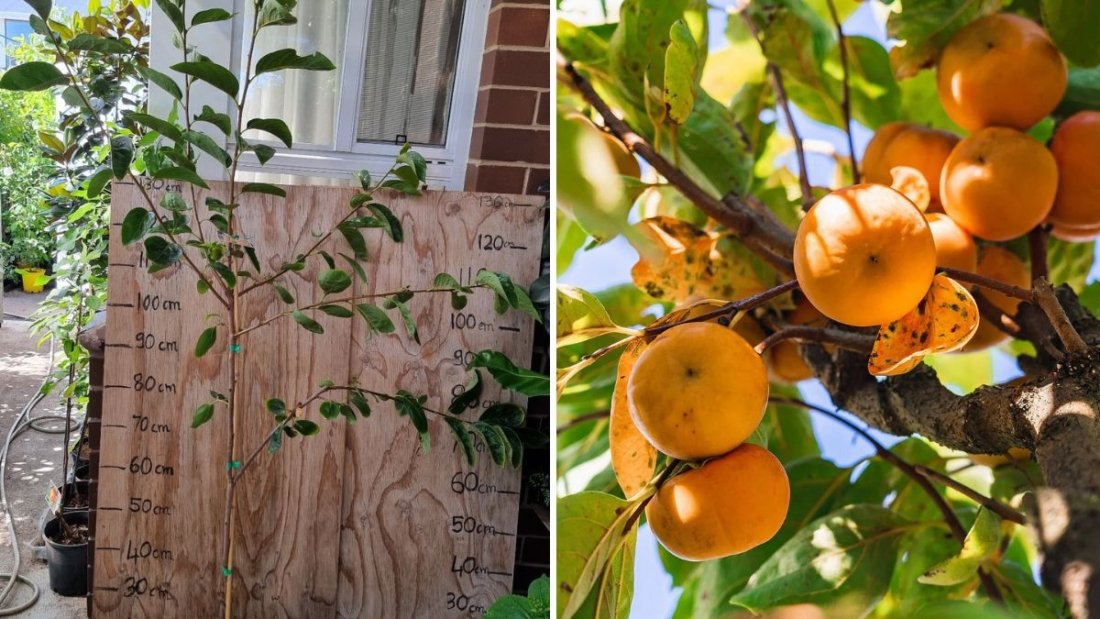
When that package arrived at my door, carefully labeled “Live Plant — Handle with Care,” I knew it was going to be a good day. There’s something magical about receiving a plant through the mail. Even before opening the box, the possibilities begin to bloom in your mind — where to plant it, how it will grow, and what it will bring to your collection.
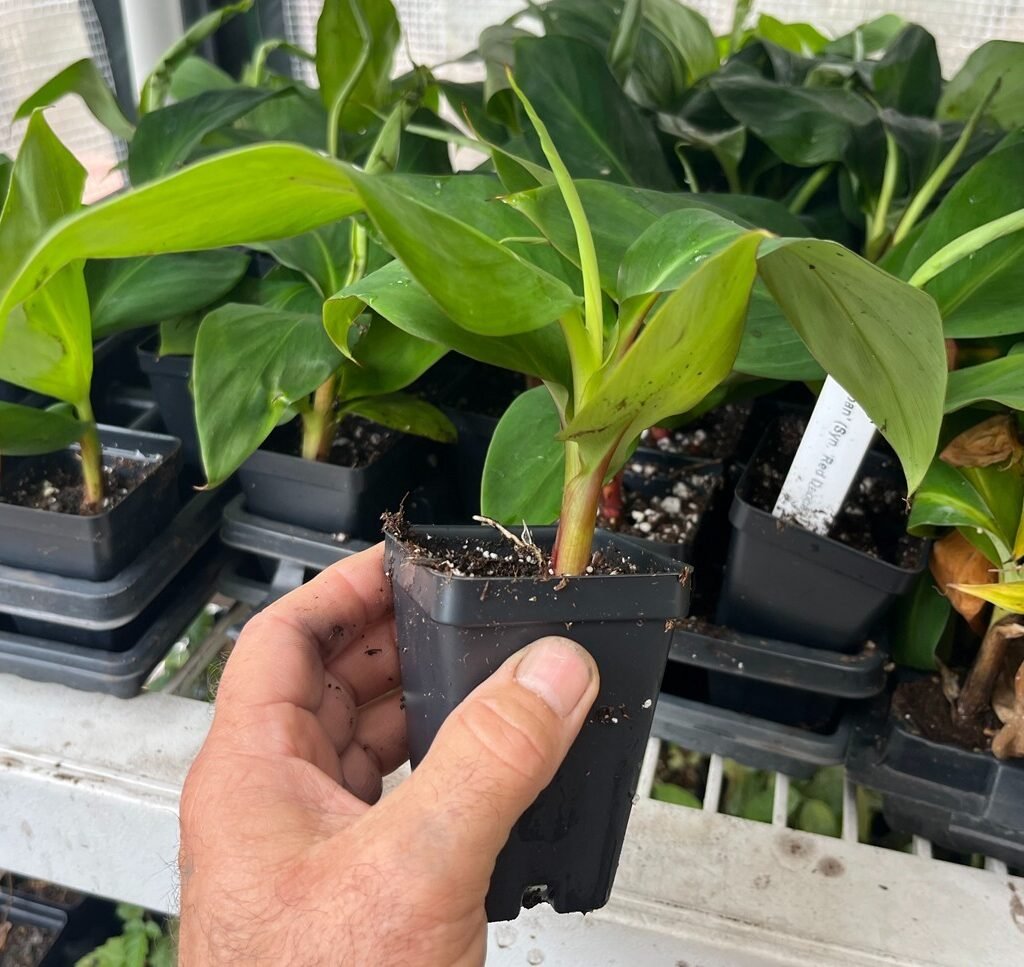
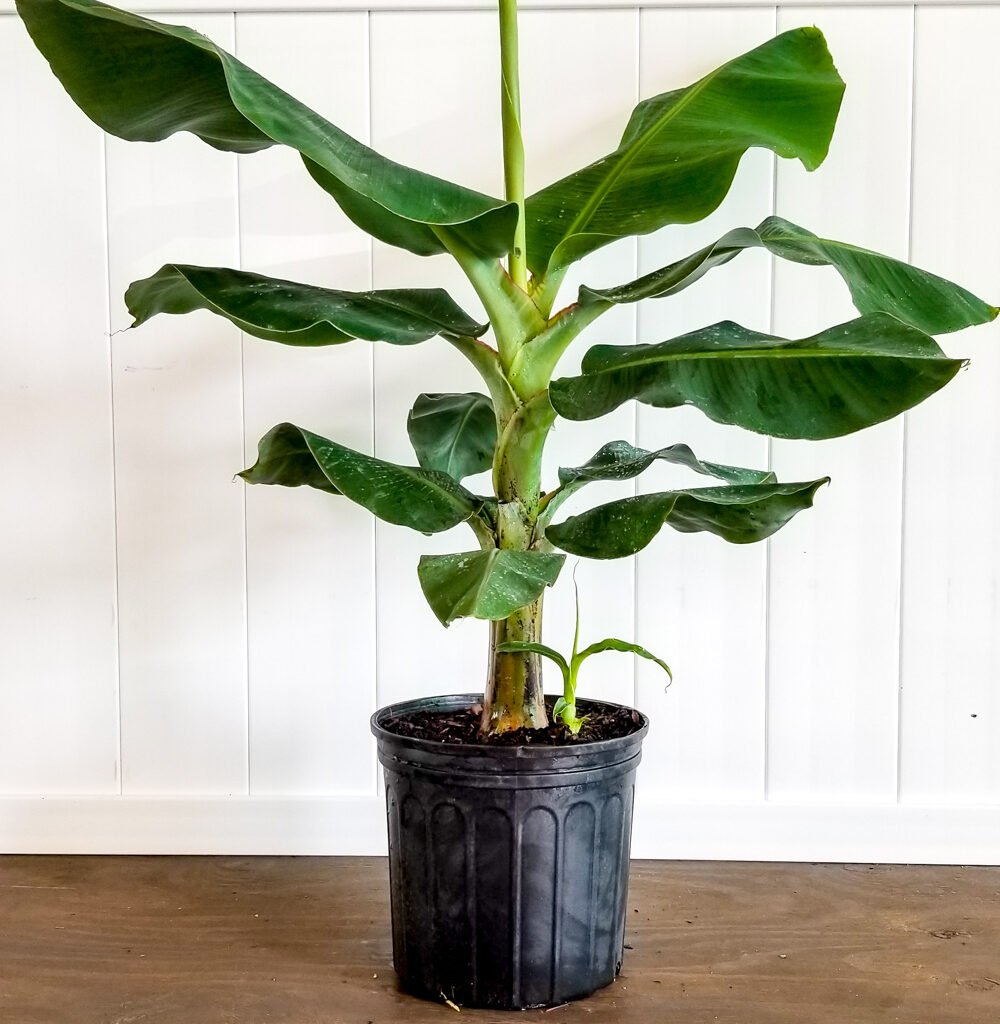
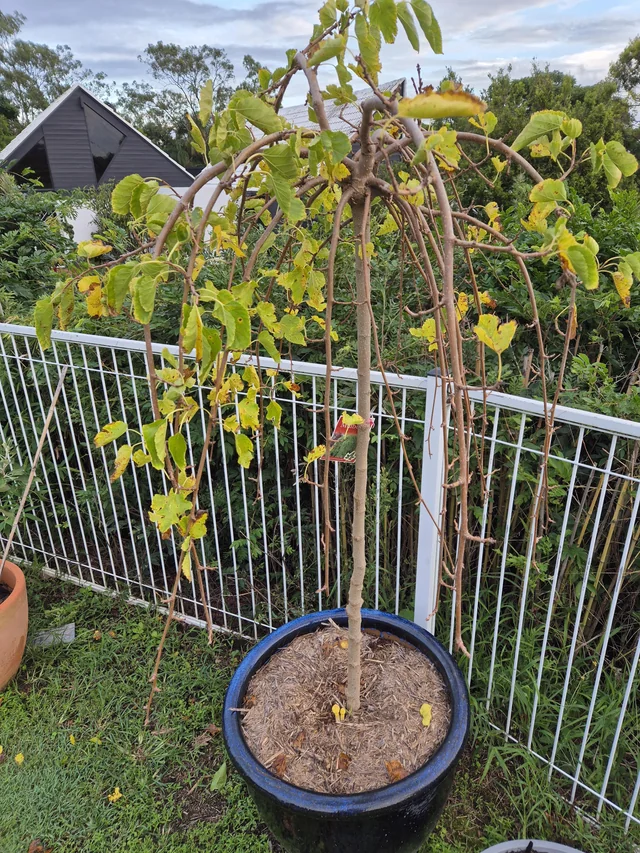
Unboxing revealed a sturdy young White Pakistan Mulberry with healthy green leaves, wrapped in moist packaging to keep the roots safe during transit. Despite traveling miles, it arrived in perfect shape — a sign of good care from the nursery.
The first step after unboxing was to let it rest for a day in the shade, helping it adjust to its new surroundings before replanting. This transition period helps reduce transplant shock and prepares the plant for its permanent home in the soil.
2. Meet the White Pakistan Mulberry
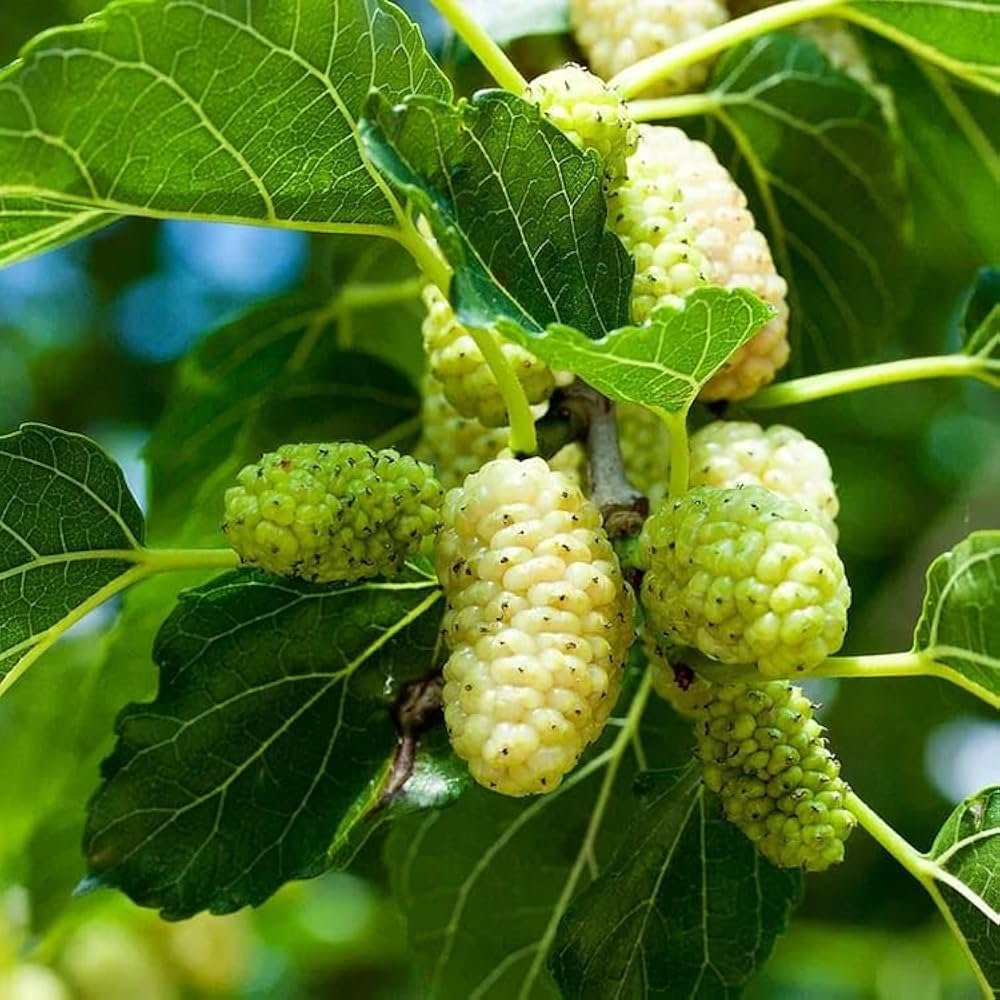
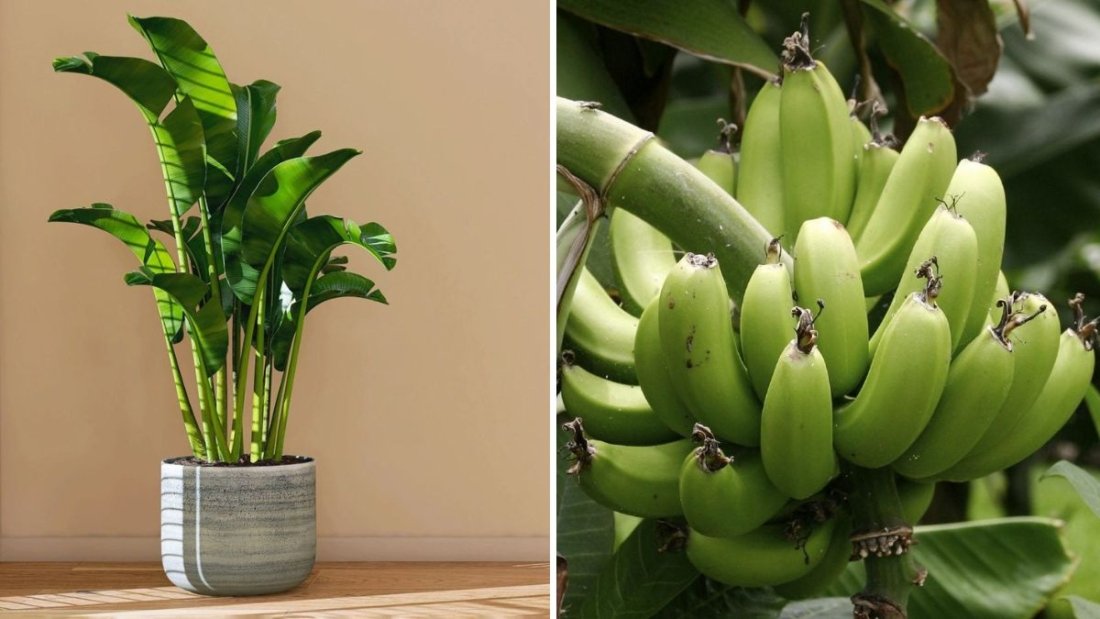
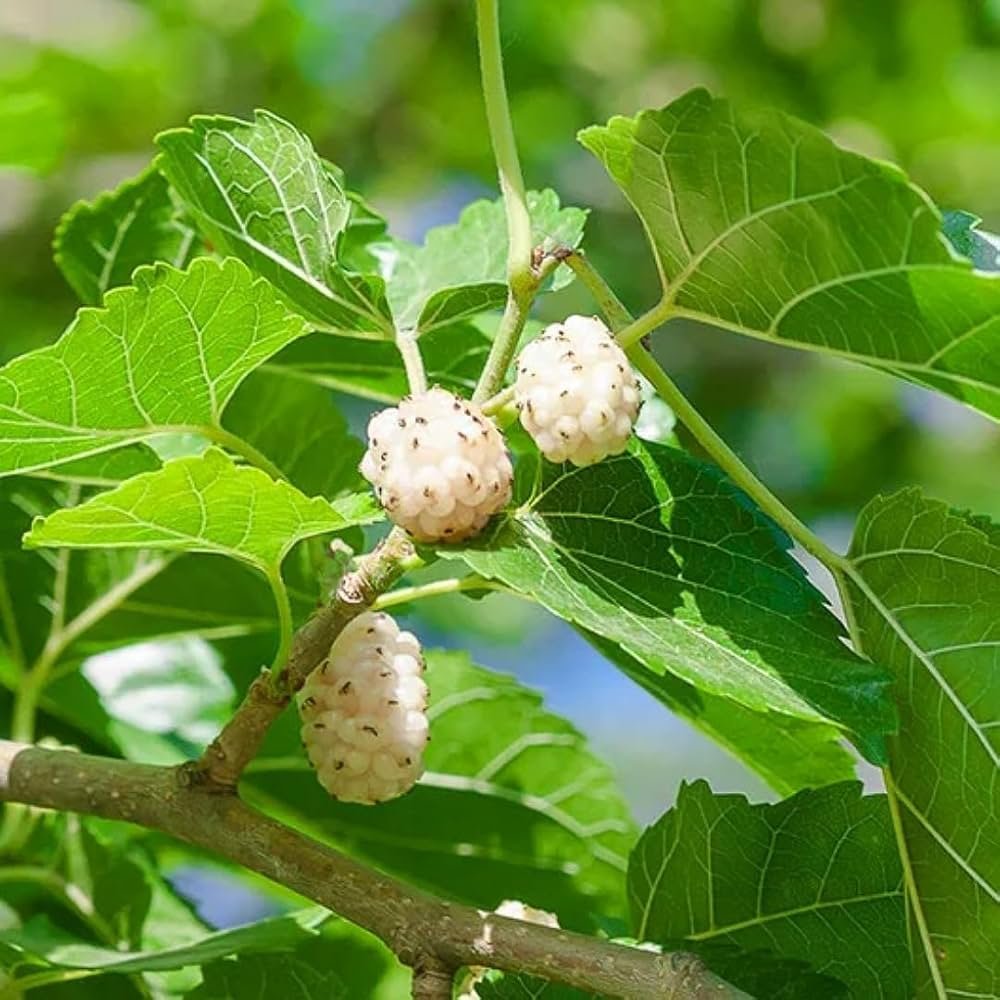
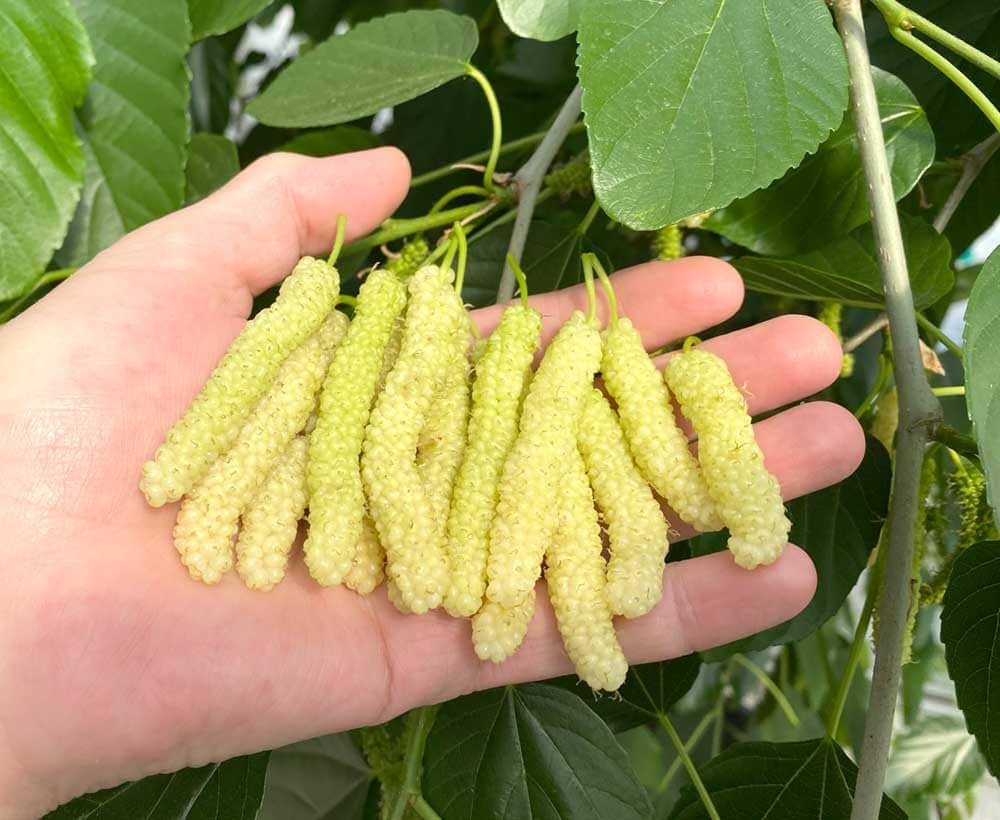
If you’ve never heard of it before, the White Pakistan Mulberry is an extraordinary fruit tree known for its long, creamy-white fruits that can grow up to 3 inches in length. The fruits are incredibly sweet, honey-like, and often compared to a blend of honeydew melon and sugarcane.
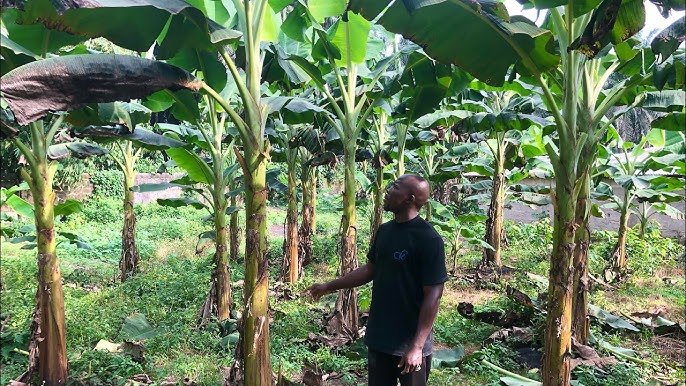
Originating from the warm regions of Pakistan, this tree is a relative of the more familiar black and red mulberries but stands out with its unique flavor and pale fruit color. It’s a fast-growing, hardy tree that can easily reach 30 to 40 feet tall if left unpruned, though it can also be maintained as a smaller, manageable tree for backyard gardens.
The best part? It’s self-fertile, so you only need one tree to enjoy an abundant harvest.
3. Why I Chose the White Pakistan Mulberry
When it comes to expanding a garden collection, each new addition should offer something unique — and the White Pakistan Mulberry checks every box:
- Rare and exotic: It’s not something you find in every nursery.
- Delicious fruit: The flavor is sweet, rich, and less tart than darker mulberries.
- Fast-growing: It grows quickly and produces fruit within a couple of years.
- Drought-tolerant: Once established, it can handle dry conditions well.
- Long fruiting season: Produces over several weeks, giving a continuous supply of fresh fruit.
I was drawn to its balance of beauty and practicality — a tree that offers both ornamental value and delicious rewards.
4. Preparing for Planting
After letting the plant rest from shipping, it was time to prepare its new home. The White Pakistan Mulberry prefers well-draining soil and full sun exposure for at least six hours a day.
Here’s how I prepared the planting site:
- Choose the right location: A sunny area with good airflow.
- Dig a wide hole: Twice as wide as the root ball and about the same depth.
- Loosen the soil: This encourages root spread and better drainage.
- Mix compost: I added organic compost to enrich the soil and improve water retention.
Once the hole was ready, I gently placed the young tree inside, spreading its roots naturally. After filling the hole with soil, I watered it deeply to settle the roots and remove any air pockets. Finally, a thick layer of mulch around the base helped conserve moisture and regulate soil temperature.
5. First Impressions and Early Care
The White Pakistan Mulberry wasted no time adjusting to its new home. Within days, it perked up beautifully, its leaves turning a deep, vibrant green.
For the first few weeks, I focused on consistent watering, ensuring the soil stayed moist but not soggy. Young trees need regular hydration to establish a strong root system, especially in the early growth stage.
To protect it from direct afternoon sun during the first week, I provided light shade using a mesh cover — a useful trick when transitioning a plant from nursery conditions to outdoor life.
6. Understanding the Growth Pattern
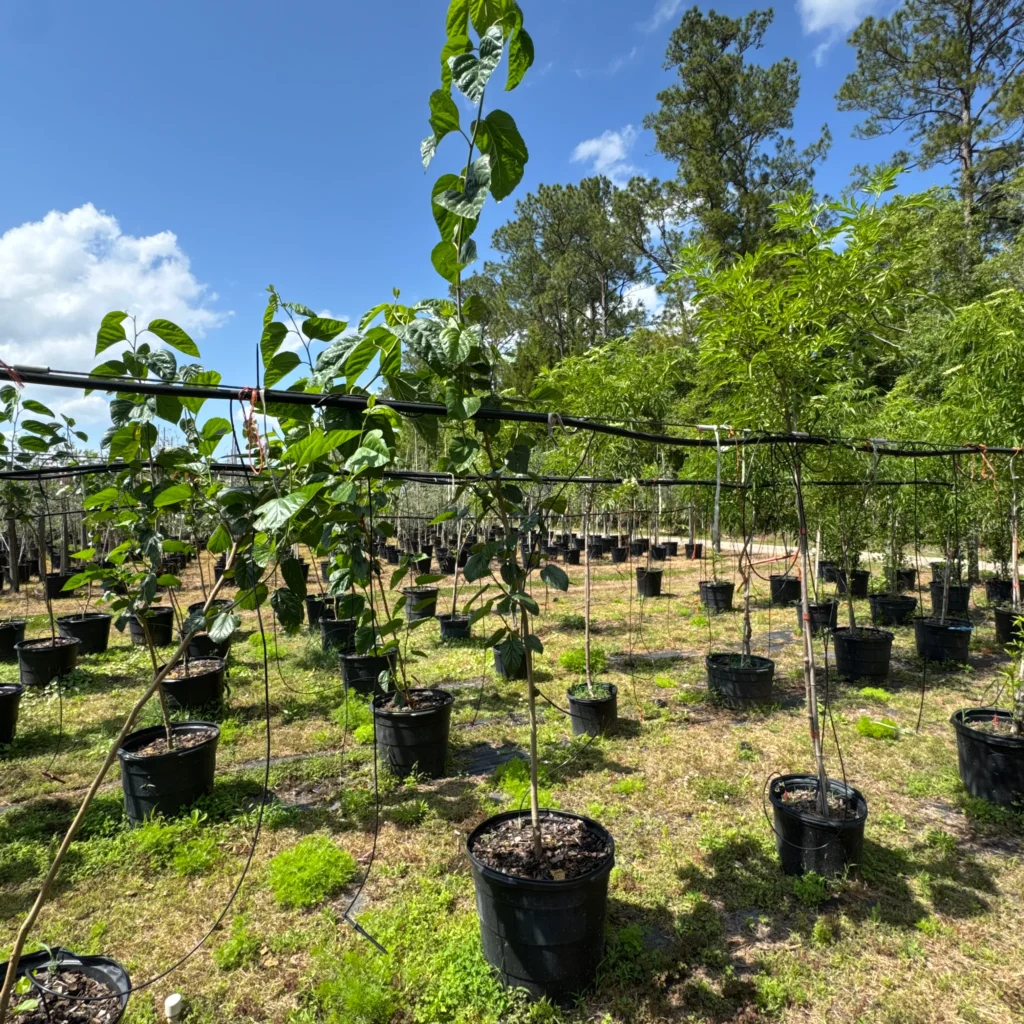
One of the most fascinating things about the White Pakistan Mulberry is how fast it grows. Under the right conditions, it can gain several feet of height in just one growing season.
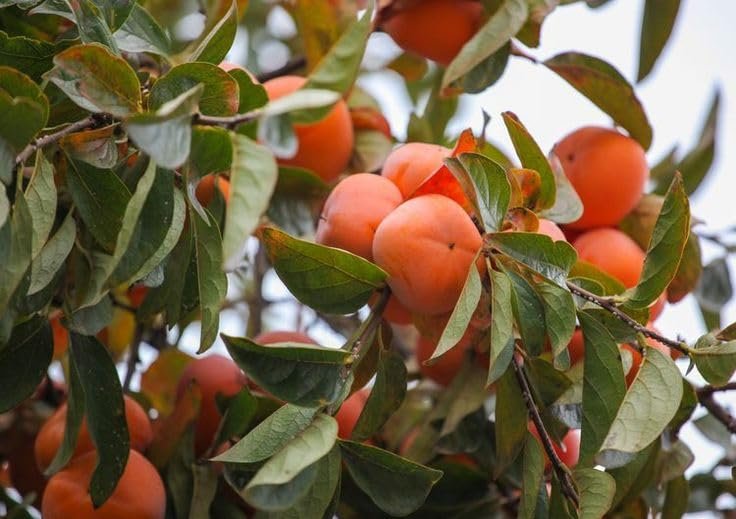
The tree develops a broad canopy, making it perfect for providing shade in the garden. If left unpruned, it can grow tall, but with regular trimming, it becomes a well-shaped tree that’s easier to manage and harvest from.
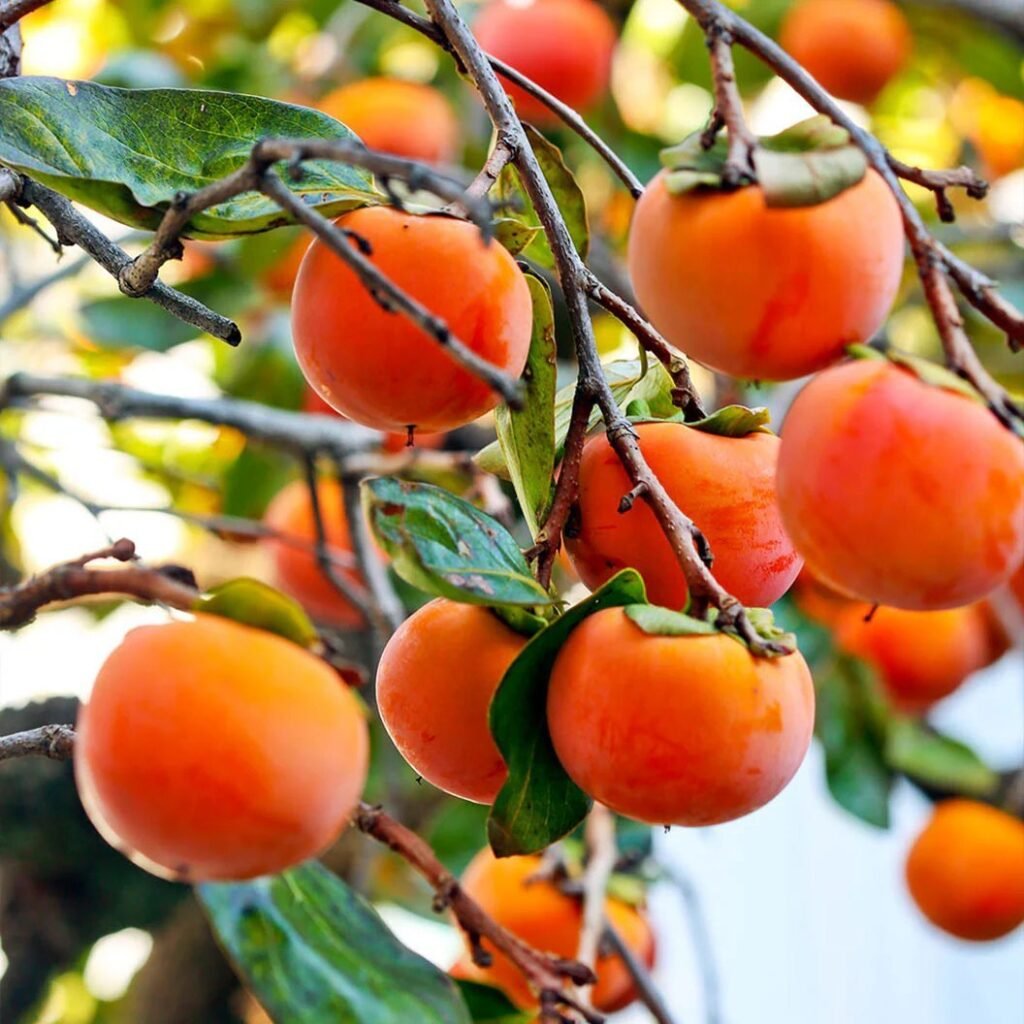
By the second or third year, it begins producing its signature fruits — long, pale, and incredibly sweet. The sight of those first mulberries ripening is a gardener’s delight.
7. Watering, Feeding, and Maintenance
While the White Pakistan Mulberry is fairly low-maintenance, a little attention goes a long way.
Watering:
During the first year, water regularly to keep the soil evenly moist. Once established, the tree becomes drought-tolerant, needing water only during extended dry periods.
Feeding:
Feed the tree in early spring with a balanced organic fertilizer or compost. Avoid excessive nitrogen, which can encourage leaf growth at the expense of fruit production.
Pruning:
Prune annually during the dormant season to maintain shape and size. Remove any dead or crossing branches to improve airflow and sunlight penetration.
Mulching:
Apply organic mulch around the base to suppress weeds, retain moisture, and keep the root zone cool.
Pests and diseases:
Mulberries are relatively pest-free, though occasional aphids or caterpillars may appear. A quick rinse with water or neem oil spray usually solves the problem.
8. Fruiting and Harvest
The most rewarding stage arrives when the tree starts producing fruit. Depending on the growing conditions and age of the plant, the first harvest can come as early as the second year.
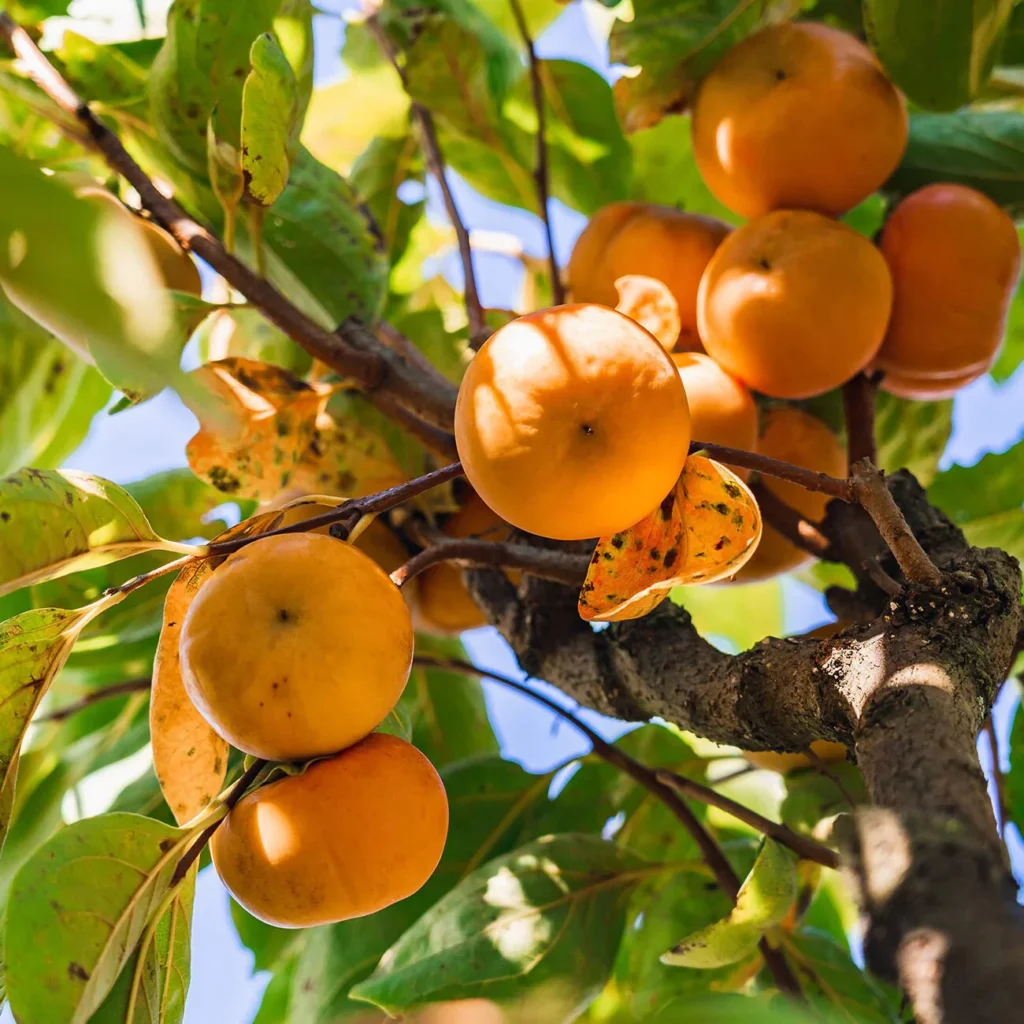
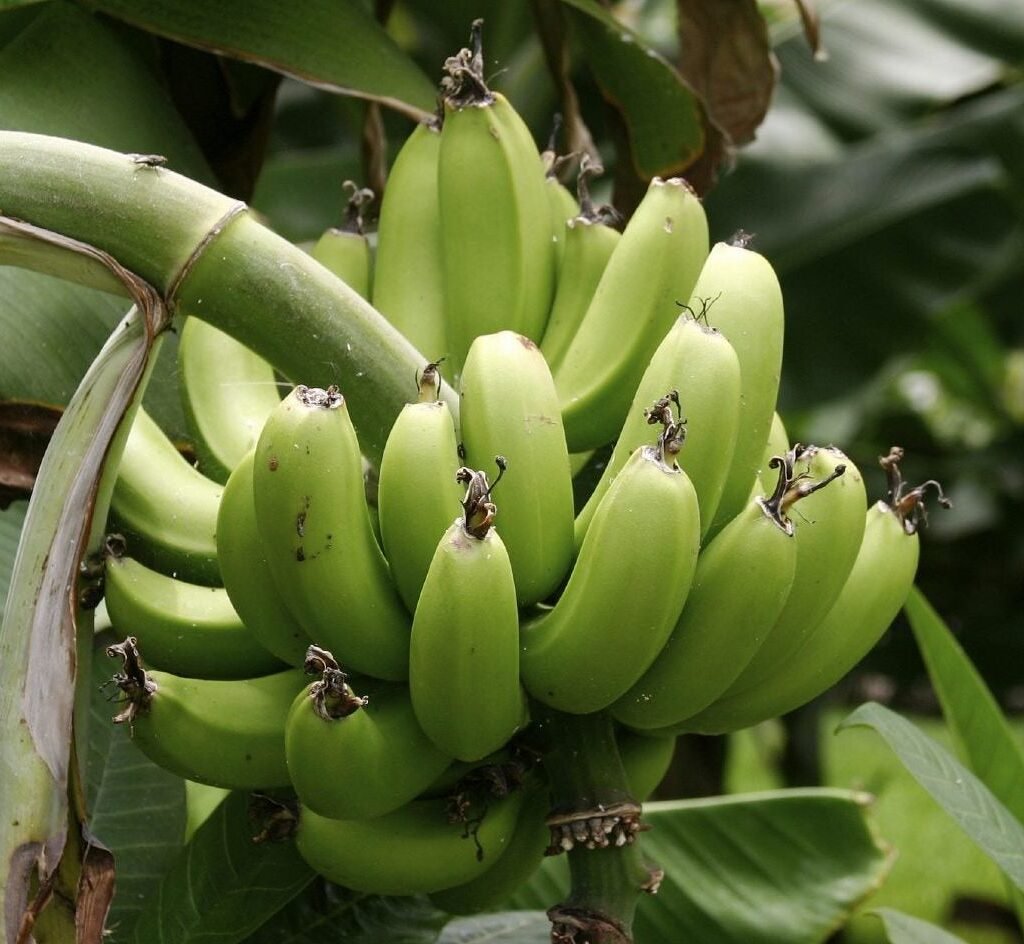
White Pakistan Mulberries ripen to a pale golden or creamy white shade. They’re best picked when they come off the branch easily — that’s when they’re sweetest. Because they’re delicate, it’s better to hand-pick them rather than shake the branches.
The fruit can be enjoyed fresh, added to salads, or blended into smoothies. Its flavor is mild yet deeply sweet — a true treat straight from the garden.
9. Why the White Pakistan Mulberry Deserves a Spot in Your Garden
If you love rare fruit trees that combine beauty, resilience, and flavor, the White Pakistan Mulberry is a perfect choice. Here’s why it stands out:
- Fast growth: Reaches maturity faster than many other fruit trees.
- Abundant harvests: Produces prolifically once established.
- Low maintenance: Requires minimal care after the first year.
- Heat and drought tolerant: Thrives in warm climates.
- Unique taste and appearance: The long, white fruits are as beautiful as they are delicious.
It’s also a great tree for pollinators, attracting bees and butterflies during its flowering season, which helps support your garden’s overall ecosystem.
10. The Joy of Collecting and Growing
For plant lovers, every new addition brings its own story and excitement. Adding the White Pakistan Mulberry to my collection isn’t just about growing a new fruit — it’s about expanding the diversity of my garden and learning from each plant’s unique needs and character.
Every time I walk past this young tree, I can already imagine the future — its branches heavy with golden-white fruits, bees buzzing nearby, and the sweet scent of ripe mulberries drifting through the garden.
Gardening teaches patience, but it rewards generously. Watching this plant grow from a small sapling into a majestic fruiting tree will be one of those rewarding journeys that make all the effort worthwhile.
Conclusion: A Sweet Future Ahead
Receiving the White Pakistan Mulberry in the mail was more than just a delivery — it was the start of a new chapter in my gardening journey. This rare and exceptional tree promises beauty, flavor, and plenty of joy in the seasons to come.
If you’ve ever thought about adding something truly special to your garden, the White Pakistan Mulberry is a wonderful choice. It’s hardy, productive, and produces some of the sweetest fruits you’ll ever taste.
So, the next time you find yourself browsing for new plants, don’t hesitate to welcome one into your collection. Because sometimes, the best surprises — and the sweetest fruits — come right through the mail.