Growing berries from seeds is a rewarding experience that lets you witness the magic of nature from the very beginning — from a tiny seed to a fruit-bearing plant. Among the most cherished berries are bilberries and strawberries, both prized for their sweet-tart flavor, nutritional benefits, and ornamental beauty. While growing these berries from seed requires patience and attention, the process is both educational and deeply satisfying.
In this detailed guide, we’ll walk through everything you need to know about sowing bilberry seeds and strawberry seeds, including preparation, germination, soil care, watering, and transplanting techniques to ensure healthy, fruiting plants.
Understanding Bilberry and Strawberry Plants

Before diving into the sowing process, it’s important to understand the basic differences between bilberries and strawberries.
Bilberries (Vaccinium myrtillus)
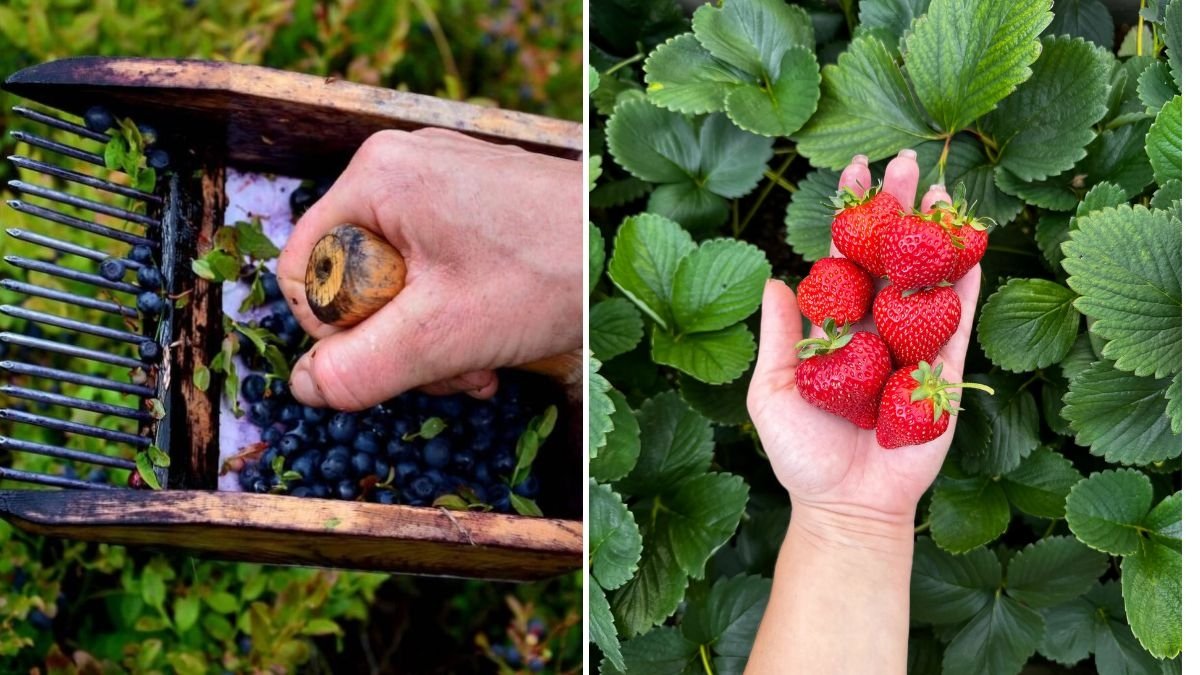
Bilberries are small, dark-blue berries native to Europe and related to blueberries. They grow on low shrubs and thrive in acidic, well-drained soils. Bilberries are known for their high antioxidant content and are often used in jams, desserts, and herbal medicines.
Strawberries (Fragaria × ananassa)
Strawberries are herbaceous perennials that produce runners and form new plants each season. Unlike bilberries, strawberries can be grown in a wide variety of climates and are easier to manage. They are loved for their bright red fruits, sweet aroma, and versatility in desserts and salads.

1. Collecting and Preparing the Seeds

Bilberry Seeds
Bilberry seeds are very small and delicate. You can collect them from ripe berries. Start by gently mashing the berries in water and allowing the mixture to sit for a few minutes. The viable seeds will sink to the bottom. Carefully pour off the pulp and floating debris, then collect the seeds and rinse them thoroughly.
Spread the clean seeds on a paper towel to dry for a day or two. Once dry, they can be stored in a cool, dark place until sowing.
Strawberry Seeds

Strawberry seeds can be collected from the surface of ripe fruits. Simply scrape off the seeds with a small knife and rinse them in water to remove any remaining pulp. Spread them on a paper towel to dry completely. Like bilberry seeds, they can be stored in a cool, dry place until use.
2. Stratification: Mimicking Nature’s Cold Cycle
Both bilberry and strawberry seeds benefit from cold stratification, a process that simulates winter conditions and encourages germination.
How to Stratify Seeds
- Place the cleaned seeds on a damp paper towel.
- Fold the towel and seal it in a plastic bag or airtight container.
- Store it in the refrigerator (not freezer) for 6–8 weeks.
- Keep checking the towel to ensure it remains slightly moist, not soggy.
This chilling period breaks seed dormancy and prepares them to sprout once sown in warm soil.

3. Preparing the Soil and Containers

The right soil mix is essential for healthy germination and growth.
For Bilberry Seeds
Bilberries prefer acidic soil with a pH between 4.5 and 5.5. Use a mix of:
- 2 parts peat moss or coco peat
- 1 part perlite or coarse sand
- A small amount of compost
This mixture ensures good drainage and acidity similar to their natural forest habitat.
For Strawberry Seeds
Strawberries grow best in slightly acidic to neutral soil (pH 5.5–6.5). A good mix would be:
- 2 parts garden soil
- 1 part compost or well-rotted manure
- 1 part sand or perlite for aeration
Ensure the soil is loose, well-drained, and rich in organic matter.

4. Sowing the Seeds

Bilberry Seeds
- Fill seed trays or small pots with your prepared bilberry soil mix.
- Moisten the soil lightly before sowing.
- Scatter the seeds evenly on the surface — do not bury them deeply, as they need light to germinate.
- Gently press them into the soil using your fingertips.
- Cover the pots with a transparent plastic lid or wrap to maintain humidity.
Keep the tray in a bright but indirect light location, maintaining temperatures between 18–22°C (65–72°F).
Strawberry Seeds
- Fill seed trays or small containers with the strawberry soil mix.
- Lightly sprinkle the seeds over the surface — these seeds are tiny, so avoid crowding them.
- Press gently into the soil or cover with a very thin layer (1–2 mm) of fine soil.
- Mist the soil lightly with water to keep it moist but not waterlogged.
- Cover the tray with clear plastic wrap to retain humidity.
Keep the tray in a warm spot with indirect sunlight and a temperature of around 20°C (68°F).
5. Germination and Early Growth
Bilberry Germination
Bilberry seeds may take 3–6 weeks to germinate, and sometimes even longer. Patience is key. Keep the soil evenly moist and avoid letting it dry out completely. Once the tiny seedlings appear, remove the cover gradually to harden them to room conditions.
Strawberry Germination
Strawberry seeds usually germinate faster — within 2–4 weeks under ideal conditions. When seedlings emerge, remove the plastic covering and ensure they receive good air circulation and bright, indirect light.
Once both seedlings develop 2–3 true leaves, they’re ready for transplanting into individual pots.

6. Transplanting the Seedlings
Bilberry Seedlings
When bilberry seedlings are about 5 cm (2 inches) tall, carefully transplant them into larger pots filled with the same acidic soil mix. Handle them gently to avoid root damage. Water them thoroughly and place the pots in a partially shaded area for a few days to help them adjust.
Strawberry Seedlings
Transplant strawberry seedlings into 6–8 inch pots or directly into garden beds. Space them about 20–25 cm (8–10 inches) apart to allow proper air circulation. Ensure the crown (where the leaves meet the roots) is level with the soil surface — not buried too deep.
7. Watering and Light Requirements
- Bilberries: Prefer moist, but not soggy, soil. Water regularly and ensure good drainage. They grow well in partial shade and dislike direct, harsh sunlight.
- Strawberries: Need consistent moisture, especially during flowering and fruiting. Water the soil directly to avoid wetting the leaves, which can cause fungal problems. Provide full sunlight for 6–8 hours daily for best results.
8. Fertilization and Care
Bilberries
Feed bilberry plants with an acidic fertilizer, such as those formulated for azaleas or blueberries, every 4–6 weeks during the growing season. Avoid lime or alkaline fertilizers, as these can raise soil pH and hinder growth.
Strawberries
Use a balanced organic fertilizer or compost tea once every 2–3 weeks. Avoid excessive nitrogen — it can promote leafy growth at the expense of fruit production.
9. Common Problems and Solutions
- Poor Germination: Often due to insufficient cold stratification or overly wet soil. Repeat stratification if necessary.
- Fungal Growth: Caused by high humidity and poor air circulation. Remove covers gradually and water in moderation.
- Yellow Leaves: May indicate nutrient deficiency or incorrect soil pH. Adjust fertilizer and test soil conditions.
10. Fruiting and Harvest
Bilberries
Bilberries grown from seed may take 3–5 years to bear fruit, as they develop slowly. However, the plants are long-lived and can produce berries for many years once established. The small, dark-blue fruits ripen in mid to late summer and are packed with flavor and antioxidants.

Strawberries
Strawberries grown from seed may start fruiting in their second year. Regular pruning, mulching, and removal of runners can improve fruit size and yield. Harvest the berries when they’re fully red and firm for the sweetest taste.
Final Thoughts
Sowing bilberry seeds and strawberry seeds is not just an act of gardening — it’s an experience of nurturing life from its earliest form. While bilberries demand patience and special soil conditions, strawberries reward you more quickly with their cheerful blooms and delicious fruit.
By carefully preparing the seeds, maintaining proper soil pH, and giving them the right care, you can enjoy the satisfaction of growing your own berry plants — a true labor of love and dedication. Whether you’re cultivating them for study, self-sufficiency, or simply for the joy of gardening, the journey from seed to fruit is one that brings immense fulfillment and natural beauty to your home or research garden.
Leave A Comment