Sprouting chickpeas, also known as garbanzo beans, is one of the easiest and most rewarding kitchen gardening activities you can do at home. Not only does sprouting increase their nutritional value, but it also makes them easier to digest, adds a pleasant crunch, and opens up countless culinary possibilities—from salads and sandwiches to stir-fries and hummus.
In this comprehensive guide, you’ll learn how to sprout chickpeas step-by-step, the best conditions for healthy sprouts, tips to avoid common problems, and creative ways to use them in your everyday meals. Let’s dive into how you can transform plain chickpeas into a living, nutrient-packed superfood right in your kitchen.
Why Sprout Chickpeas?
Before we begin, it’s helpful to understand why sprouting chickpeas is so beneficial. Chickpeas are a powerhouse of plant-based protein, fiber, vitamins, and minerals. When you sprout them, you unlock even more nutrients:
- Improved digestion: Sprouting breaks down phytic acid and enzyme inhibitors, making nutrients more bioavailable and easier on your stomach.
- Increased protein and vitamin content: The sprouting process boosts vitamin C, B vitamins, and amino acids.
- Enhanced flavor and texture: Sprouted chickpeas have a fresh, slightly nutty crunch perfect for raw and cooked dishes.
- No soil or garden needed: All you need is a jar, water, and time—it’s true kitchen gardening magic.
What You’ll Need
To get started, you only need a few basic items:
- Dry chickpeas (garbanzo beans): Choose unpolished, organic beans for best results. Avoid split chickpeas—they won’t sprout.
- Clean glass jar or bowl (preferably wide-mouthed)
- Muslin cloth or sprouting lid to cover the jar
- Rubber band or jar ring
- Filtered water
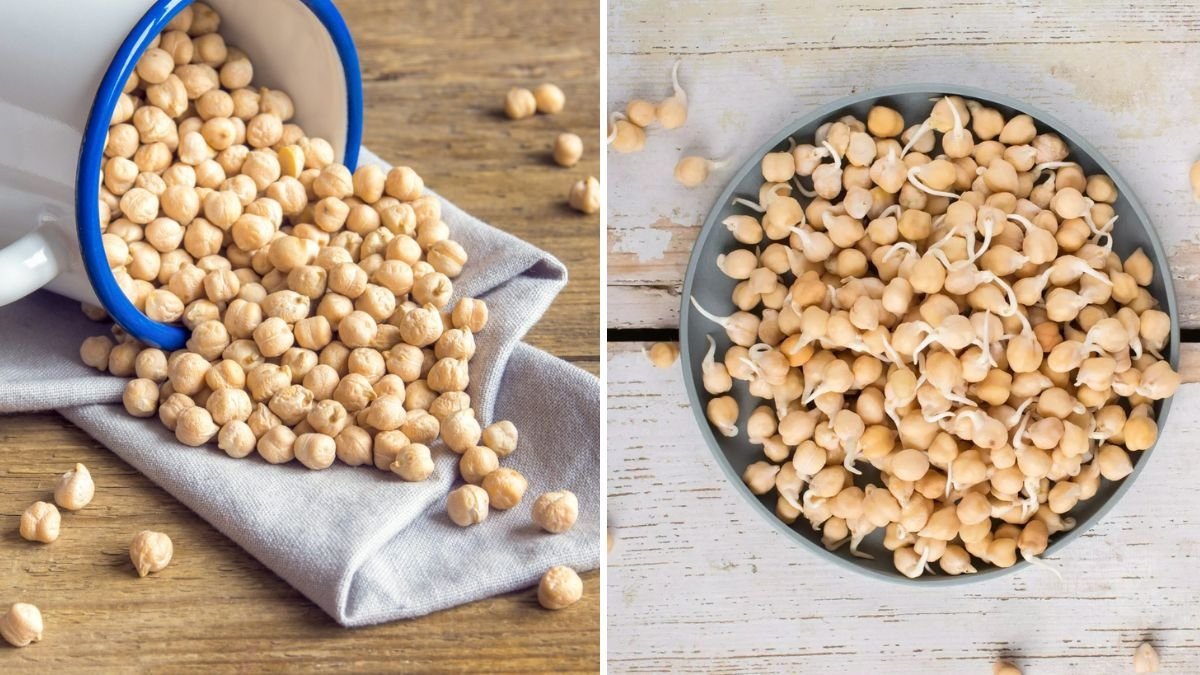
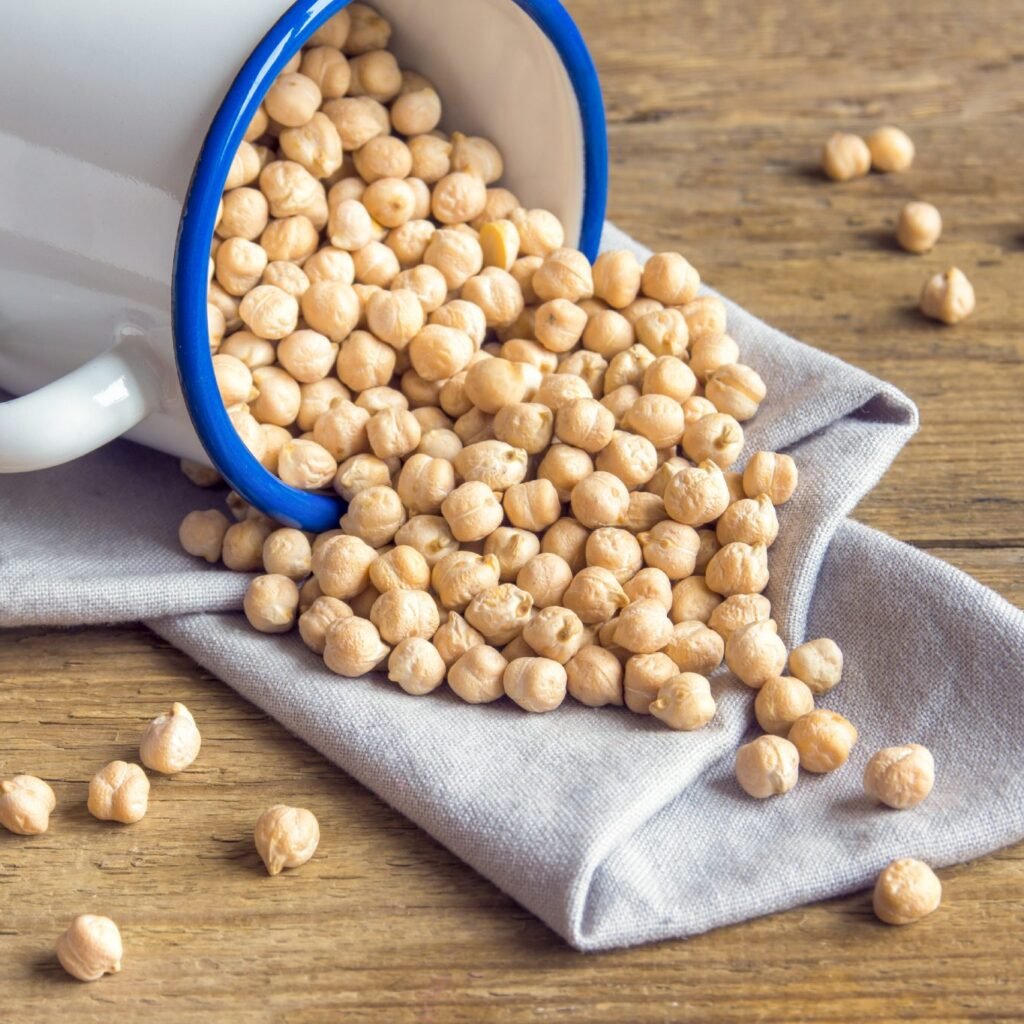
Step 1: Selecting and Preparing the Chickpeas
Choose high-quality, whole chickpeas—preferably raw, organic, and meant for cooking (not roasted or salted).

Rinse the chickpeas thoroughly under running water to remove any dust or impurities. For one batch, use about ½ cup of dried chickpeas, as they will expand significantly after soaking and sprouting.
Step 2: Soak the Chickpeas
Place the rinsed chickpeas in your jar or bowl and add three times the amount of water (for ½ cup of chickpeas, use 1½ cups of water).
Let them soak for 8–12 hours or overnight. During this time, the beans will absorb water and nearly double in size.
Tips:
- Keep the soaking jar in a cool, dark spot—away from direct sunlight.
- If the weather is hot, change the water halfway through soaking to prevent fermentation.
Step 3: Drain and Rinse
After soaking, drain the water completely and rinse the chickpeas well.

Now, you’ll need to allow airflow while keeping the beans moist. To do this:
- Cover the jar opening with muslin cloth or a sprouting lid.
- Secure it with a rubber band.
- Tilt the jar upside down at a 45° angle to drain excess water (you can use a bowl or dish rack to hold it in position).
This helps prevent mold and ensures the beans get enough oxygen to sprout healthily.
Step 4: Rinse Twice Daily
Rinse and drain the chickpeas twice a day—once in the morning and once at night.
Each time:
- Pour fresh, cool water into the jar.
- Swirl gently.
- Drain completely and return the jar to its tilted position.
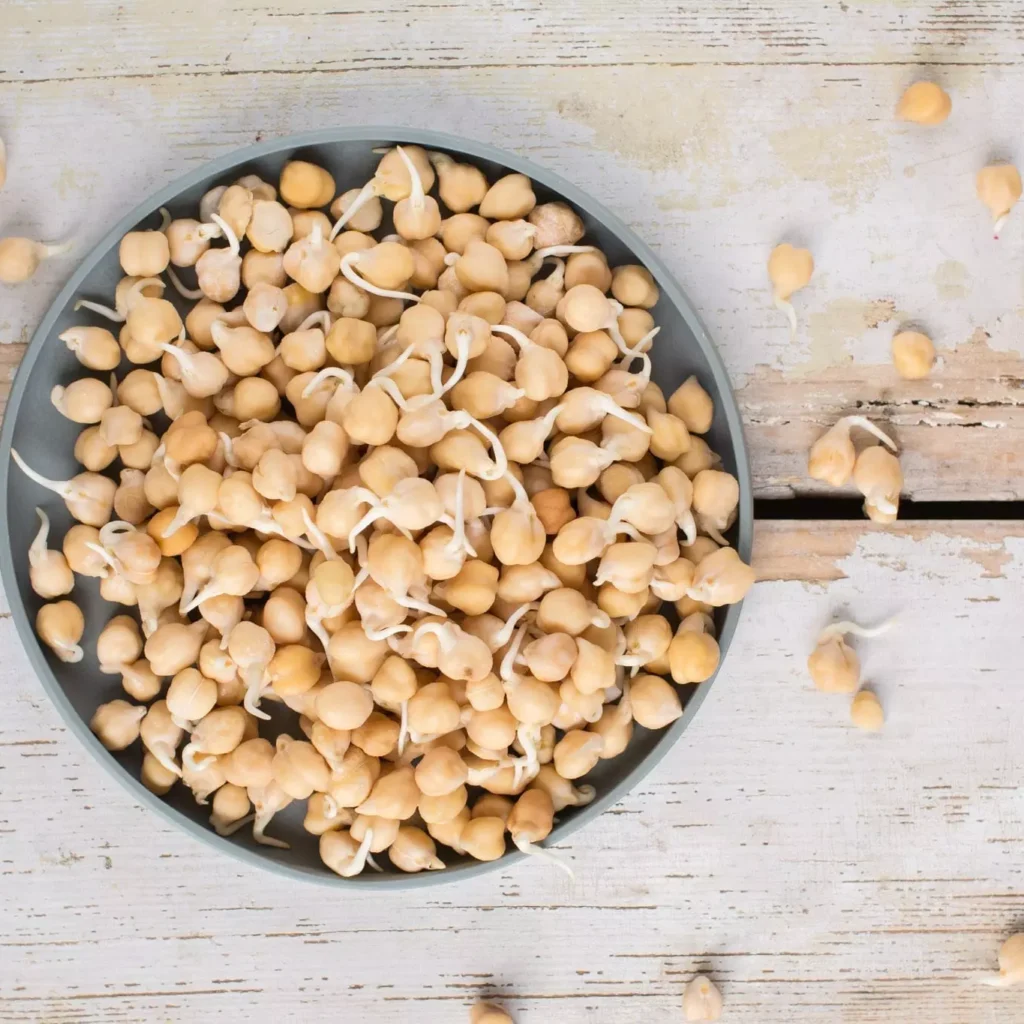
Within 24–48 hours, you’ll notice small white sprouts emerging from the beans. The exact sprouting time depends on room temperature: warmer conditions speed up sprouting, while cooler ones slow it down.

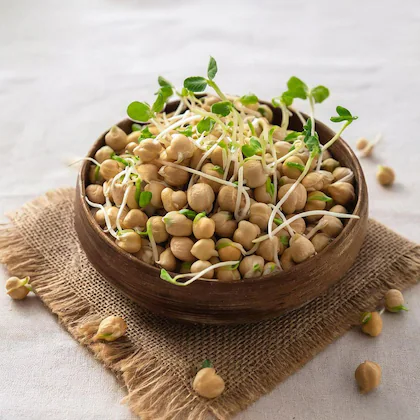
Step 5: Harvest Your Sprouts
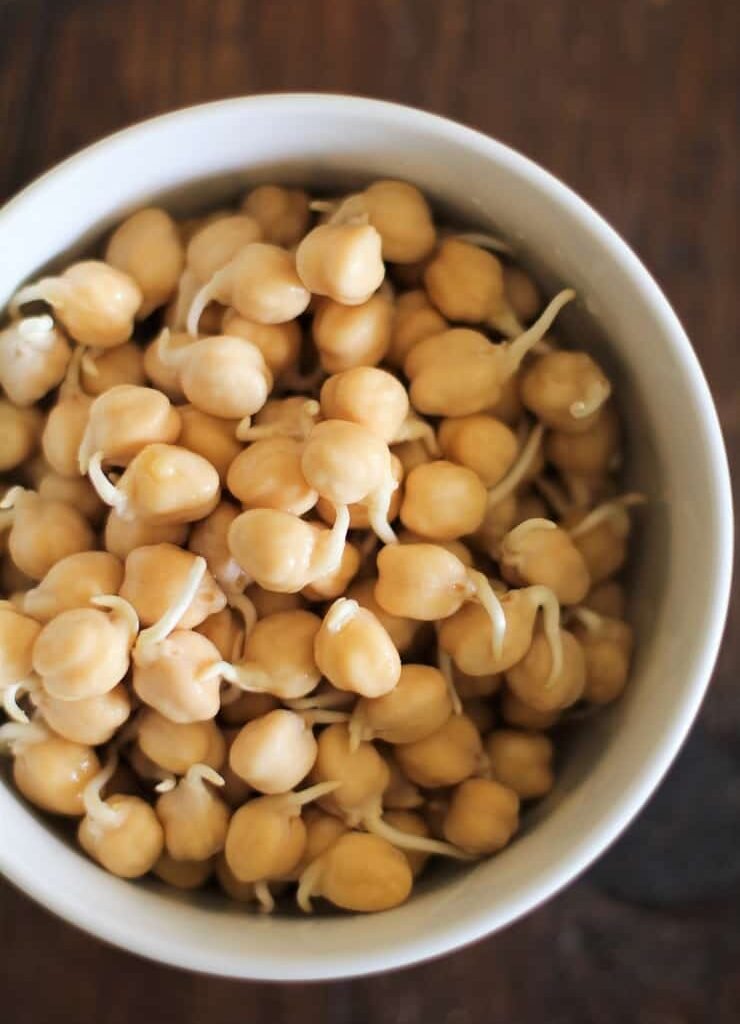
When the sprouts are about ¼ to ½ inch long, they’re ready to harvest! This usually takes 2–3 days after soaking.
Rinse them one last time, drain well, and let them air-dry for a few hours before storing.
Storage tip: Keep the sprouts in an airtight container in the refrigerator. They’ll stay fresh for up to 5 days.
Common Problems and How to Fix Them
Even though sprouting chickpeas is simple, a few issues can pop up if conditions aren’t right. Here’s how to troubleshoot:
- Foul smell or sliminess – Caused by poor drainage or stagnant water. Rinse more often and ensure good airflow.
- No sprouting – Old or processed beans may be the problem. Use fresh, organic whole chickpeas next time.
- Mold growth – Too much moisture or lack of ventilation. Rinse properly and tilt the jar at an angle to drain well.
- Hard sprouts – If you prefer softer sprouts, you can steam or blanch them lightly before eating.
How to Use Sprouted Chickpeas in Your Kitchen
Now comes the fun part—using your freshly sprouted chickpeas in delicious and healthy meals!

1. Raw Sprouted Chickpea Salad
Mix sprouts with chopped tomatoes, cucumber, onions, cilantro, lemon juice, salt, and pepper for a refreshing, protein-rich salad.
2. Sprouted Chickpea Hummus
Blend sprouted chickpeas with garlic, olive oil, lemon juice, tahini, and a pinch of cumin for a nutritious, enzyme-rich hummus.
3. Stir-fried Sprouts
Lightly sauté sprouted chickpeas with olive oil, mustard seeds, curry leaves, and spices for a quick, savory snack.
4. Sprouted Chickpea Curry
For a hearty meal, cook sprouted chickpeas in onion-tomato gravy with turmeric, cumin, and coriander powder. Serve with rice or flatbread.
5. Smoothie Add-In
Add a spoonful of sprouts to your green smoothie for an unexpected protein and fiber boost.

Extra Tips for Successful Sprouting
- Avoid sunlight during the sprouting phase—light can make sprouts bitter.
- Use cool, clean water—chlorinated or hot water can damage sprouts.
- Don’t oversprout: Long sprouts (over 1 inch) can become tough and less tasty.
- Clean your jars properly between batches to avoid bacteria buildup.
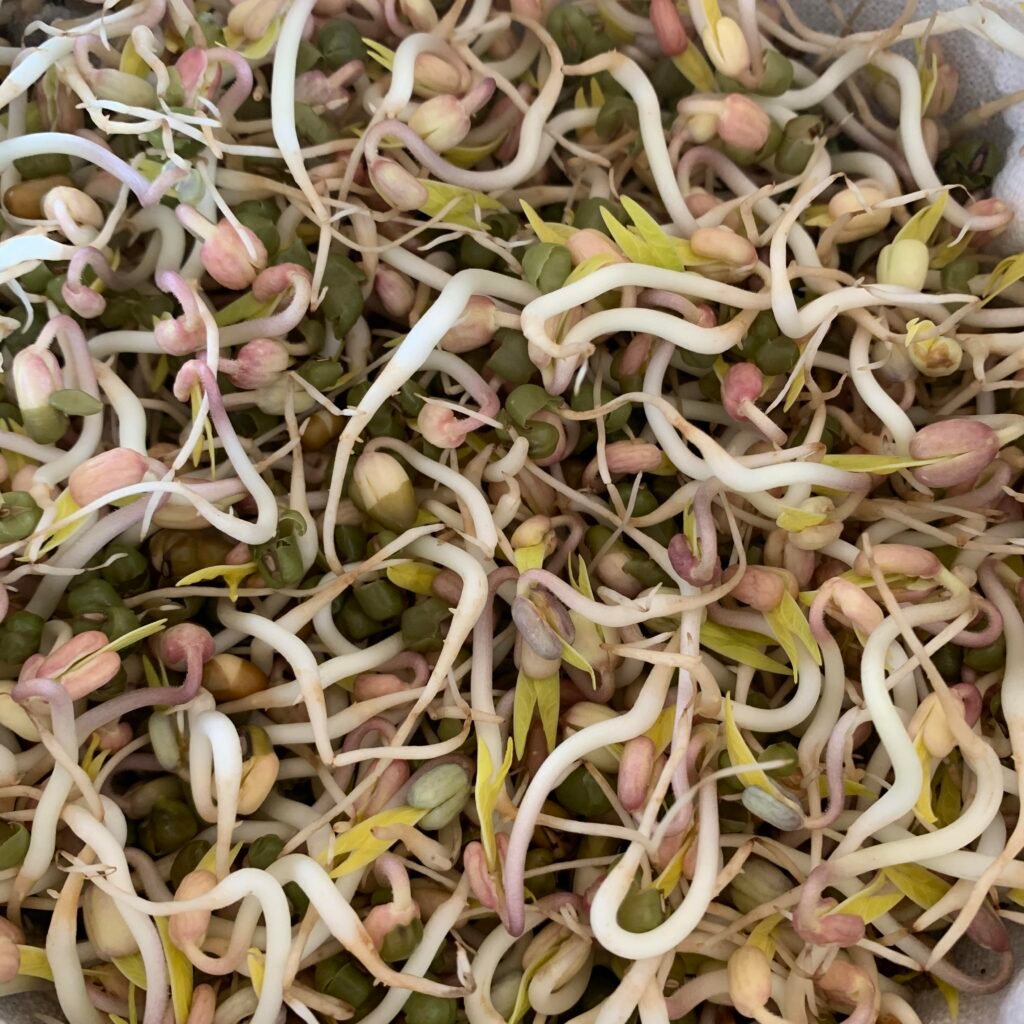
- Experiment with mixed sprouts—combine chickpeas with lentils, mung beans, or fenugreek for a variety of textures and nutrients.
Health Benefits of Sprouted Chickpeas
Sprouted chickpeas are often called a living food because they’re bursting with enzymes, vitamins, and active nutrients. Here are some health benefits that make them a must-have:
- Boosts Immunity: Rich in antioxidants, vitamins A, C, and E.
- Supports Weight Loss: High in fiber, keeping you full for longer.
- Improves Digestion: Live enzymes aid gut health and nutrient absorption.
- Balances Blood Sugar: Slow-release carbs prevent spikes in glucose.
- Enhances Heart Health: Lowers cholesterol and promotes better circulation.
Conclusion
Learning how to sprout chickpeas (garbanzo beans) at home is a simple yet powerful way to bring life and nutrition into your kitchen. With just water, time, and a bit of patience, you can transform dry beans into a living superfood packed with flavor and health benefits.
Sprouted chickpeas are not only easy to grow but also incredibly versatile. Whether you toss them in salads, blend them into hummus, or cook them into curries, they add a delicious crunch and a dose of wellness to every meal.
So, the next time you’re looking for an easy kitchen gardening project, grab a handful of chickpeas, soak them overnight, and watch the magic of sprouting unfold right before your eyes!
Leave A Comment