
Purslane (Portulaca oleracea) is one of those wonderful garden plants that is both edible and ornamental. Known for its succulent, slightly tangy leaves and its ability to thrive in poor soil and hot, dry conditions, purslane is a resilient and fast-growing plant that every home gardener should know about. Whether you love it for its nutritional value or its bright yellow flowers, propagating purslane is incredibly easy — and you can have an endless supply of this healthy green with just a few simple steps.
In this detailed guide, we’ll walk you through everything you need to know about propagating purslane — from understanding its growing habits and choosing the right cuttings to caring for new plants and harvesting. Let’s dive in!
What Is Purslane?
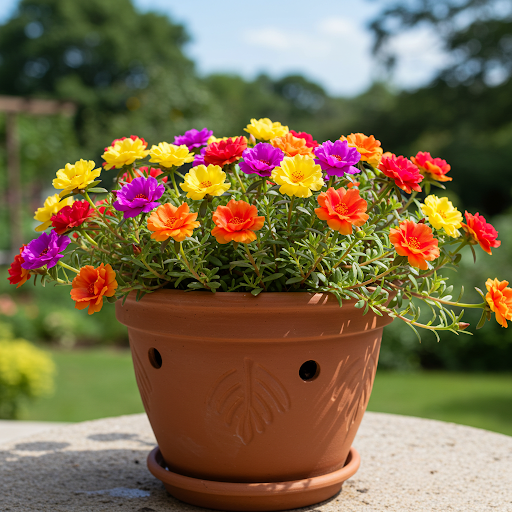
Purslane is a warm-season succulent herb that grows low to the ground and spreads quickly. It’s often considered a weed, but gardeners and chefs alike prize it for its high omega-3 fatty acid content, vitamins A, C, and E, and minerals such as magnesium and potassium. Its crisp texture and lemony flavor make it great for salads, stir-fries, and even smoothies.
Purslane is an annual, but because it grows so rapidly and self-seeds easily, it behaves almost like a perennial in many gardens. Once you have it, it tends to return year after year with little effort.
Why Propagate Purslane?

While you can grow purslane easily from seeds, propagation by cuttings is faster and guarantees that the new plants will be identical to the parent plant. Propagation also allows you to multiply your stock quickly, especially if you already have a healthy, mature plant.

Here are some key benefits of propagating purslane:
- Fast growth: Cuttings root quickly, often within a few days.
- Saves seeds: You don’t have to wait for flowers or collect seeds.
- Clonal consistency: New plants will have the same flavor, texture, and growth pattern as the mother plant.
- Continuous harvest: You can harvest mature plants while propagating new ones for ongoing production.
Best Time to Propagate Purslane

Purslane loves warm, sunny conditions, so the ideal time to propagate is during late spring through summer when temperatures range between 70–90°F (21–32°C). During these months, purslane cuttings root quickly and grow vigorously.
Avoid propagation during cold or rainy seasons, as excess moisture can cause rot and slow down root formation.
Step-by-Step Guide: How to Propagate Purslane
Propagating purslane is a simple and rewarding process that even beginner gardeners can master. Here’s a detailed step-by-step guide to help you succeed.
Step 1: Select a Healthy Parent Plant

Choose a mature, disease-free purslane plant with thick, green stems and healthy leaves. Avoid plants that are flowering or seeding, as energy is then diverted away from vegetative growth.

The healthiest cuttings come from non-flowering side shoots that are firm and succulent but not too woody.
Step 2: Take Cuttings
Using clean, sharp scissors or pruning shears, snip off 4–6 inch long cuttings from the mother plant.
Remove any leaves from the lower half of the stem — this part will go into the soil or water to develop roots.
Each cutting should have at least 3–4 leaf nodes, as these are the points where new roots will emerge.
Tip: Make the cut just below a node, since roots form most easily from this area.
Step 3: Let the Cuttings Callus (Optional but Recommended)
Lay the cuttings on a paper towel or a shaded tray for a few hours to let the ends dry and callus over.
This step helps prevent rotting once the cuttings are placed in soil or water, especially if your environment is humid.

Step 4: Choose Your Propagation Method
You can propagate purslane in either water or soil, and both methods work well. Here’s how to do each:
A. Propagating Purslane in Water
- Fill a small glass or jar with room-temperature water.
- Place the cuttings in the jar, ensuring that only the lower part of the stem is submerged.
- Keep the jar in a bright, warm spot with indirect sunlight.
- Change the water every 2–3 days to prevent stagnation.
- Within a week, you’ll notice tiny white roots forming from the submerged nodes.
Once the roots are about 1–2 inches long, you can transfer the cuttings to soil.
B. Propagating Purslane in Soil
- Prepare a small pot or tray with a well-draining soil mix — ideally sandy or loamy soil.
- Insert each cutting about 1–2 inches deep into the soil.
- Water lightly to moisten the soil but don’t overwater.
- Place the pot in a warm, sunny spot or on a windowsill.
In about 7–10 days, the cuttings should develop roots and start new growth.
Step 5: Transplanting Rooted Cuttings
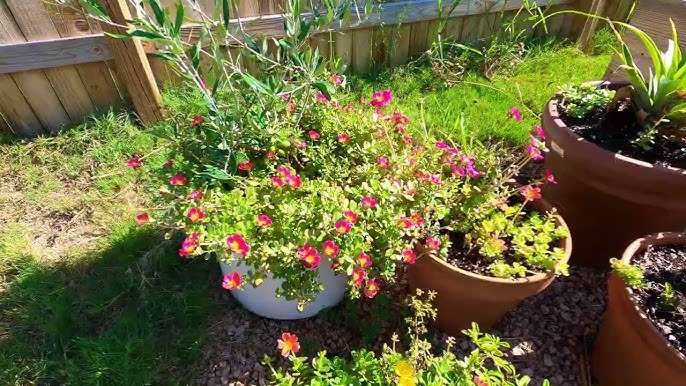
Once your cuttings have developed strong roots, it’s time to transplant them into larger pots or directly into your garden bed.
- Choose a sunny location, as purslane thrives in full sunlight (6–8 hours a day).
- Prepare the soil by mixing in a little compost or organic matter for extra nutrients.
- Space the plants about 8–10 inches apart, as purslane spreads quickly.
- Water thoroughly after transplanting to help the roots settle.
Step 6: Caring for New Purslane Plants
After propagation, your young purslane plants will grow quickly with minimal care. Follow these tips to keep them healthy and productive:

- Watering: Purslane is drought-tolerant but benefits from light watering during dry spells. Avoid overwatering, as too much moisture can lead to root rot.
- Sunlight: Ensure they get at least 6 hours of direct sunlight daily.
- Soil: Purslane grows best in sandy or well-draining soil with a pH of 6.0–7.5.
- Fertilizer: Purslane rarely needs fertilizer. If the soil is poor, use a diluted organic liquid fertilizer once a month.
- Pruning: Regularly pinch back the growing tips to encourage bushier growth and prevent legginess.
Harvesting Purslane
You can begin harvesting purslane just 3–4 weeks after propagation, once the plants are well-established and have produced plenty of leaves.
To harvest:
- Cut the upper tender stems and leaves using scissors.
- Avoid uprooting the entire plant — purslane will continue to regrow from its base.
Frequent harvesting actually encourages the plant to produce more new shoots, giving you a continuous supply throughout the season.
How to Use Purslane
Fresh purslane is a versatile ingredient with a crisp, slightly tangy flavor. Here are some great ways to use it:
- In salads: Combine purslane leaves with tomatoes, cucumbers, and feta cheese for a refreshing summer salad.
- In stir-fries: Add it at the end of cooking to retain its crunch.
- In soups and stews: Purslane thickens broths slightly due to its mucilaginous texture.
- As a smoothie green: Blend it with banana, lemon, and honey for a nutrient-packed drink.
You can also pickle purslane or use it as a garnish for grilled dishes.

Common Problems and Solutions
Even though purslane is easy to propagate and grow, a few issues can arise. Here’s how to troubleshoot them:
| Problem | Possible Cause | Solution |
|---|---|---|
| Cuttings rotting before rooting | Too much moisture or poor drainage | Let cuttings callus before planting and ensure good air circulation |
| Yellowing leaves | Overwatering or poor soil drainage | Reduce watering frequency |
| Slow growth | Not enough sunlight | Move to a sunnier location |
| Pests (aphids, mealybugs) | Sap-sucking insects | Spray with neem oil or insecticidal soap |
Final Thoughts
Propagating purslane is one of the easiest and most satisfying gardening projects you can do. With just a few cuttings, a bit of sunlight, and minimal care, you can grow an endless supply of this nutrient-packed green all year long.
Whether you’re cultivating purslane for its culinary uses, its nutritional benefits, or its ground-covering beauty, propagation ensures you’ll always have a fresh source right at your fingertips.
So next time you spot purslane growing in your garden — or even between sidewalk cracks — don’t pull it out. Instead, snip a few stems, propagate them, and enjoy one of nature’s easiest and healthiest greens!
Leave A Comment