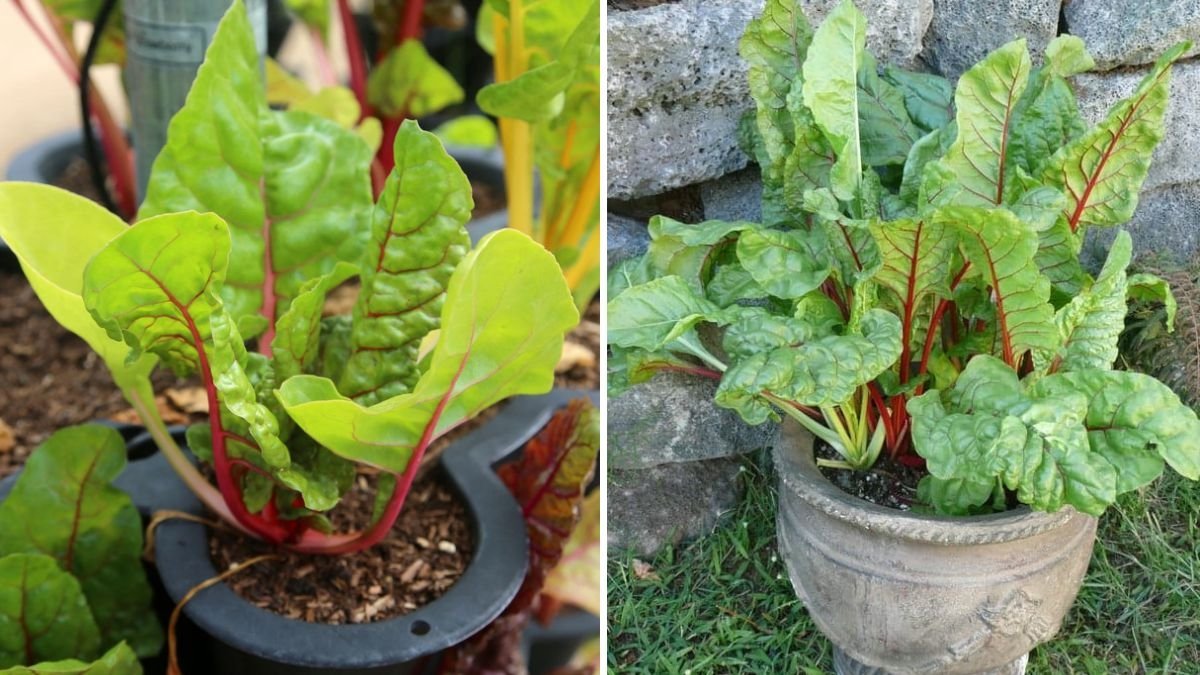
Swiss chard, also known as silverbeet or leaf beet, is a versatile leafy green that’s both beautiful and nutritious. With its glossy, colorful stalks and vibrant leaves, this plant is a showstopper in any garden — and the best part? It’s incredibly easy to grow! Whether you have a sprawling garden bed or just a few containers on your balcony, you can successfully grow Swiss chard from seed and enjoy months of fresh, healthy greens.
In this easy planting guide, you’ll learn everything you need to know about growing Swiss chard from seed — from preparing your soil and choosing containers to harvesting your first crisp, delicious leaves.
Why Grow Swiss Chard?
Swiss chard is one of the most rewarding leafy greens to grow for both beginners and experienced gardeners. It’s a hardy crop that thrives in a range of climates and soil types, and it’s remarkably low-maintenance. Unlike spinach, which tends to bolt in warm weather, Swiss chard can grow year-round in mild climates.
Here are a few reasons why you should grow Swiss chard:
- Fast-growing and long-lasting: Harvest within 6–8 weeks of sowing, and it continues producing for months.
- Highly nutritious: Packed with vitamins A, C, and K, as well as magnesium and iron.
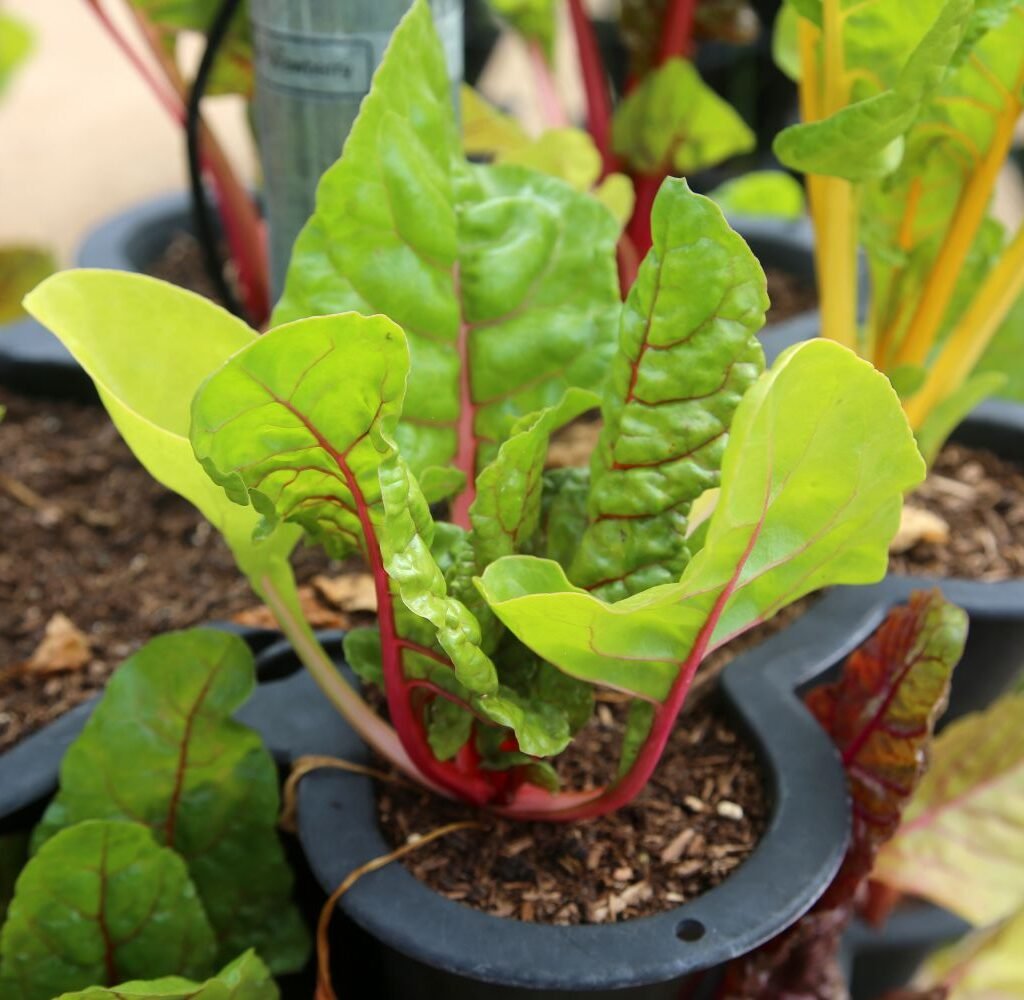
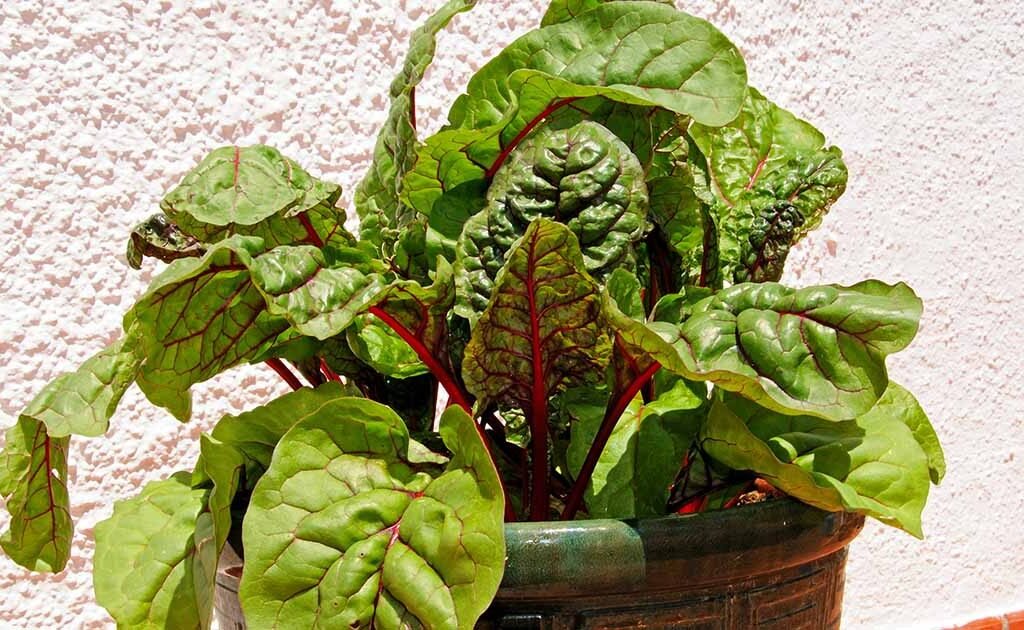
- Visually appealing: The colorful stems (in varieties like Bright Lights or Rainbow Chard) add charm to any garden.
- Heat-tolerant and cold-hardy: It can handle both spring and fall conditions, making it a versatile crop.
Step 1: Choose the Right Variety
There are several Swiss chard varieties, and your choice depends on personal preference and garden space. Here are some popular ones:

- ‘Bright Lights’ – A mix of vibrant stems in red, yellow, orange, and pink; great for ornamental and edible use.
- ‘Fordhook Giant’ – A traditional green chard with thick white stems; known for its productivity.
- ‘Rhubarb Chard’ – Deep red stems and veins; slightly more flavorful with a striking appearance.
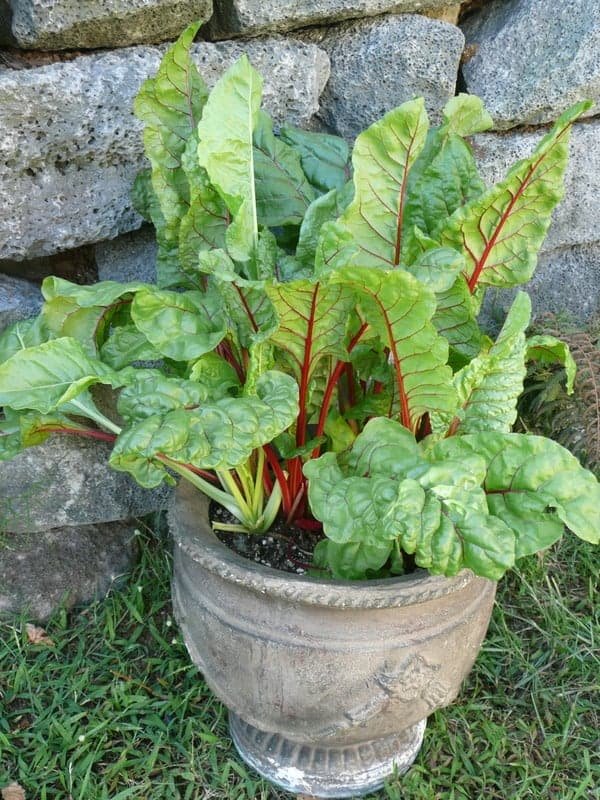
If you’re growing in containers, choose a compact variety like ‘Bright Lights’ that adapts well to limited space.
Step 2: Prepare Your Containers or Garden Beds
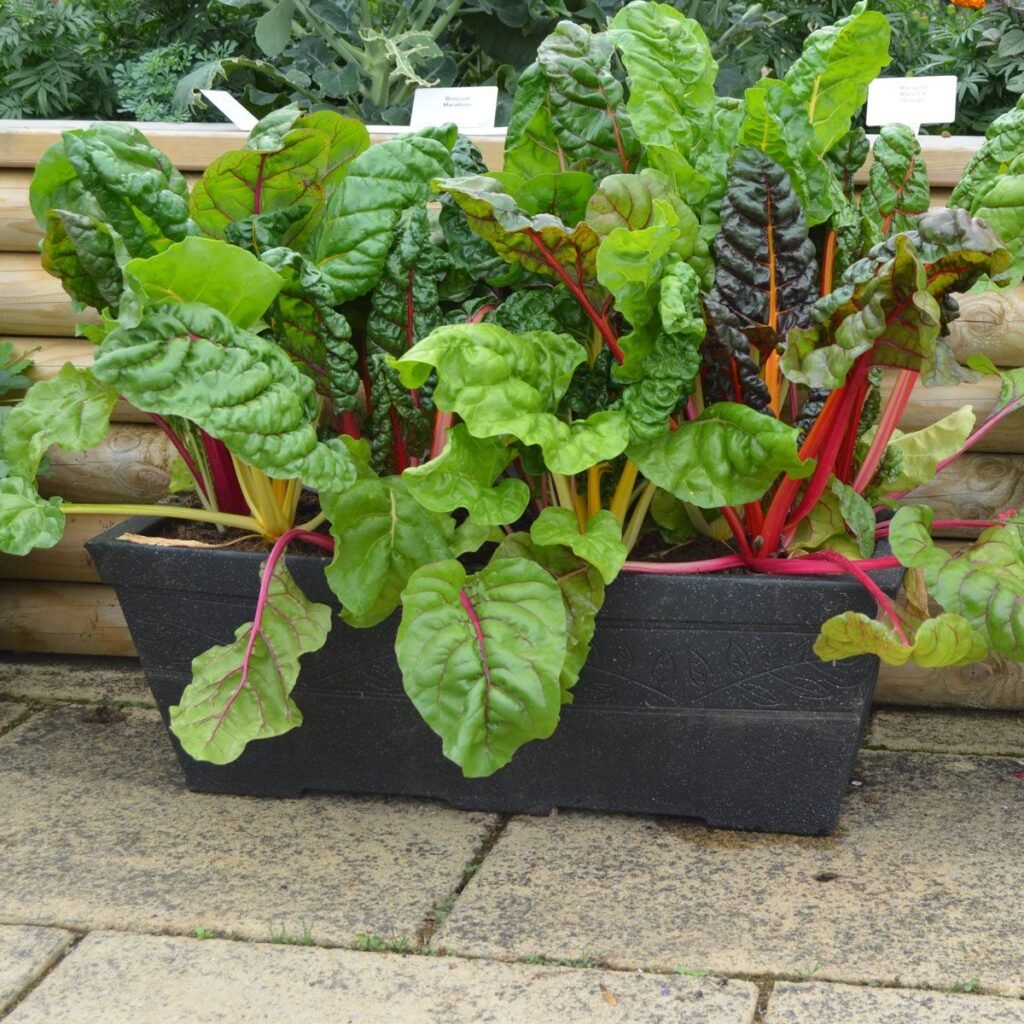
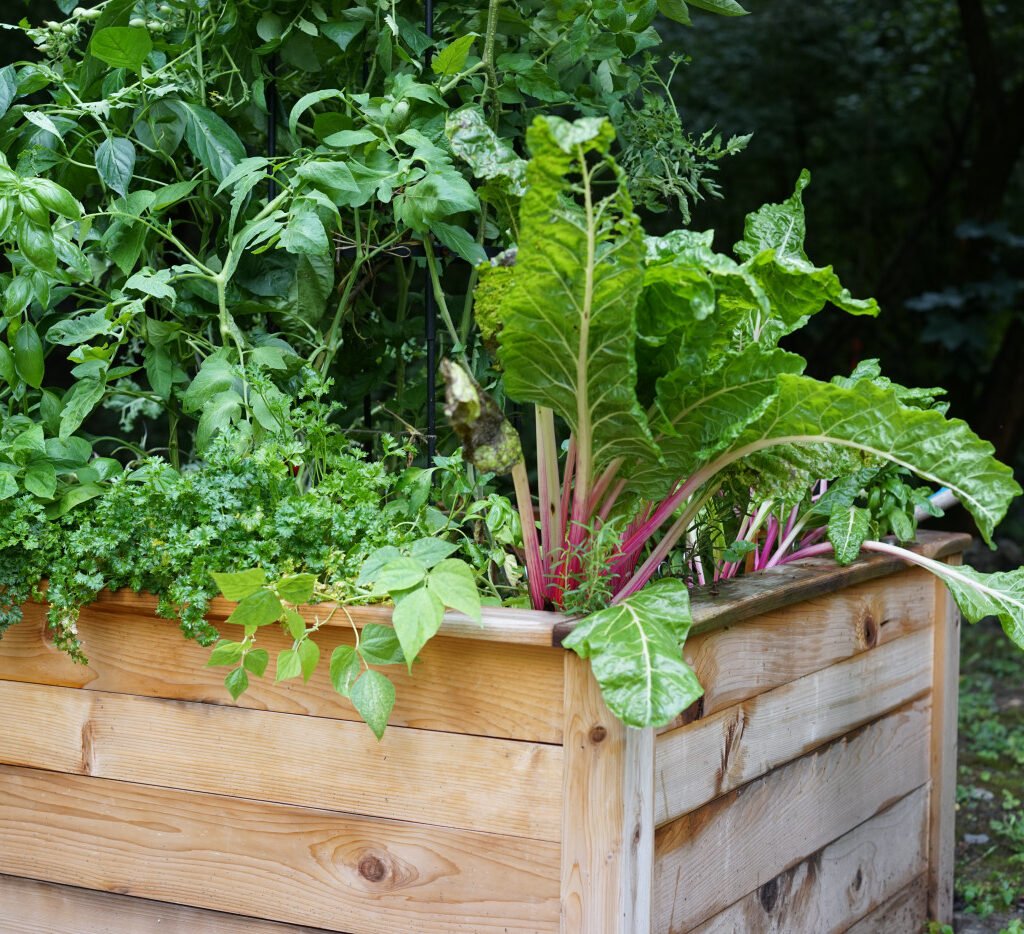
Swiss chard can thrive in both containers and traditional garden beds. The key is to provide rich, well-draining soil and sufficient space for root development.
For Containers:
- Use pots or containers that are at least 10–12 inches deep and 10 inches wide per plant.
- Make sure the containers have good drainage holes to prevent waterlogging.
- Fill with a high-quality potting mix enriched with compost or organic matter.
For Garden Beds:
- Choose a sunny location that receives at least 6 hours of sunlight daily.
- Loosen the soil to about 8–10 inches deep, removing stones and debris.
- Mix in well-rotted compost or aged manure to improve soil fertility and texture.
Swiss chard prefers a slightly acidic to neutral soil with a pH of 6.0–7.0.
Step 3: Sow the Seeds
Swiss chard seeds are clusters that may produce multiple seedlings, so thinning is essential later on.
Sowing Indoors (Optional):
- Start seeds 3–4 weeks before the last frost date.
- Sow seeds about ½ inch deep in seed trays filled with seed-starting mix.
- Keep the soil moist and place trays in a warm location (around 70°F / 21°C).
- Once seedlings have 2–3 true leaves, transplant them outdoors.
Sowing Directly Outdoors:
- Wait until the soil temperature is above 50°F (10°C).
- Sow seeds directly into containers or garden beds about ½ inch deep and 2 inches apart.
- Cover lightly with soil and water gently.
- Once seedlings emerge (in about 7–10 days), thin them to 6–12 inches apart, depending on the variety.
Step 4: Watering and Feeding
Swiss chard thrives in evenly moist soil.

- Water regularly, especially during dry spells, but avoid overwatering. The goal is to keep the soil consistently moist but not soggy.
- Mulching around the plants helps retain moisture and suppress weeds.
- Feed your chard every 3–4 weeks with a balanced liquid fertilizer or compost tea to encourage lush growth.
For container plants, nutrients can wash out more quickly, so fertilize slightly more often (every 2–3 weeks).
Step 5: Caring for Your Swiss Chard
Swiss chard is quite resilient, but a little care will keep it thriving all season long.
1. Light:
Full sun is ideal, but Swiss chard can tolerate partial shade, especially in hot climates.
2. Temperature:
It grows best between 50°F and 75°F (10–24°C) but can handle light frosts. In very hot regions, provide some afternoon shade to prevent wilting.
3. Pests and Diseases:
Keep an eye out for common garden pests like aphids, leaf miners, and slugs.

- Remove damaged leaves promptly.
- Spray with neem oil or an organic insecticidal soap if infestations occur.
- Avoid overhead watering to reduce fungal problems.
4. Mulching:
Add a 2-inch layer of organic mulch (like straw or shredded leaves) around your plants to maintain soil moisture and temperature.
Step 6: Harvesting Swiss Chard
One of the best things about Swiss chard is its “cut-and-come-again” nature — meaning you can harvest outer leaves while the plant keeps growing.
How to Harvest:
- Begin harvesting about 6–8 weeks after sowing when leaves are 6–8 inches long.
- Use sharp scissors or garden shears to cut the outer leaves at the base, leaving the inner leaves to mature.
- Regular harvesting encourages continuous growth.
You can also harvest the entire plant by cutting it about 1 inch above the soil — it will regrow quickly for another round.
Tip:
For the most tender and flavorful leaves, pick them in the morning when they’re crisp and full of moisture.
Step 7: Using and Storing Swiss Chard
Swiss chard is incredibly versatile in the kitchen.

- Use young leaves raw in salads or smoothies.
- Sauté mature leaves with garlic and olive oil for a quick side dish.
- Add them to soups, omelets, stir-fries, or pasta dishes.
To store, wash the leaves thoroughly, pat them dry, and keep them in a plastic bag in the refrigerator. They’ll stay fresh for about 3–5 days. For longer storage, blanch and freeze them.
Bonus: Companion Planting for Swiss Chard
Swiss chard gets along well with many garden vegetables. Companion planting helps deter pests and improve soil health.
- Good companions: Carrots, onions, beans, cabbage, and radishes.
- Avoid planting near: Corn and potatoes, as they compete for nutrients.
Step 8: Growing Swiss Chard Year-Round
In temperate climates, Swiss chard can be grown almost all year with a bit of planning.
- In spring, sow seeds early for an early-summer harvest.
- In fall, plant again for a cool-weather crop.
- In warmer regions, grow it through winter using light frost protection or a simple row cover.
With staggered planting every 2–3 weeks, you can ensure a continuous harvest throughout the year.
Common Problems and Easy Fixes
| Problem | Likely Cause | Quick Solution |
|---|---|---|
| Yellowing leaves | Overwatering or poor drainage | Improve soil drainage; water only when topsoil is dry |
| Small or slow-growing leaves | Lack of nutrients | Add compost or a balanced fertilizer |
| Holes in leaves | Pests (slugs, leaf miners) | Use neem oil or remove affected leaves |
| Bolting (flowering early) | Hot weather or stress | Provide shade and consistent watering |
Final Thoughts
Growing Swiss chard from seed in containers or garden beds is one of the easiest and most rewarding gardening projects you can try. With just a little care, you’ll enjoy months of fresh, nutritious greens that keep your kitchen stocked and your garden vibrant.

Whether you’re short on space or have a full backyard garden, Swiss chard adapts beautifully — proving that you don’t need to be an expert gardener to grow something truly amazing.
So grab some seeds, prepare your soil, and start planting today — your homegrown Swiss chard harvest is just a few weeks away!
Leave A Comment