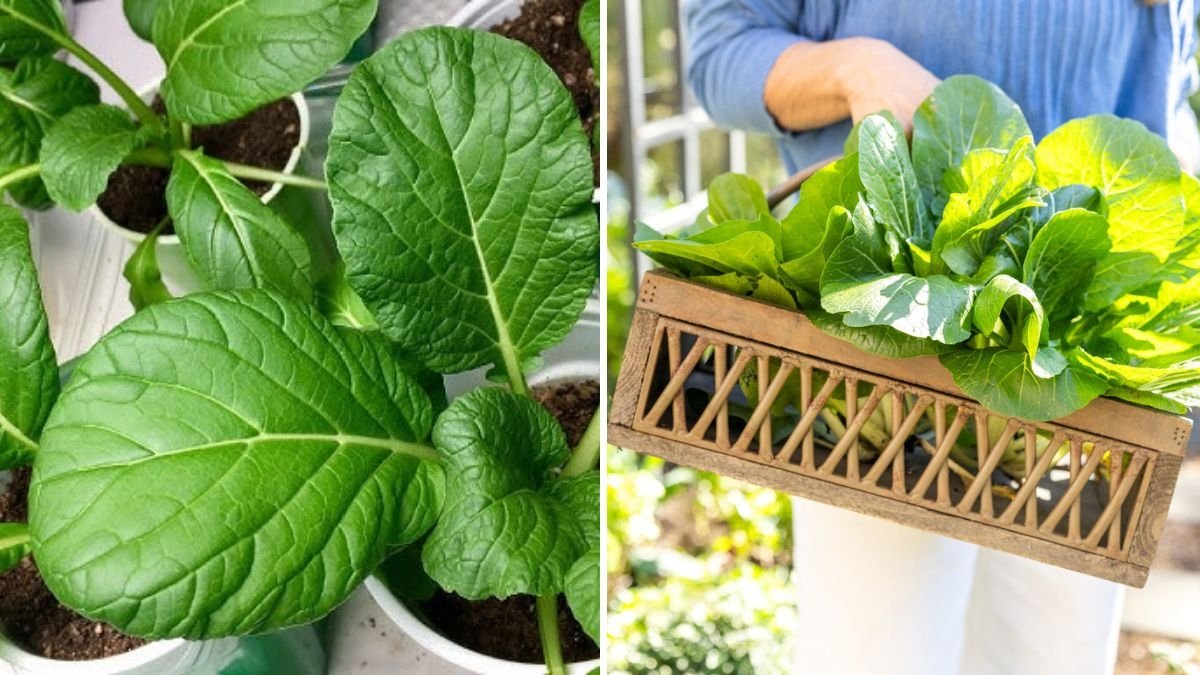
Growing bok choy (also known as pak choi or Chinese cabbage) at home is one of the most rewarding experiences for any home gardener. This leafy green is not only delicious and packed with nutrients, but it’s also incredibly easy to grow — even if you don’t have much space. Whether you live in an apartment or a house with limited outdoor area, container gardening makes it possible to enjoy fresh, homegrown bok choy right from your balcony, patio, or kitchen corner.
In this detailed guide, you’ll learn how to plant bok choy in containers at home, including everything from choosing the right pot and soil to harvesting crisp, healthy greens. Let’s dive in!
Why Grow Bok Choy in Containers?
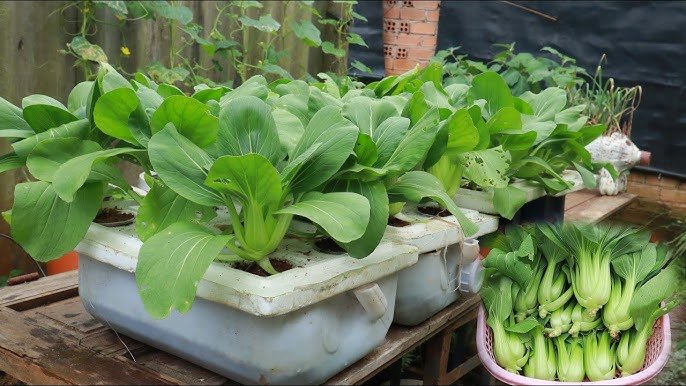
Bok choy is a cool-season crop that thrives in mild temperatures and grows quickly—typically ready to harvest within 30 to 45 days. Growing it in containers offers several benefits:
- Space-saving: Perfect for small balconies or patios.
- Easy to control: You can manage soil quality, water, and sunlight better.
- Fewer pests: Container plants are less prone to soil-borne diseases and common garden pests.
- Convenient harvest: You can easily snip fresh leaves anytime for cooking.
Step 1: Choose the Right Container
The first step is selecting the right container size for your bok choy plants. Bok choy doesn’t have deep roots, but it needs enough room to spread and grow healthy leaves.
- Container Size:
Choose a pot that is at least 8–10 inches deep and 10–12 inches wide. For full-sized bok choy, one plant per 10-inch pot works best. For baby bok choy, you can plant 2–3 plants in the same container. - Drainage:
Make sure the pot has drainage holes at the bottom to prevent waterlogging. You can also place small pebbles or gravel at the base to improve drainage. - Material:
Terracotta, plastic, or grow bags all work well. If you live in a hot area, use plastic or glazed pots, as they retain moisture better than clay.
Step 2: Use Nutrient-Rich Soil
Bok choy grows best in loose, well-draining, and fertile soil that’s rich in organic matter.

- Soil Mix Recommendation:
Combine the following:- 40% garden soil or topsoil
- 40% organic compost or well-rotted manure
- 20% coco peat or perlite for better aeration
The soil should be slightly acidic to neutral, with a pH between 6.0 and 7.0. Bok choy loves moisture, so keep the soil consistently damp but not soggy.
Step 3: Select a Suitable Location
Bok choy thrives in cool temperatures between 15°C and 25°C (59°F–77°F). It prefers partial sunlight—around 4–6 hours of sun daily.
- If you’re growing bok choy indoors, place the container near a south-facing window where it can get gentle sunlight.
- If the temperature rises above 30°C (86°F), move the pot to a shaded area or cover it with a light shade cloth to prevent bolting (premature flowering).
Step 4: Planting Bok Choy Seeds
You can start bok choy either from seeds or seedlings, but starting from seed is easy and rewarding.
To plant from seed:
- Fill your container with the prepared soil mix, leaving about an inch of space at the top.
- Sprinkle the seeds evenly over the surface and cover them with a thin layer (¼ inch) of soil.
- Mist gently with water to keep the soil moist.
- Place the container in a warm, well-lit area.
Germination:
Bok choy seeds germinate within 5–7 days. Once seedlings appear, thin them out so each plant has 4–6 inches of space to grow.

If you prefer transplanting seedlings, wait until they have at least 3–4 true leaves before moving them to the container.
Step 5: Watering and Moisture
Bok choy needs consistent moisture to grow tender, juicy leaves. The soil should never dry out completely.
- Watering schedule: Water every 1–2 days or whenever the top inch of soil feels dry.
- Avoid overhead watering to prevent fungal diseases—use a watering can with a narrow spout to target the soil around the base.
- In hot climates, adding a mulch layer (like straw or dried leaves) helps retain soil moisture.
Step 6: Fertilizing Bok Choy
Since bok choy grows fast, it benefits from regular feeding.
- At planting time: Mix in organic compost or slow-release fertilizer.
- During growth: Every 2 weeks, feed with a liquid fertilizer made from compost tea, fish emulsion, or seaweed extract.
A nitrogen-rich fertilizer helps encourage lush green growth, but don’t overdo it—too much nitrogen can cause the plant to bolt early.
Step 7: Managing Pests and Diseases
Even in containers, bok choy can attract pests such as aphids, flea beetles, and cabbage worms.

Here are natural ways to keep them away:
- Neem oil spray: Mix 1 tablespoon neem oil with 1 liter of water and spray weekly.
- Garlic or chili spray: A homemade deterrent that repels insects.
- Handpicking: Remove caterpillars or visible pests manually.
- Companion planting: Grow bok choy with mint, garlic, or marigold to repel harmful insects naturally.
To avoid fungal problems, ensure good airflow and avoid overwatering.
Step 8: Caring for Growing Plants
Once your bok choy starts growing, continue to care for it with consistency:
- Thin seedlings: Keep only the healthiest ones to prevent overcrowding.
- Loosen soil: Gently aerate the top layer once a week for better root growth.
- Monitor for bolting: If plants start forming flower stalks, harvest immediately as the leaves may turn bitter.
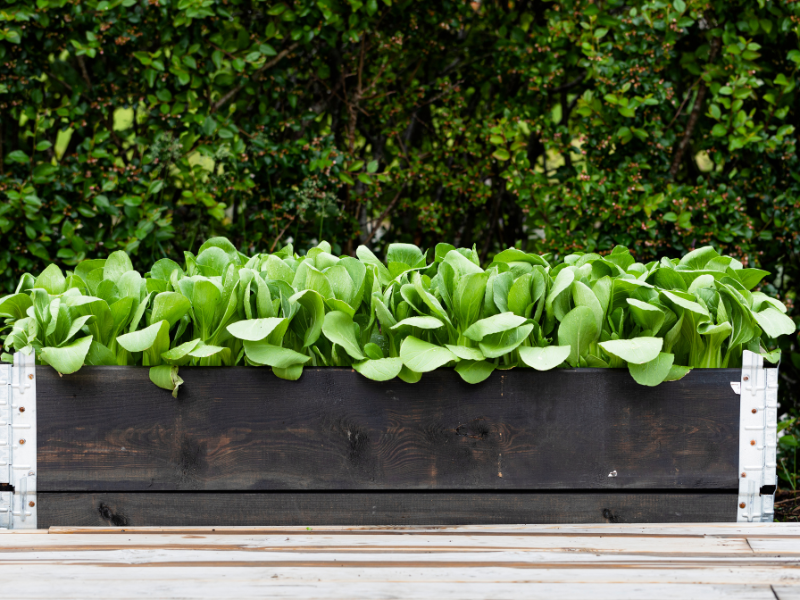
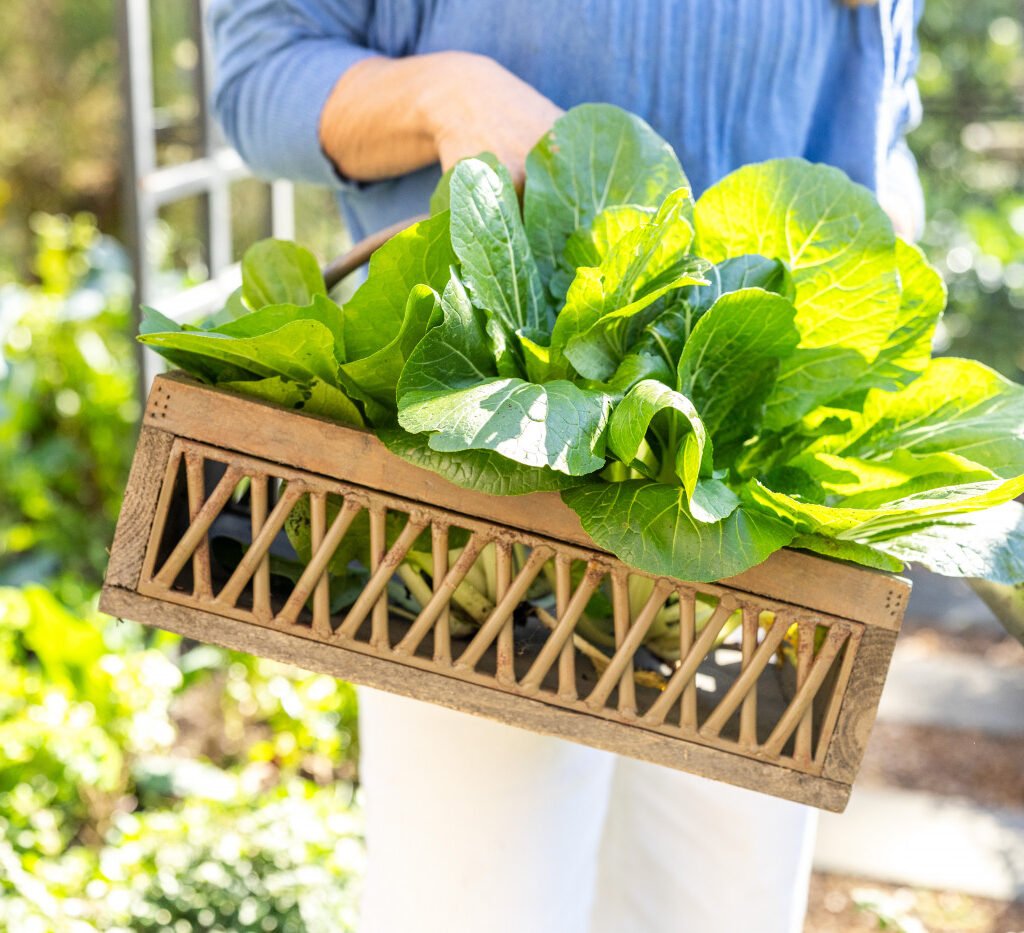
Step 9: Harvesting Bok Choy
One of the best parts of growing bok choy is how quickly you can enjoy the fruits of your labor!
Baby Bok Choy:

- Ready to harvest in 25–30 days when plants are about 4–5 inches tall.
- Cut the whole plant at the base or pick outer leaves individually.
Full-sized Bok Choy:
- Ready in 40–50 days when plants reach about 12 inches tall.
- Use a sharp knife to cut just above the soil line.
- Leave the base intact to encourage regrowth for a second harvest.
After harvesting, wash the leaves and store them in a cool place or refrigerator. Fresh bok choy stays crisp for about 5–7 days.
Step 10: Common Problems and Solutions
- Bolting (flowering too early):
- Caused by hot temperatures or long daylight hours.
- Solution: Grow in partial shade and maintain cool, moist soil.
- Yellow leaves:
- May indicate nutrient deficiency or overwatering.
- Solution: Adjust watering and feed with a balanced organic fertilizer.
- Pale, slow-growing plants:
- Caused by poor soil fertility.
- Solution: Enrich soil with compost or apply a nitrogen boost.
Bonus Tip: Regrow Bok Choy from Kitchen Scraps
You can regrow bok choy from the base of a store-bought stalk:
- Cut off the base (2 inches thick).
- Place it in a shallow bowl with water, exposing only the bottom.
- Keep it near sunlight and change the water every 2 days.
- Within a week, new leaves and roots will start growing!
- Once roots are visible, transplant the base into soil.
It’s a fun and sustainable way to keep your bok choy supply going.
Final Thoughts
Learning how to plant bok choy in containers at home is simple, budget-friendly, and incredibly satisfying. This leafy vegetable rewards you with a continuous supply of crisp, tender greens that elevate stir-fries, soups, and salads.

With the right soil mix, regular watering, and gentle care, you can harvest your own organic bok choy in just a few weeks — no garden required. Whether you’re a beginner or an experienced gardener, this container-growing method ensures success and year-round freshness.
So grab a pot, some seeds, and start growing your own homegrown bok choy today — your kitchen and your health will thank you!
Leave A Comment