Growing cabbage from scraps is one of the most fascinating and rewarding gardening experiences. Imagine turning leftover cabbage leaves or stems from your kitchen into a thriving plant that produces a full head of fresh, organic cabbage within a few months. It’s not only sustainable but also an excellent way to recycle food waste and enjoy fresh produce at home.
This detailed guide, inspired by the time-lapse journey of “Cabbage Plant Growing From Scrap to Harvest in 106 Days,” will take you through every step—from re-growing cabbage scraps to caring, transplanting, and harvesting your own homegrown cabbage.
Why Grow Cabbage from Scraps
Growing cabbage from kitchen scraps is an eco-friendly and budget-friendly gardening technique. Here’s why you should give it a try:
- Zero Waste Gardening: You’re reusing leftovers that would otherwise end up as kitchen waste.
- Cost-Effective: No need to buy seeds; scraps do the job.
- Organic and Fresh: You control the growing process, ensuring chemical-free produce.
- Perfect for Beginners: Simple and easy to try even if you have limited space or experience.
- Educational and Fun: A great project for kids and families to observe plant growth.
Step 1: Choosing the Right Scrap for Regrowth
Not every cabbage scrap will regrow successfully. You need to select the right part of the cabbage to start the process.
What You’ll Need:
- The cabbage base (core) that includes the stem and about 2 inches of attached leaves.
- A shallow bowl or container.
- Clean water.
- Sunlight or a bright window.
How to Start:
- Cut the cabbage, leaving about 2 inches of the core intact.
- Place this core in a bowl with a little water—enough to cover the bottom part but not submerge it fully.
- Keep the bowl on a sunny windowsill or balcony where it gets 4–6 hours of light daily.
- Change the water every 1–2 days to prevent bacterial growth.
Within 5–7 days, you’ll notice new green leaves sprouting from the center and small white roots forming at the bottom.

Step 2: Preparing for Transplanting
Once roots are about 1–2 inches long and new leaves have grown, it’s time to transplant your cabbage scrap into soil.
Prepare the Soil:
Cabbage prefers rich, well-draining, and slightly acidic soil (pH 6.0–6.8). Mix:
- 40% garden soil
- 40% compost or cow dung manure
- 20% sand or cocopeat for drainage
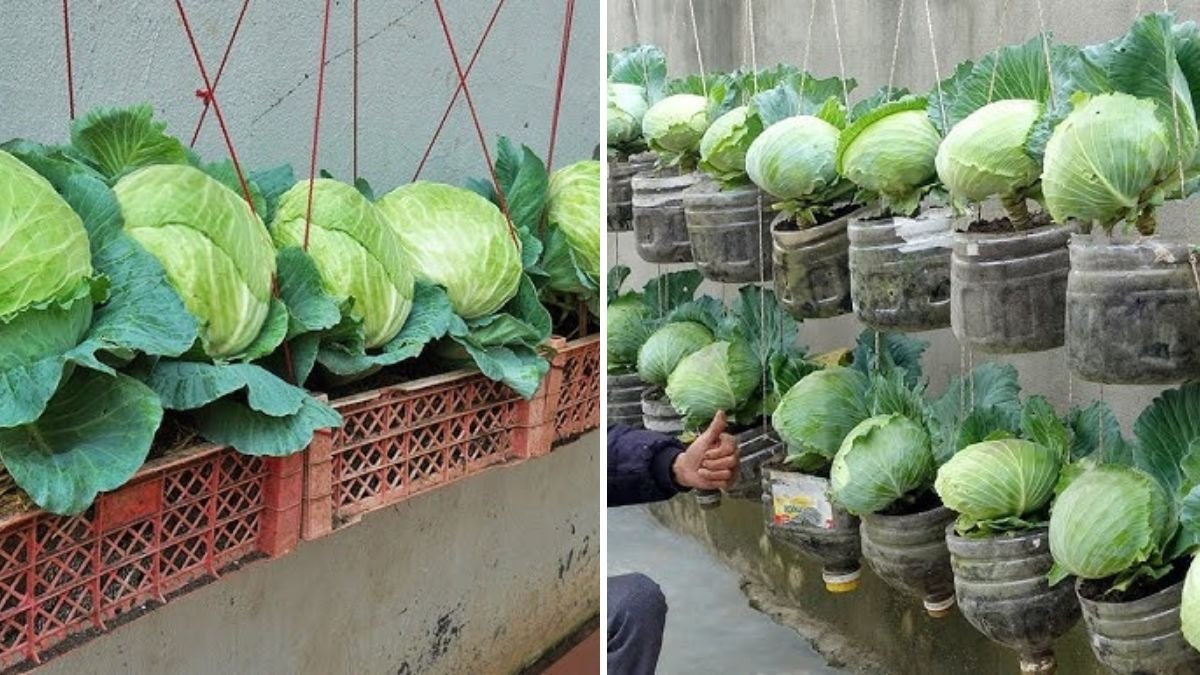
Container or Garden Bed:
If growing in pots, choose one that’s at least 12 inches deep and 12–14 inches wide. Make sure it has proper drainage holes.
Transplanting Steps:
- Dig a small hole in the soil deep enough to cover the cabbage base.
- Gently place the rooted scrap into the hole and cover with soil, leaving the growing leaves above ground.
- Water lightly to settle the soil.
- Keep the pot in a semi-shaded area for a few days until the plant adjusts.
Step 3: Providing the Right Growing Conditions
Cabbage is a cool-season crop and grows best in temperatures between 15°C and 25°C (59°F–77°F).
Sunlight: Provide at least 6 hours of sunlight daily for healthy growth. Too much heat can cause the plant to bolt or produce loose heads.
Watering:

- Keep the soil consistently moist but not waterlogged.
- Water deeply once every two days during the growing phase.
- Mulch with dry leaves or straw to retain moisture and prevent weeds.
Humidity and Airflow:
Ensure good airflow around plants to prevent fungal diseases. Avoid overcrowding if you are growing multiple cabbage plants.
Step 4: Feeding the Plant Organically
Your cabbage plant needs nutrients at different stages of growth. Using organic fertilizers helps in building strong roots and forming firm, healthy heads.
Fertilizer Schedule:
- During Early Growth (Weeks 1–4): Apply vermicompost or compost tea every 10 days.
- During Head Formation (Weeks 5–10): Feed with banana peel fertilizer or liquid seaweed extract once every two weeks for potassium and micronutrients.
- Final Growth Phase (Weeks 10–14): Use diluted cow dung slurry or fish emulsion to strengthen the plant before harvest.
Avoid over-fertilizing; too much nitrogen can result in leafy growth without proper head formation.
Step 5: Cabbage Growth Stages (Time-Lapse Breakdown)
The “106-Day Cabbage Growing Time-Lapse” perfectly demonstrates how cabbage progresses through different growth phases. Here’s a general timeline:
Day 1–10:
- Scrap begins to regrow.
- Roots and tiny green shoots appear.
Day 11–25:

- Transplanted into soil.
- Outer leaves start expanding rapidly.
Day 26–50:
- Plant becomes bushy with strong leaves.
- Central part starts thickening.
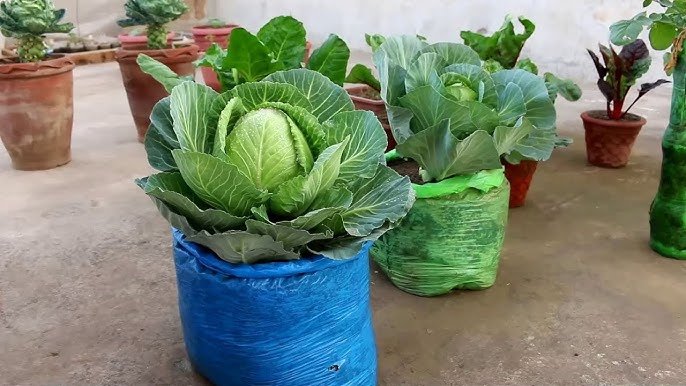
Day 51–80:
- Head initiation begins.
- Compact white-green structure starts forming at the center.
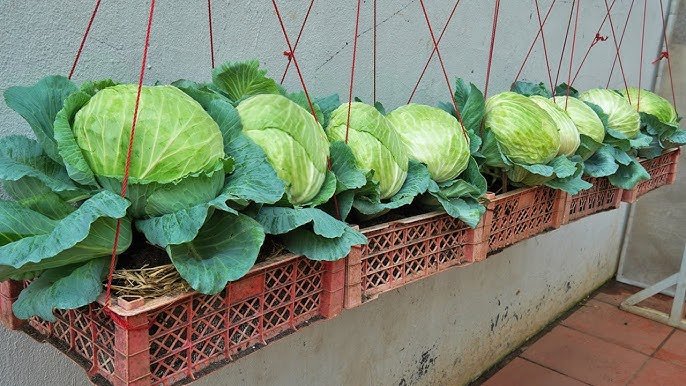
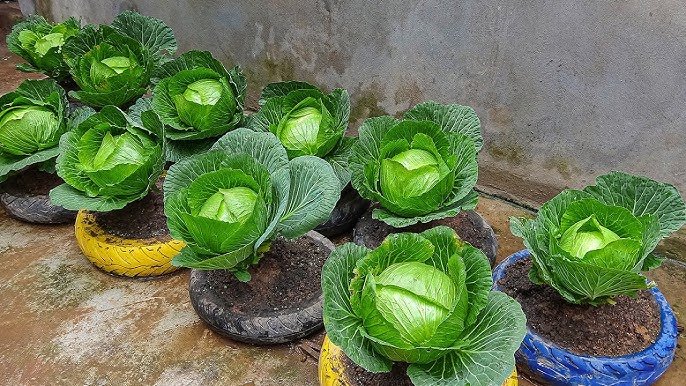
Day 81–106:
- Head matures and becomes firm.
- Outer leaves grow large and protective.
- Plant is ready for harvest.
Step 6: Pest and Disease Management
Cabbage plants are prone to pests like aphids, cabbage worms, caterpillars, and whiteflies. Keep your plant safe using natural pest control methods.
Organic Pest Control Methods:
- Neem Oil Spray: Mix 5 ml neem oil with 1 liter of water and spray weekly.
- Garlic and Chili Spray: Acts as a natural insect repellent.
- Manual Removal: Inspect leaves daily and remove visible caterpillars.
- Companion Planting: Grow marigolds, mint, or basil nearby to deter pests.
For fungal issues like powdery mildew or black rot, spray a mix of 1 teaspoon baking soda in 1 liter of water every two weeks.
Step 7: Pruning and Maintenance
To keep your cabbage plant healthy:

- Remove yellow or damaged leaves regularly.
- Ensure soil remains moist but not soggy.
- Support the plant with soil mounding at the base if it becomes tall and wobbly.
Weeding is also important to avoid nutrient competition.
Step 8: Harvesting the Cabbage
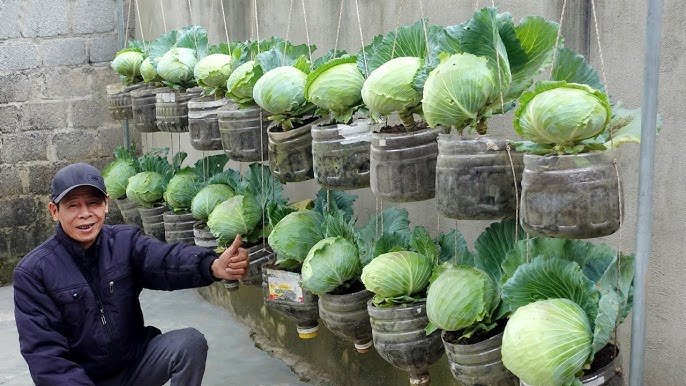
Your cabbage will be ready to harvest around 100–110 days after planting, as shown in the time-lapse.
Signs of Maturity:
- The head is compact, firm, and solid to the touch.
- The outer leaves are large and slightly curling outward.
- The color is bright green (for green varieties) or purple (for red cabbage).
How to Harvest:
- Use a sharp knife to cut the cabbage head at the base, leaving outer leaves and roots in place.
- Handle gently to avoid bruising the head.
- If you leave the base in the soil, smaller side shoots may grow again, offering a second mini harvest.
Step 9: Post-Harvest Care
After harvesting, remove any old or damaged leaves. Wash your cabbage thoroughly before storage.
Storage Tips:
- Store whole heads in the refrigerator for up to 2 weeks.
- Wrap in a paper towel and place in a perforated plastic bag to retain freshness.
- Avoid washing before storage as excess moisture can lead to rot.
Step 10: Common Mistakes to Avoid
- Using Weak Scraps: Ensure your cabbage base is fresh and healthy before regrowing.
- Overwatering: Causes root rot and fungal diseases.
- Planting in Poor Soil: Leads to stunted growth.
- Insufficient Light: Results in weak, leggy plants.
- Late Harvesting: Overripe cabbage heads split or become bitter.
Step 11: Health Benefits of Homegrown Cabbage
Cabbage is more than just a leafy vegetable—it’s a nutritional powerhouse. Growing it organically at home enhances its health benefits.

- Rich in Vitamin C: Strengthens immunity and skin health.
- Supports Digestion: High in fiber, promoting gut health.
- Heart-Friendly: Contains antioxidants that reduce cholesterol levels.
- Anti-Inflammatory: Helps reduce inflammation in the body.
- Aids in Weight Loss: Low in calories and packed with nutrients.
Eating freshly harvested cabbage ensures maximum nutrient retention.
Step 12: Sustainable Gardening Tip
After harvesting your cabbage, don’t throw away the outer leaves or roots. Use them in compost or replant to continue your zero-waste gardening cycle. You can even experiment by regrowing the remaining core again to see if it sprouts new life.
Final Thoughts
Growing cabbage from scraps to harvest is a truly satisfying process that shows the magic of nature and the power of sustainable gardening. In just about 106 days, a simple kitchen scrap can transform into a full-grown, nutritious cabbage head right in your home garden.
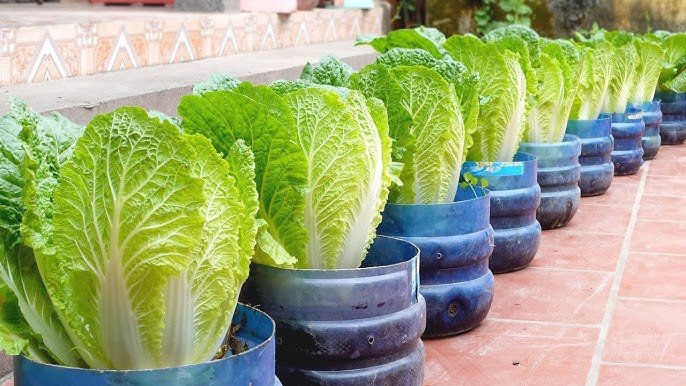
Whether you’re growing it in soil beds, containers, or small balcony gardens, the key is consistent care, proper watering, and natural feeding. With patience and observation, you’ll soon enjoy the crisp, homegrown taste of your very own cabbage—grown from nothing but a leftover kitchen scrap.
Start your own cabbage regrowth journey today and watch the incredible transformation unfold—just like the 106-day time-lapse, but right in front of your eyes.
Leave A Comment