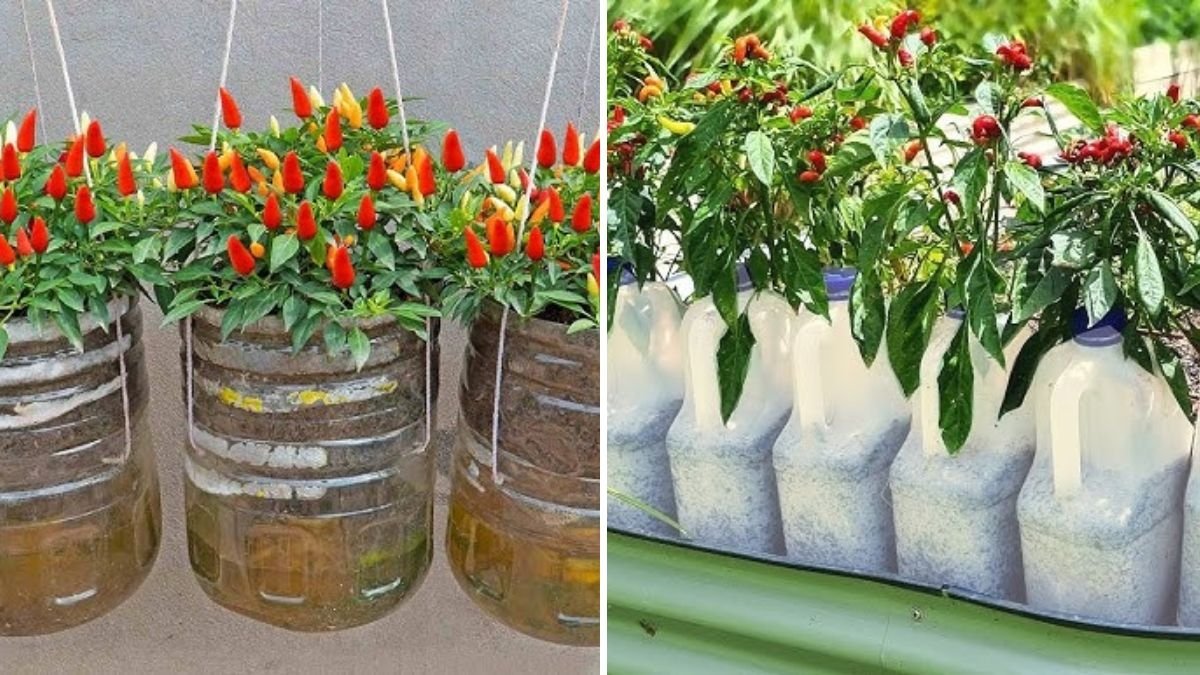
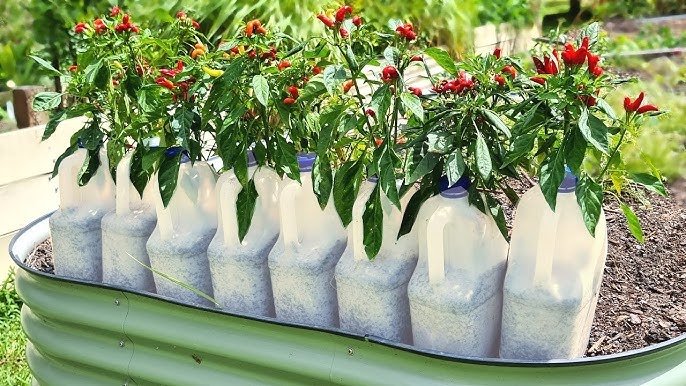
Love the spicy kick of homegrown chilies but don’t have a garden? Don’t worry — you can still grow healthy, productive chili plants using simple plastic milk bottles!
The YouTube video “EASY Way to Grow Chilli Plants in Plastic Milk Bottles!” shows just how simple and effective this method can be. With a few used bottles, some soil, and basic care, you can enjoy a steady supply of fresh, fiery chilies from your balcony, terrace, or even your kitchen window.
In this detailed 1200-word guide, you’ll learn everything about how to grow chili plants in plastic milk bottles — from choosing the right seeds to harvesting big, flavorful chilies all year round.
Let’s dive in and turn those empty bottles into thriving mini chili gardens!
Why Grow Chilies in Plastic Milk Bottles?
Recycling plastic bottles into plant containers isn’t just eco-friendly — it’s practical, space-saving, and surprisingly efficient. Here’s why this method works so well:
- Perfect for small spaces: Ideal for apartments, balconies, or windowsills.
- Cost-effective: Reuse empty milk bottles instead of buying pots.
- Easy watering control: Transparent sides help you see soil moisture levels.
- Portable: Move bottles easily to get the best sunlight.
- Eco-conscious gardening: Reduces plastic waste while growing your own food.
This method gives you all the benefits of container gardening — plus the satisfaction of upcycling waste into something green and useful.
Step 1: Choosing and Preparing Your Bottles
Start with 2-liter or 1-liter plastic milk bottles. These are sturdy enough to hold soil and deep enough for chili roots to grow well.
How to prepare the bottles:
- Rinse the bottle thoroughly to remove any milk residue.
- Cut off the top portion (around one-third) using scissors or a knife.
- Poke 4–6 drainage holes at the bottom for excess water to escape.
- Keep the top part as a mini greenhouse lid if you want to cover young seedlings.
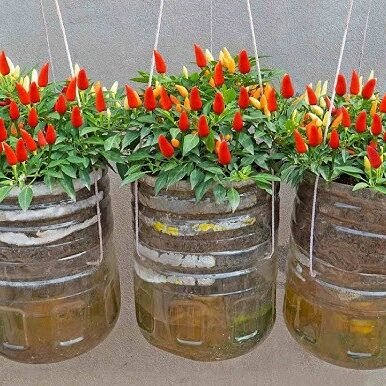
You can also hang the bottles on a wall, balcony railing, or simply place them on trays to catch any dripping water.

Step 2: Preparing the Perfect Soil Mix
Chili plants love light, well-draining, and nutrient-rich soil. A good mix ensures strong root development and healthy fruiting.
Here’s a tried-and-tested formula for chili growth in containers:
- 40% garden soil or coco peat
- 30% compost or cow dung manure
- 20% sand or perlite (to improve drainage)
- 10% neem cake powder or organic fertilizer
Mix everything thoroughly before filling your bottles. This blend provides the right balance of air, nutrients, and moisture retention — crucial for chili plants grown in limited space.
Step 3: Choosing the Right Chili Variety

You can grow almost any chili variety in bottles — from mild to extremely hot ones. Choose depending on your climate and spice preference.
Popular options for container growing:
- Thai chili: Small, hot, and grows fast.
- Bird’s eye chili: Compact plant with lots of fruits.
- Cayenne or red chili: Ideal for drying and cooking.
- Green chili (Indian long variety): Yields well in warm climates.
Choose disease-free, high-quality seeds for best results. If you’re using store-bought chilies, you can extract seeds from a ripe one — just dry them before planting.
Step 4: Seed Germination
To start your chili journey, germinate seeds properly before transferring them into bottles.
Steps:
- Soak seeds in warm water for 6–8 hours to soften the seed coat.
- Fill a small seed tray or pot with moist coco peat or seed-starting mix.
- Plant seeds 1 cm deep and cover lightly.
- Keep in a warm, shaded spot (around 25–30°C).
- Mist daily with water to keep the medium moist.
In 7–14 days, tiny green seedlings will appear. Once they’re about 10–12 cm tall with 4–6 true leaves, they’re ready for transplanting into the bottles.

Step 5: Transplanting into Milk Bottles
- Fill the prepared bottles with your potting mix, leaving about 2 inches at the top.
- Make a small hole in the center.
- Gently remove a seedling from the tray, keeping roots intact.
- Place it in the hole and cover it lightly with soil.
- Water thoroughly so the roots settle well.
Place the bottles in a sunny location immediately after transplanting.
Step 6: Providing Ideal Growing Conditions
Chili plants love warmth, sunlight, and fresh air. To ensure strong, bushy growth, keep these conditions in mind:
Sunlight:
- Needs 6–8 hours of direct sunlight every day.
- If indoors, place near a bright window or use a grow light.
Temperature:
- Optimal range: 22–32°C (72–90°F).
- Avoid frost or strong cold winds.
Humidity:
- Moderate humidity is best. Avoid overly damp environments to prevent fungal infections.
Rotate bottles every few days to ensure even sunlight exposure on all sides.
Step 7: Watering the Chili Plants
Proper watering is key to growing healthy chilies in bottles.
- Water when the top inch of soil feels dry.
- Don’t let the soil stay soggy — it causes root rot.
- During hot summer days, water lightly twice a day.
- Early morning or late evening is the best time to water.
If you have clear milk bottles, you can easily check moisture levels through the sides.
Pro tip: Add a thin layer of mulch (dry leaves or coco husk) on top to reduce evaporation and maintain consistent moisture.

Step 8: Fertilizing for High Yield
Chilies are heavy feeders, especially when they start flowering and fruiting. Regular feeding ensures big harvests and spicy, flavorful pods.
Natural fertilizer plan:
- Every 2 weeks: Add compost tea or diluted cow dung liquid (1:10 ratio).
- During flowering: Mix 1 tablespoon bone meal or banana peel fertilizer into the soil for potassium and phosphorus.
- Mid-growth stage: Add a teaspoon of neem cake powder to prevent pests and boost soil health.
Avoid chemical fertilizers — they may lead to fast but weak growth and affect the pepper’s natural taste.
Step 9: Supporting and Pruning the Plants
As chili plants grow taller, they may bend or lean due to heavy fruiting.
- Insert a small bamboo stick or skewer into the bottle and tie the plant gently.
- Prune the lower leaves and suckers to encourage branching and more flowers.
- Remove any yellowing leaves to allow better airflow and light penetration.
Proper pruning ensures energy is focused on producing healthy fruits instead of excess foliage.
Step 10: Natural Pollination and Flower Care
Chilies are self-pollinating, but a little help can improve yields — especially for indoor growers.
To aid pollination:
- Gently shake the plant or tap flowers every morning.
- Use a soft brush to transfer pollen between blooms.
- Keep a small fan running nearby to simulate wind.
Also, ensure flowers are not dropping off — this often happens due to heat stress or overwatering. Adjust watering and keep plants in stable, warm conditions.
Step 11: Pest and Disease Control
Growing in bottles reduces pest problems, but a few can still appear. Here’s how to handle them naturally:

- Aphids or whiteflies: Spray diluted neem oil (5 ml per liter of water) every 7–10 days.
- Fungal spots or mildew: Sprinkle cinnamon powder or spray baking soda solution (1 tsp per liter of water).
- Yellow leaves: Check for nutrient deficiency or excess moisture.
Always remove affected leaves and keep bottles clean and well-spaced for airflow.
Step 12: Harvesting Your Chilies
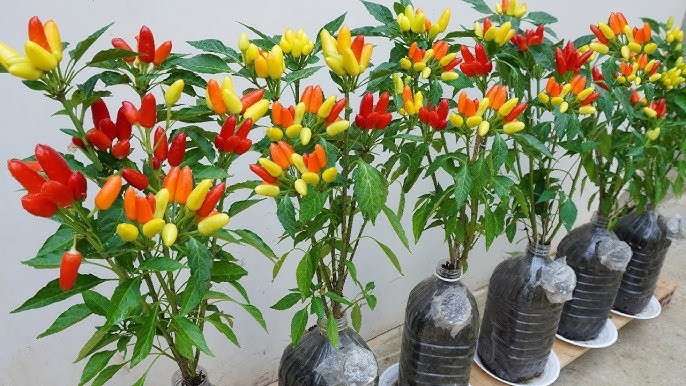
After 60–90 days, your plants will start producing flowers followed by small green chilies.
For green chilies:
- Pick them when they are firm, shiny, and medium-sized.
For red chilies:
- Leave them on the plant longer to ripen and develop full flavor and color.
Use scissors or pruning shears to cut the fruits — avoid pulling to prevent damaging the stem.
Each plant can keep producing chilies for several months with proper care and occasional feeding.
Step 13: Health Benefits of Homegrown Chilies
Homegrown chilies not only taste better — they’re packed with nutrients and health benefits:
- Rich in vitamin C and A: Strengthens immunity and improves skin health.
- Boosts metabolism: Capsaicin in chilies promotes fat burning.
- Improves digestion: Stimulates stomach acid production naturally.
- Fights inflammation: Acts as a natural pain reliever.
- Good for heart health: Helps regulate blood circulation.
And since you’re growing them organically, you avoid harmful pesticides and chemicals.
Step 14: Sustainable Gardening and Reuse
Once your crop is done, you can reuse the same bottles for other plants like herbs, spinach, or tomatoes.

Tips for reusing:
- Empty and wash bottles thoroughly.
- Replace old soil with fresh compost mix.
- Rotate crops to prevent soil fatigue.
This not only saves money but also reduces plastic waste — a small step toward a greener planet.
Conclusion
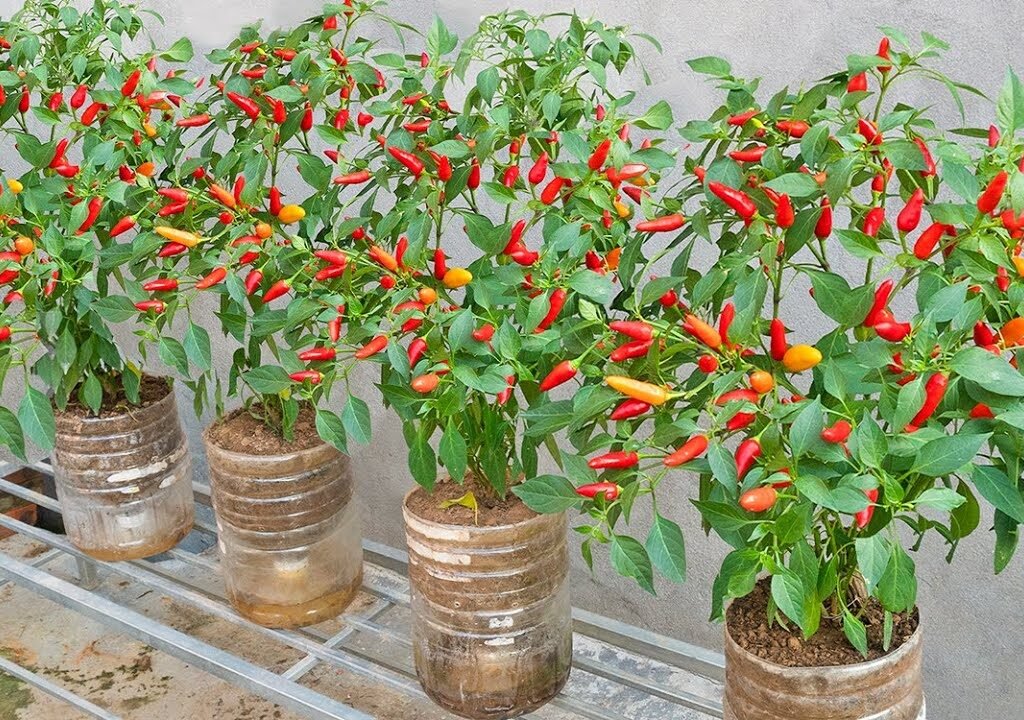
Growing chili plants in plastic milk bottles is one of the easiest and most rewarding gardening hacks you can try. With minimal effort and a few household items, you can create a mini chili farm right at home.
The key is good soil, adequate sunlight, regular watering, and organic feeding. In just a few weeks, you’ll have a vibrant display of green plants loaded with spicy chilies ready to pick and cook!
So, don’t throw away those empty milk bottles — turn them into mini planters and enjoy the joy of fresh homegrown chilies all year long.
Leave A Comment